How to Decorate Bathroom Tray Decor
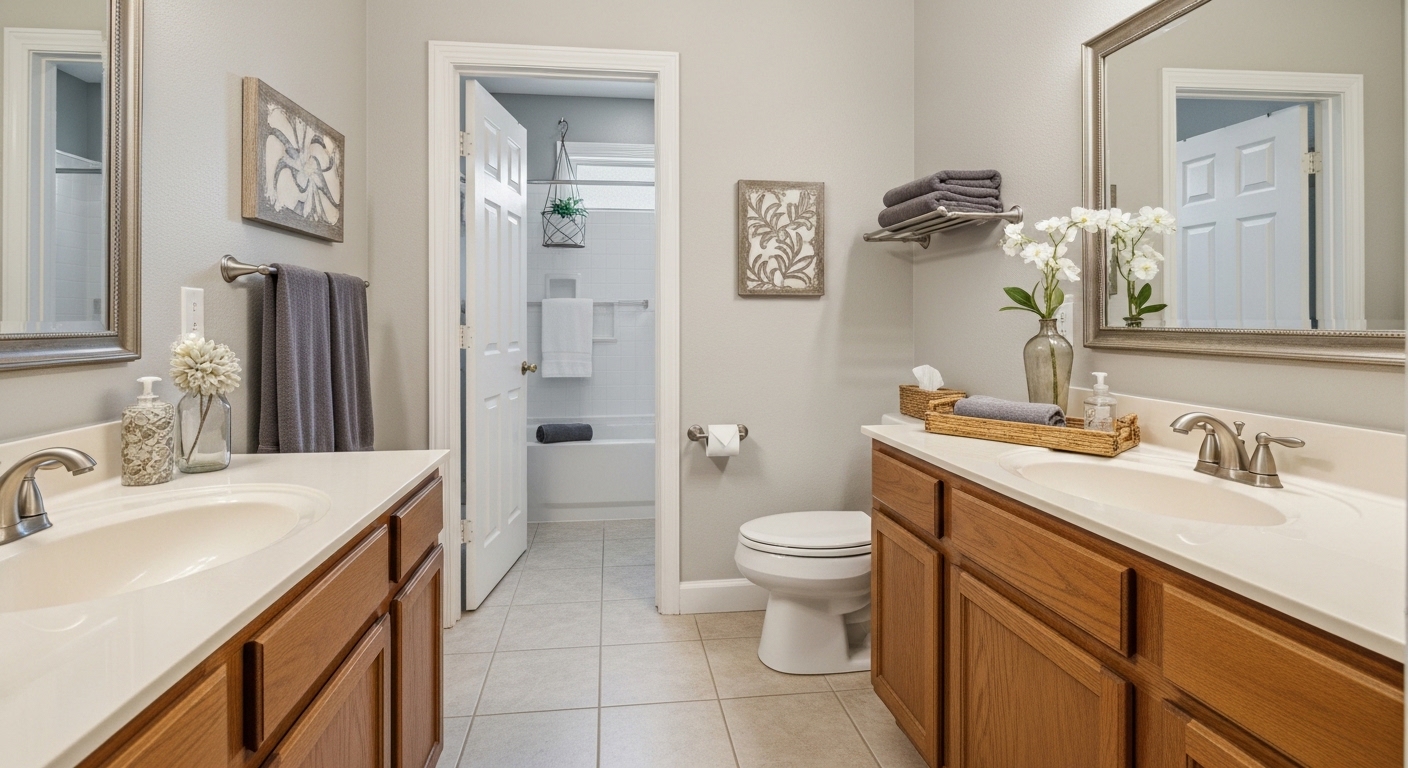
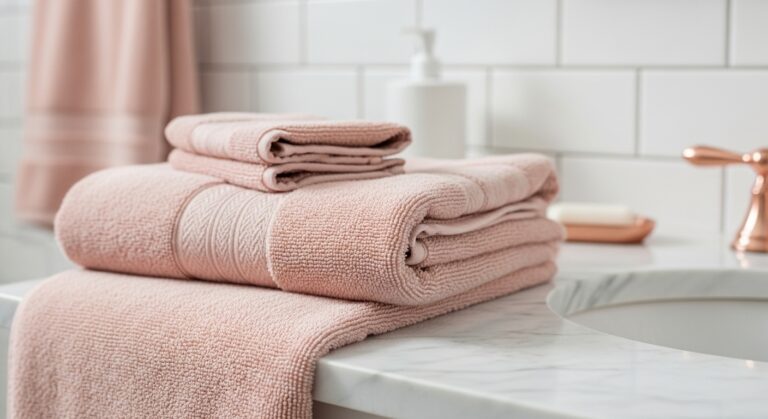
I stared at my bathroom counter. It looked bare, even with stuff on it. The soap sat alone, the lotion tipped over. Nothing held it together. I wanted it to feel settled, not scattered.
Trays fix that. But stacking random things on one made it crowded fast. I tried it wrong at first.
Now I know how to make a tray that pulls the room in. It’s simple. It works every time.
How to Decorate Bathroom Tray Decor
This shows you how I set up a bathroom tray that feels balanced and lived-in. You’ll end up with a counter that looks calm and collected. No clutter. Just right.
What You’ll Need
- 12-inch round white marble tray
- 8-inch clear glass candle holder
- Small ceramic soap dispenser in matte black
- 4-inch potted air plant
- Folded linen hand towel in soft gray
- Vintage brass perfume bottle
- Wooden matchbox striker
- Mini marble coaster
Step 1: Choose Your Tray and Spot
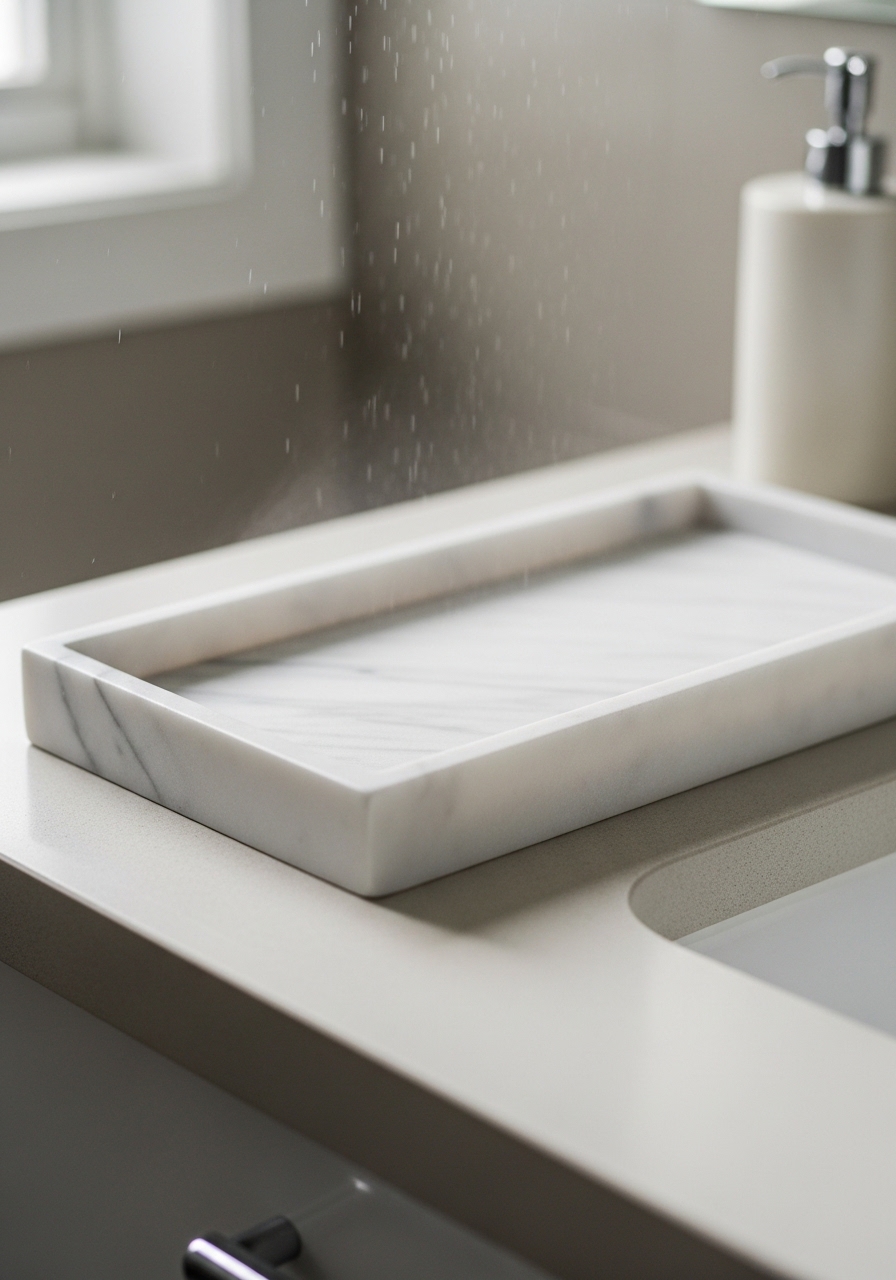
I start by picking a tray that fits the counter without overwhelming it. Mine’s 12 inches round, white marble. It grounds everything. I set it near the sink, off to one side. Not dead center—that feels forced.
Visually, the counter breathes now. Empty space around it draws the eye in.
People miss how size changes the feel. Too big, and it crowds. Too small, items spill off. Avoid shoving it against the wall. Let it float a bit for air.
I step back. It looks ready for more.
Step 2: Anchor with Height
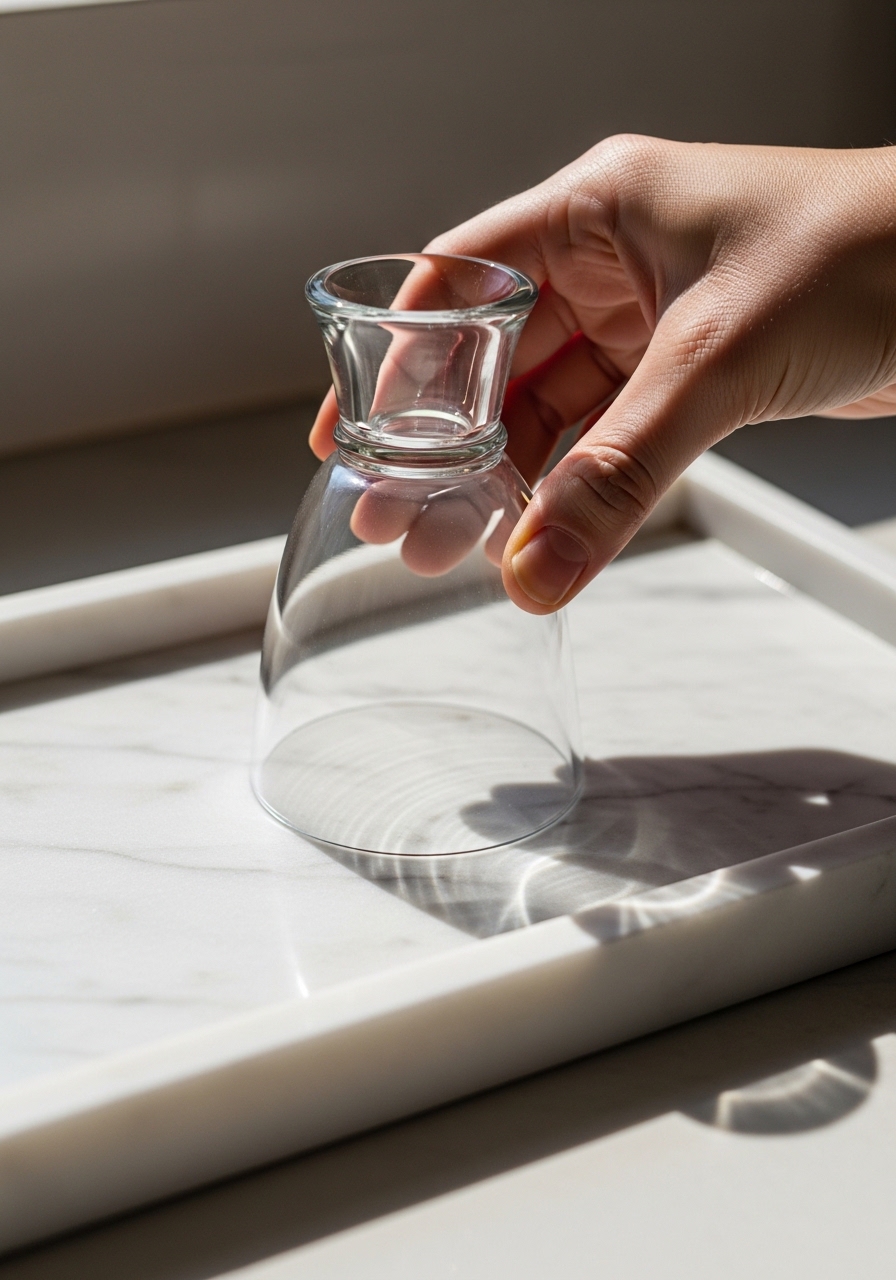
Next, I drop in one tall piece dead center. My clear glass candle holder, 8 inches high. It gives structure. Without it, everything lays flat and dull.
The tray lifts visually. Height pulls focus up, makes space feel deeper.
Most skip this. They crowd the bottom first. Mistake: using something wobbly. It topples when you grab soap. Test it steady.
Now it stands strong. Balanced base set.
Step 3: Layer in Function
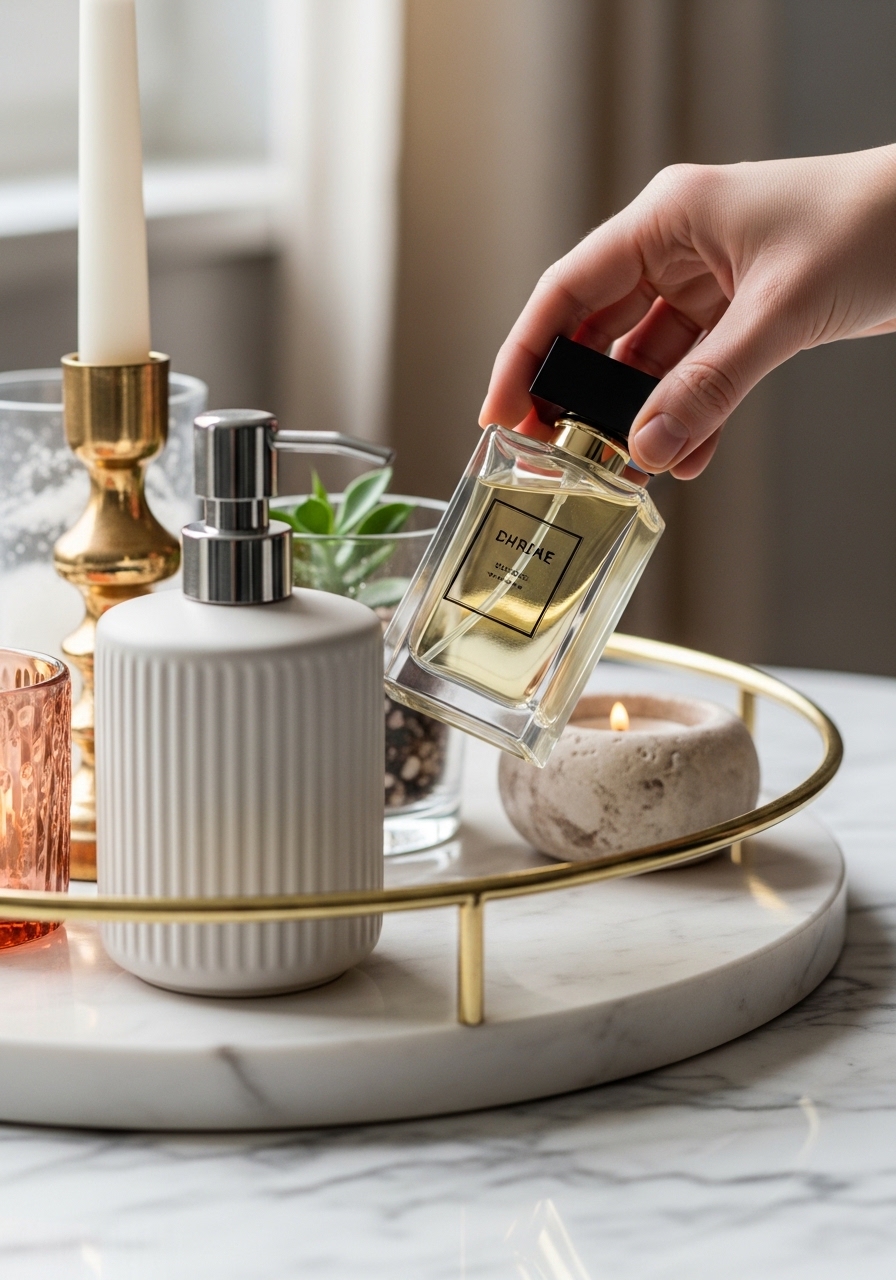
I add daily-use items next. Matte black ceramic soap dispenser to the left. Brass perfume bottle right. They hug the anchor without touching.
Counter feels useful now, not just pretty. Items nestle, create quiet rhythm.
Insight folks miss: odd numbers work best. Two feels stiff. Avoid perfect lines—slight angle softens it.
I wipe edges clean. It settles in.
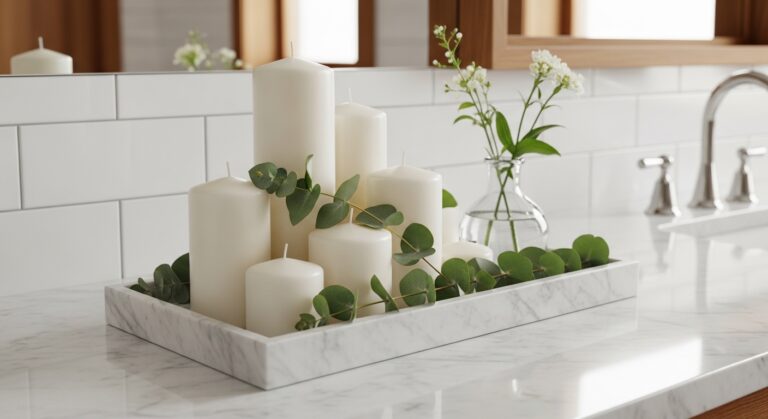
Step 4: Add Texture and Life
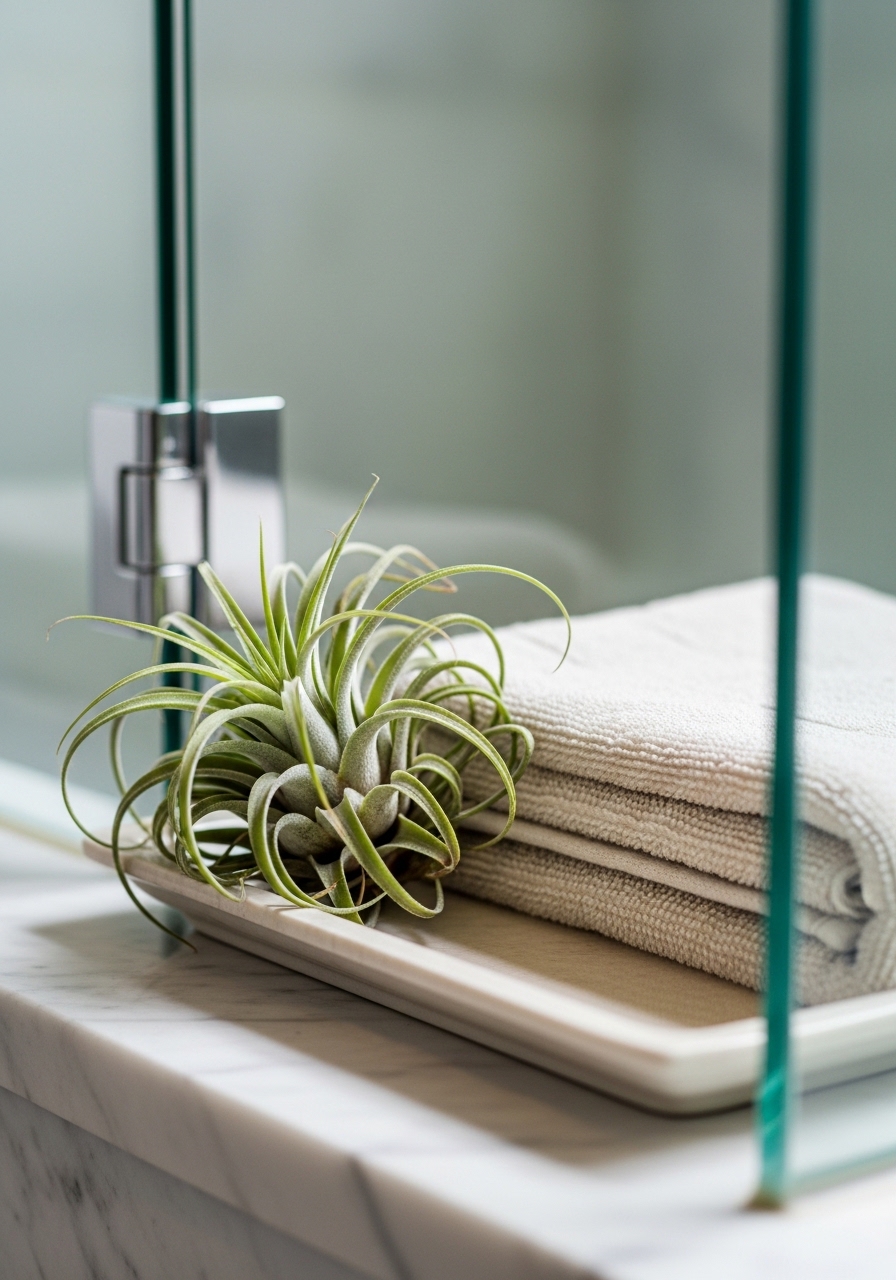
Then texture. I tuck the 4-inch air plant behind the candle. Fold the gray linen towel loose, drape front. Wooden matchbox near edge.
Surfaces play now—smooth marble, soft cloth, rough wood. Room warms up.
People overlook plant’s scale. Too big dominates. Don’t cram; leave gaps for light.
It lives. Feels touched.
Step 5: Balance and Final Tweak
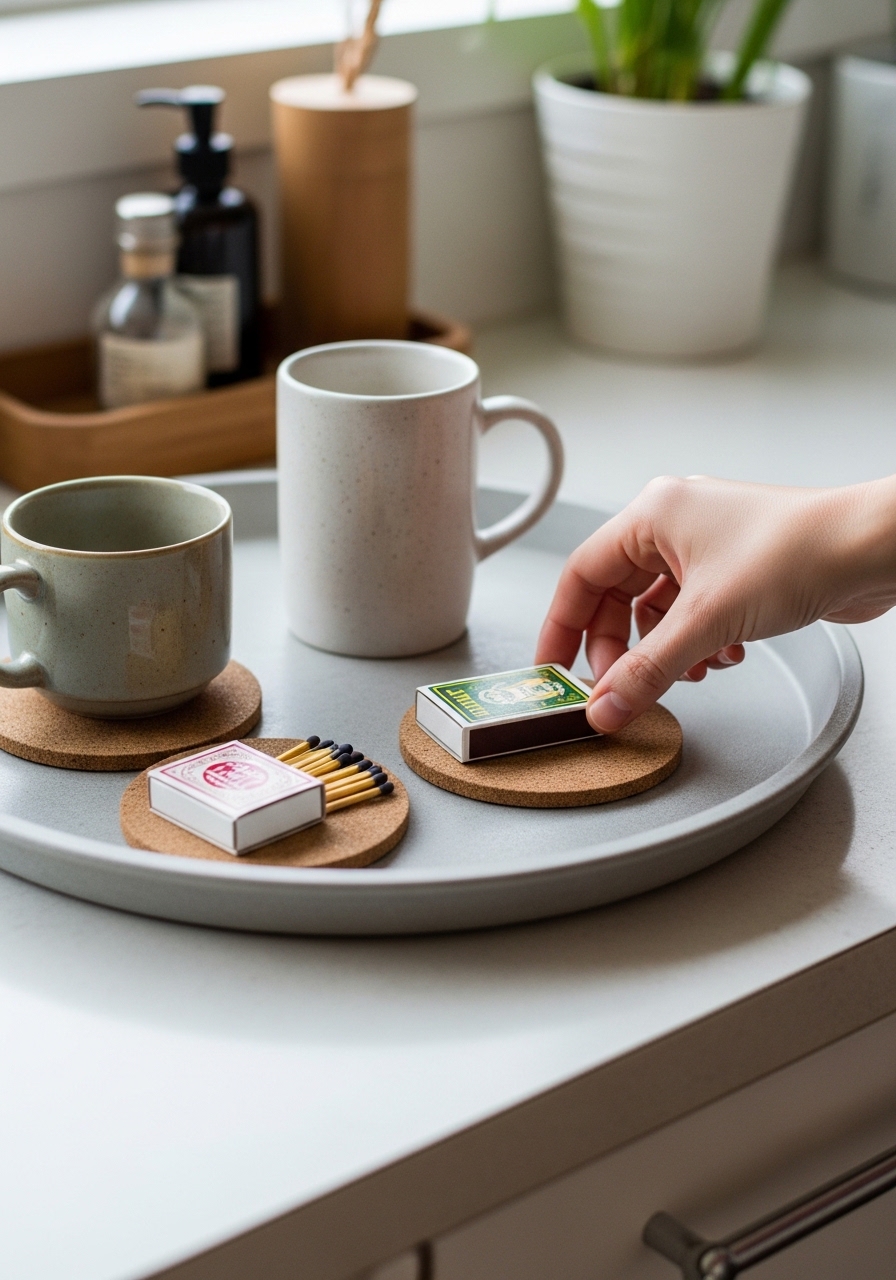
Last, I eye the whole. Slide mini marble coaster under soap. Nudge matchbox for even weight. Step back five feet.
Everything flows. No heavy side. Light hits layers right.
Missed insight: view from door matters most. Avoid mirror obsession. Common error: overfill. Pull one if tight.
Done. Counter rests easy.
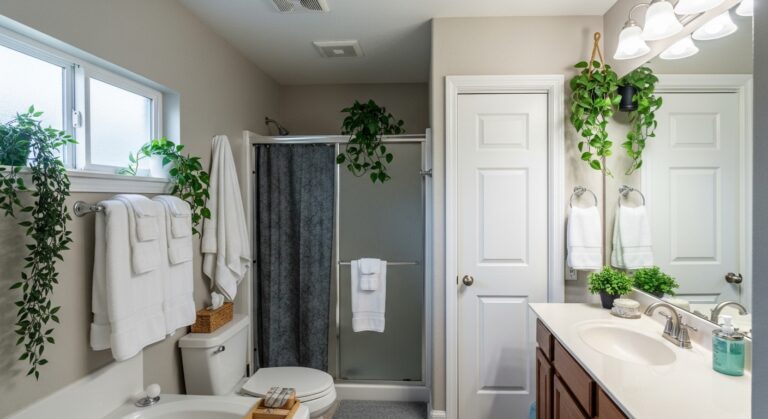
Tray Placement Ideas
I’ve tried trays everywhere. Sink side works best in small baths. It catches drips without mess.
- Windowsill: Catches steam, softens ledge.
- Tub edge: Adds calm to soaks.
- Shelf: Layers with towels below.
Pick where your eye lands first. It ties the room.
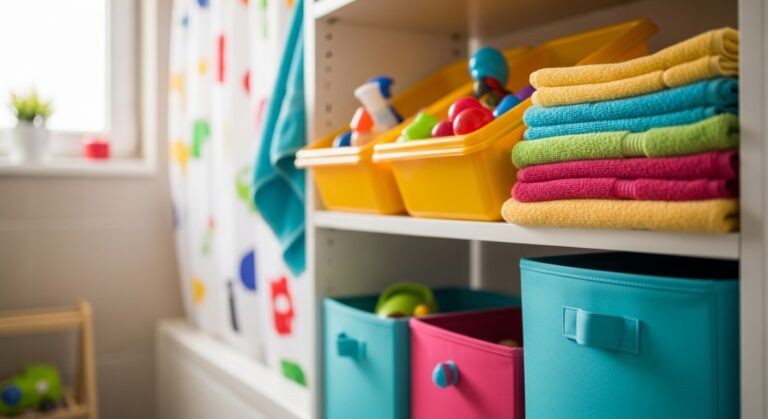
Common Mistakes I Made
Early on, I overloaded mine. Looked busy, not balanced.
- Matching everything: Kills interest.
- Ignoring scale: Tall next to tiny fights.
- Forgetting wipe-down: Spots kill clean.
Now I check flow daily. Keeps it fresh.
Refreshing for Seasons
Twice a year, I swap. Summer: Swap candle for shell.
- Winter: Pine sprig over plant.
- Always: Keep soap central.
Small change shifts feel. No full redo.
Final Thoughts
Grab your tray today. Start with height. Tweak till it sits right.
You’ll see the counter change. It’ll feel like home.
Mine’s held for months. Yours will too.