How to Decorate Kitchen Shelf for Cookbooks Beautifully
I stared at my kitchen shelf one morning. Cookbooks piled up, spines facing out like a messy library. It felt heavy, cluttered. Nothing drew the eye.
I'd tried stacking them before. Still looked off. The shelf pulled the whole kitchen down.
Then I shifted things around. Now it sits calm, balanced. Invites you to cook.
How to Decorate Kitchen Shelf for Cookbooks Beautifully
This shows you how I arrange cookbooks on a kitchen shelf so it feels balanced and lived-in. You'll end up with a shelf that grounds the room. It's simple. Works every time.
What You’ll Need
- Tall cookbooks (10-12 inches, neutral covers)
- Short cookbooks (8 inches or less, colorful spines)
- White ceramic pitcher (10 inches tall)
- Faux olive branch (18 inches long)
- Wooden dough bowl (medium, 10-inch diameter)
- Stacked white plates (4-6 pieces)
- Small linen tea towel (neutral tones)
- Black iron trivet (8-inch square)
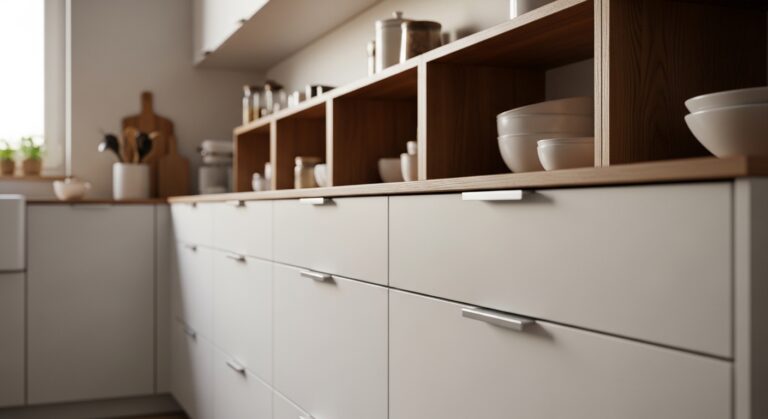
Step 1: Empty and Measure the Space
I start by pulling everything off the shelf. Wipe it down. Stand back and eye the full length—mine's 48 inches wide, two shelves high.
This clears my head. Reveals the bare bones. Now I see where weight needs to sit.
People miss how empty space breathes. Don't cram from the start. Mistake: Skipping this makes everything fight for room later.
Books go aside. I sketch rough spots: tall on ends, low in middle.
Step 2: Anchor with Tall Cookbooks on Ends

I grab my tallest cookbooks. Place one upright at each end, spines out. They frame the shelf like bookends.
Visual shift: Ends feel solid now. Middle opens up.
Insight folks overlook: Height anchors without crowding. Avoid leaning them—they topple easy.
Step back five feet. Ends pull your eye in, steady the whole line.
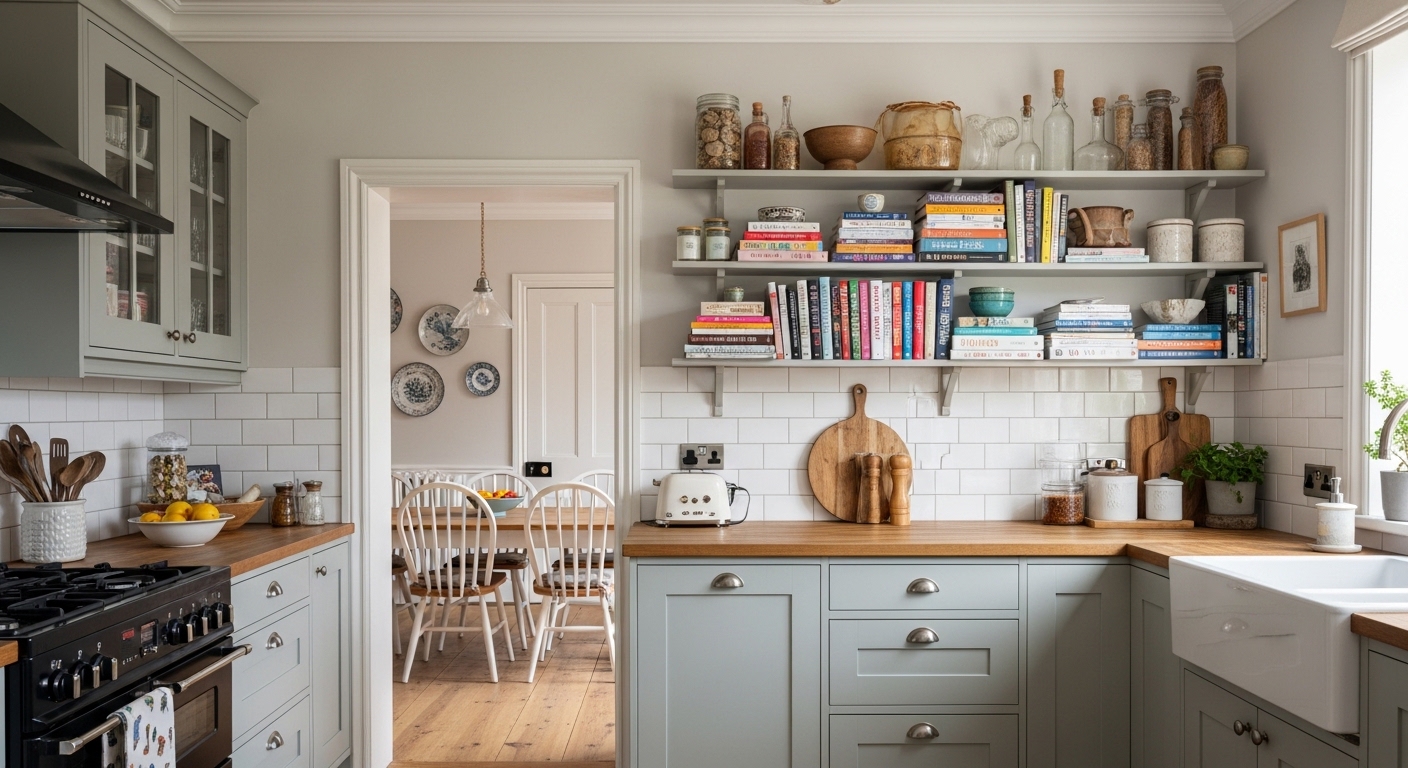
Step 3: Layer Heights in the Middle
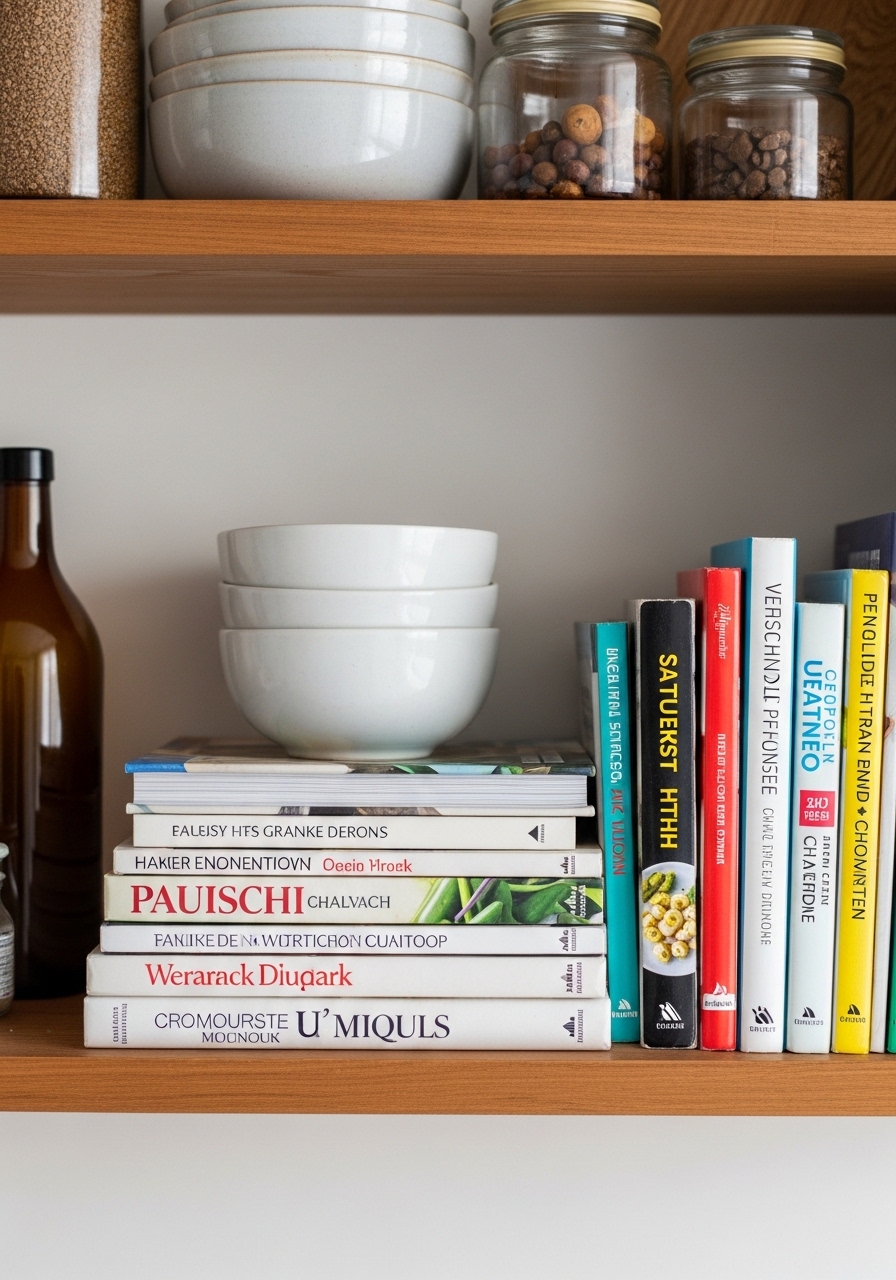
Next, short cookbooks stack flat in the center. Two or three high, fanned slightly. Lean one tall book against them.
Now depth appears. Flat stacks ground it, upright adds lift.
Most skip varying heights—looks flat. Don't stack all the same; bores the eye.
I nudge till it flows left to right. Feels comfortable, not forced.
Step 4: Add Organic Layers for Balance
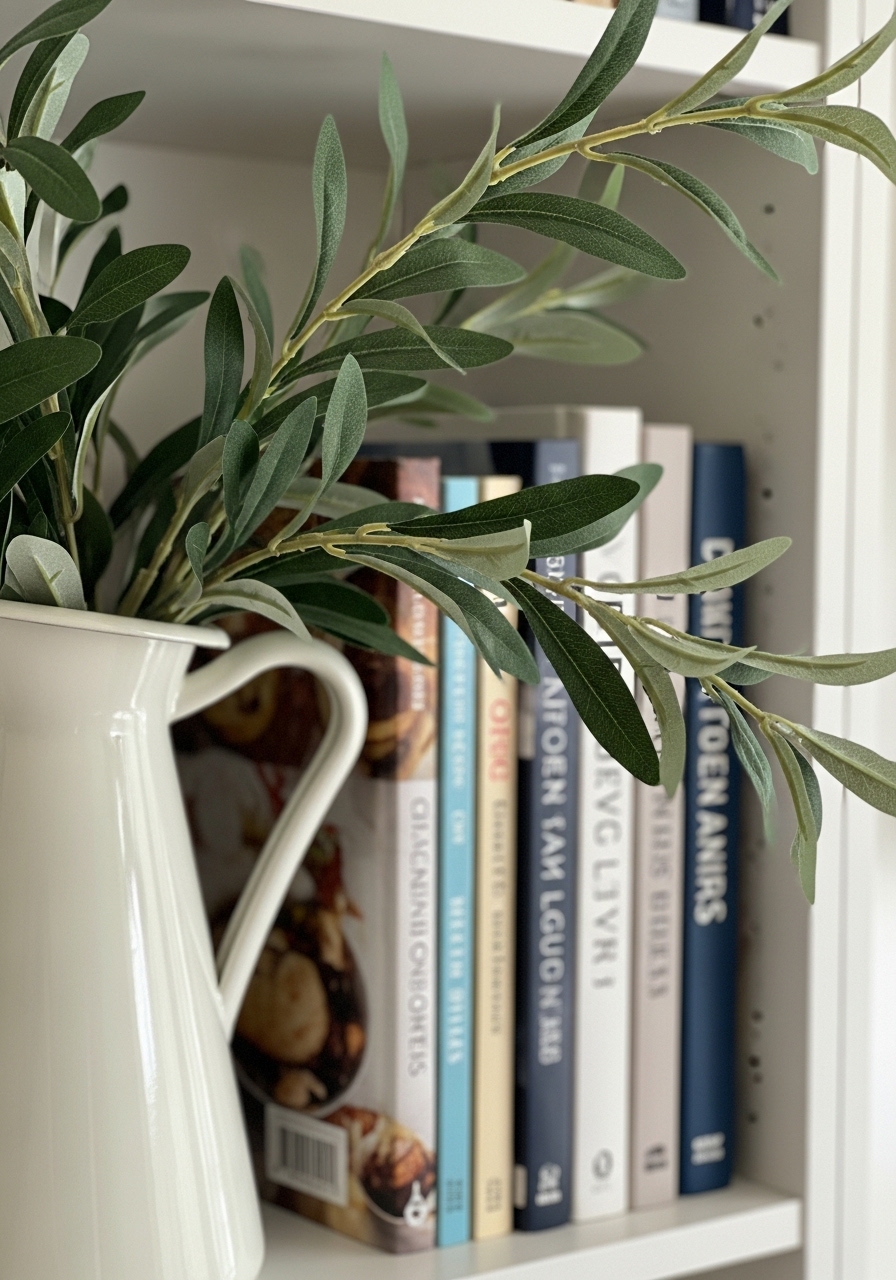
I tuck the faux olive branch across the front. Drape it loose. Set white pitcher behind the stacks, off-center.
Texture wakes it up. Green softens book edges.
Overlooked: Plants repeat kitchen greens. Avoid stiff uprights—let them spill.
Bowl and trivet nestle next. Balance weighs even now.
Step 5: Finish with Everyday Touches
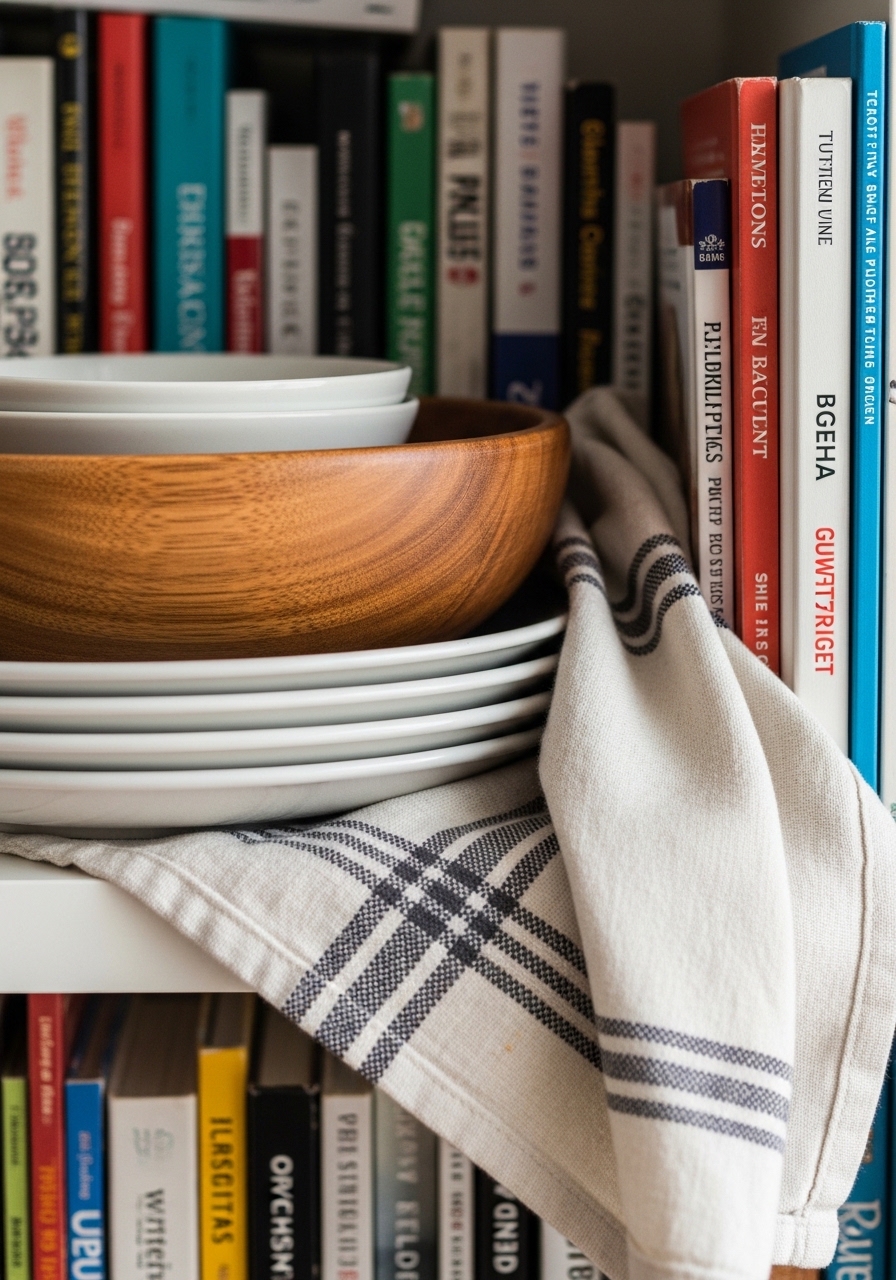
Last, wooden dough bowl in one front corner. Stack plates loosely beside. Fold tea towel, drape over edge.
It settles in. Feels used, not posed.
Key miss: Everyday items tie to cooking life. Don't over-polish—dust shows it's real.
Walk away, glance back. Shelf holds the kitchen together.
Common Mistakes I Learned the Hard Way
I messed up shelves before. They tipped or felt bare.
- Cramming too many books. Leaves no air.
- Matching all spines. Drains color.
- Ignoring shelf depth. Props fall back.
Now I check balance first. Saves fixing later.
Ways to Tweak for Your Kitchen
My kitchen's warm wood. Yours might differ.
Bright space? Swap greenery for dried pampas.
Small shelf? Halve the props.
Test one change. Live with it a week.
Keeping It Fresh Over Time
Shelves gather dust. I refresh quarterly.
Wipe books gently. Swap props seasonally.
Rotate cookbooks. Keeps it personal.
Final Thoughts
Start with one shelf. Mess it up, fix it.
You'll see what balances for you.
It's just your kitchen. Make it hold your cookbooks right. Feels good every day.