How to Decorate Kitchen Wall for Guests Beautifully
I remember staring at my kitchen wall before friends came over. It was bare. The room felt flat, like something was missing. Guests would chat at the island, eyes wandering to that empty space.
I tried hanging one picture. It looked lonely. Then shelves with random stuff. Still off. I wanted it warm, not cluttered.
Finally, I found a way to make it balanced. Now, it pulls the kitchen together.
How to Decorate Kitchen Wall for Guests Beautifully
This guide shows you how to layer a kitchen wall so it feels welcoming for guests. You'll end up with a spot that draws eyes without overwhelming the room. It's simple, and it works every time.
What You’ll Need
- Set of three floating oak shelves (12-inch depth, 36-inch wide)
- Framed 8×10 family photo (matte black wood frame)
- Small ceramic vase (white, 6-inch height) with dried pampas grass
- Two potted herbs (basil and rosemary, 4-inch terracotta pots)
- Woven jute wall basket (12-inch diameter, neutral tones)
- Vintage metal tray (wood-handled, 18-inch square)
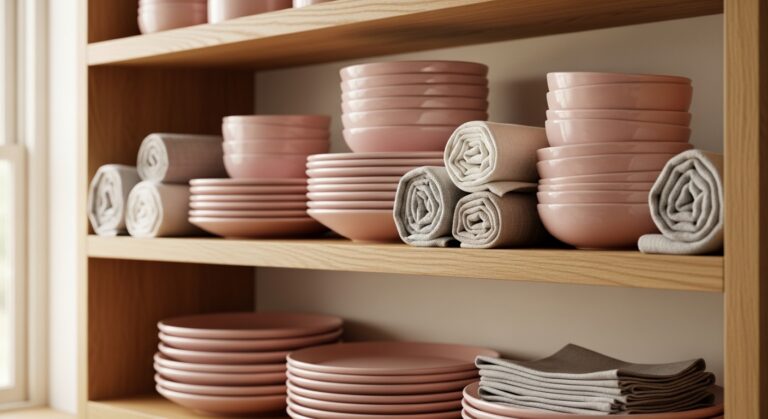
- Set of four linen tea towels (muted green, folded)
Step 1: Clear the Wall and Pick Your Anchor
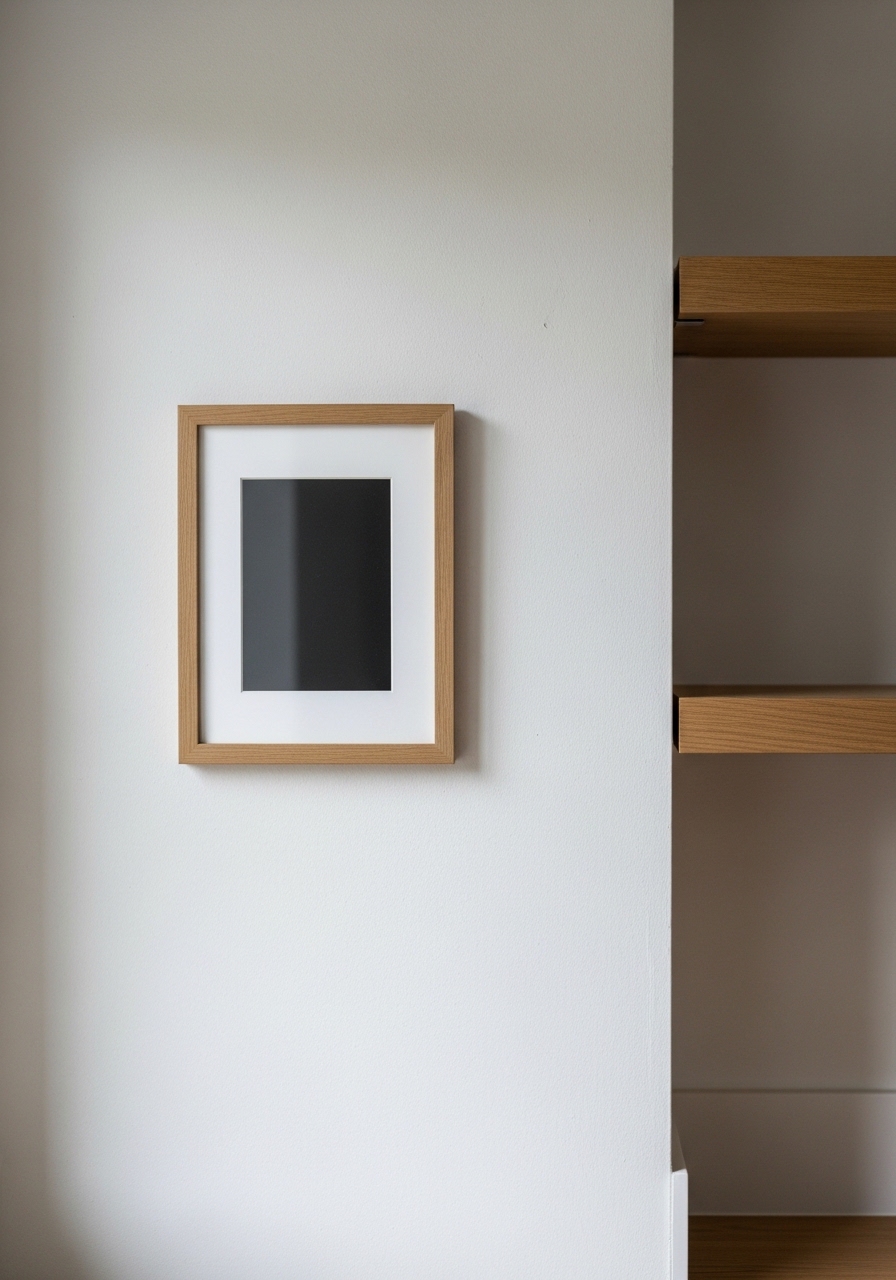
I start by wiping the wall clean. No old hooks or marks. Then I hang one piece dead center—the framed family photo. At eye level, about 60 inches from the floor.
This anchors everything. The wall feels grounded right away. Eyes land here first when guests walk in.
People miss how one strong piece sets the height for all else. Without it, layers look random. Avoid hanging too high; it disconnects from the counter.
Now the wall has purpose. It breathes.
Step 2: Add Shelves for Layers
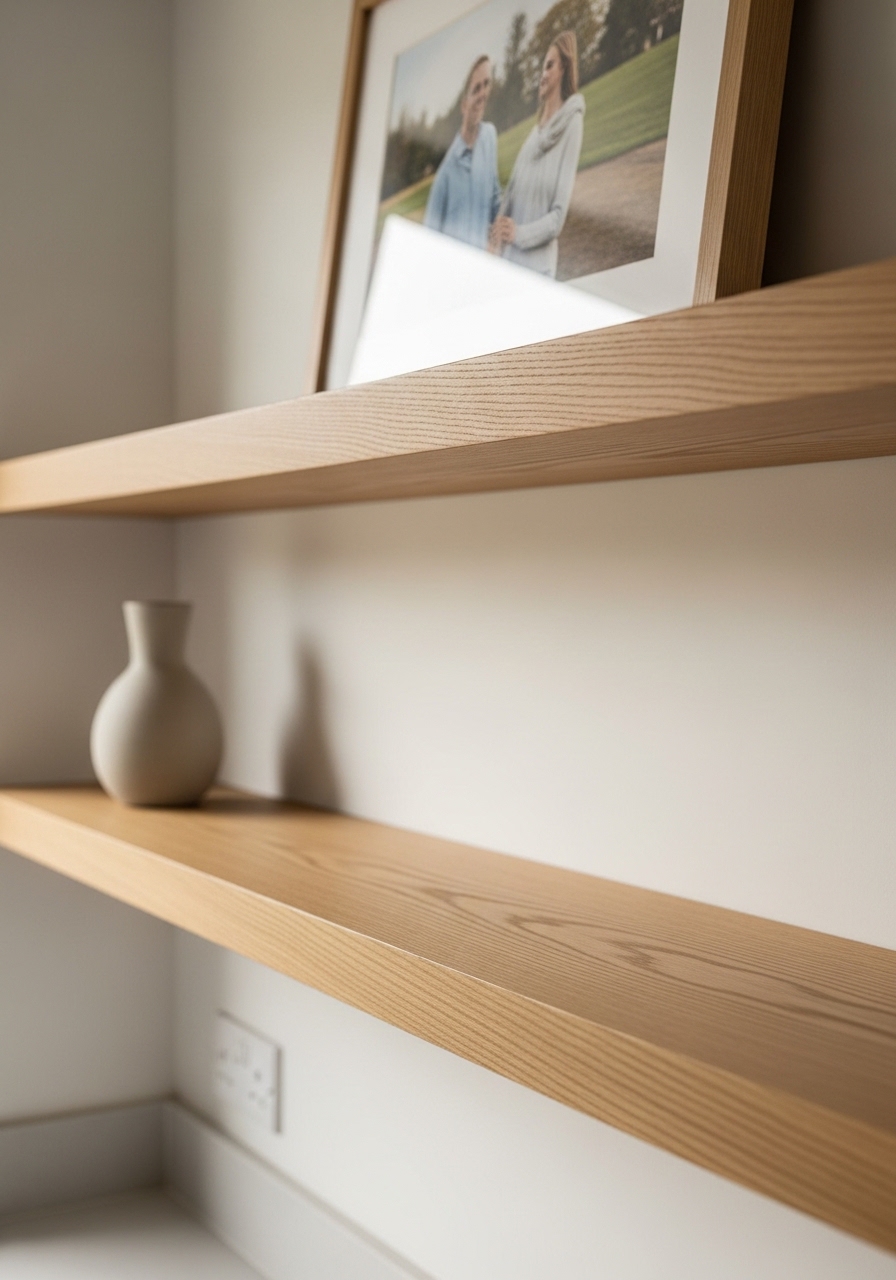
Next, I mount the oak shelves. Lowest at waist height, then space them 12 inches apart, ending below the photo.
They create depth. The wall shifts from flat to inviting, like shelves in an old farmhouse kitchen.
The insight: shelves need empty space between items—two-thirds bare. Guests see flow, not cram. Don't overload the bottom shelf; it weighs down the look.
Visual change is instant. Warm wood pulls in the cabinets.
Step 3: Place Everyday Items for Lived-In Feel

I set the potted herbs on the middle shelf, grouped left. Vase with pampas on the lowest, right side. Lean the grass slightly.
This adds life. The wall feels used, comfortable for guests grabbing tea.
Missed often: odd numbers work best—three pieces total here. Even feels stiff. Avoid centering everything; offset for movement.
Now it smells fresh too. Guests linger.
Step 4: Hang Soft Textures Above
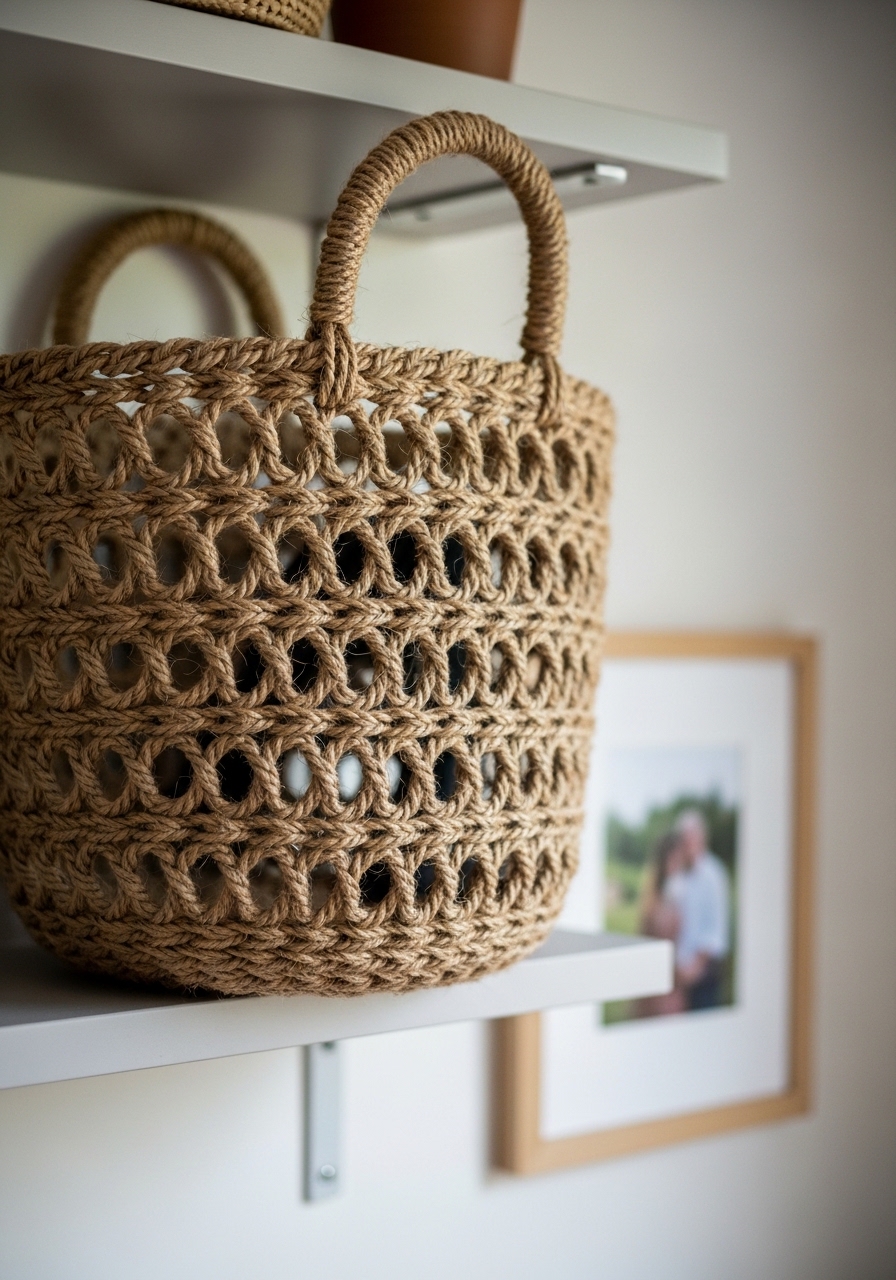
I hook the woven basket just above the top shelf, off-center right. It softens the edges.
Texture changes the feel—cozy, not stark. Wall connects to the room's warmth.
Key insight: hang organics high to draw eyes up, balancing lower shelves. Don't match colors exactly; subtle contrast grounds it.
Guests notice the tactile pull.
Step 5: Finish with Horizontal Balance

Last, I lay the metal tray on the top shelf, center it loosely. Fold tea towels inside, spilling a bit.
It ties heights together. The wall feels complete, intentional.
People forget trays unify odds and ends. Without, it scatters. Avoid stacking towels flat; drape for ease.
Step back. Guests will feel welcome.
Common Mistakes I Learned the Hard Way
I messed up my wall twice before this worked.
- Hanging art too low. It crowds the counter.
- Ignoring light. Items cast shadows wrong.
- Too much color. Mutes the kitchen's calm.
Now I check from the doorway. Balance shows.
Adapting for Small Kitchens
Tight spaces need less.
My galley kitchen taught me:
- Use two shelves max.
- Vertical hangs only—no trays.
- Mirrors instead of photos for depth.
It still welcomes guests without closing in.
Refreshing for Different Seasons
Swap pieces yearly. Keeps it fresh.
- Summer: Swap pampas for shells in vase.
- Winter: Pine sprigs in basket.
- No big changes—just two items.
Guests always comment.
Final Thoughts
Start with just the anchor photo. Build slow.
You'll see the wall settle into place. Guests feel at home right away.
It's not perfect. But it's yours. That's enough.