How to Design Living Room Round Table

I had a round table in my living room that felt wrong. It floated in the middle, empty and ignored. Guests walked right past it.
I stared at it one afternoon, coffee in hand. Why did it pull the room apart instead of holding it together?
That’s when I started placing things deliberately. Now it grounds the space.
How to Design Living Room Round Table
This guide shows you how to style a round table so it feels balanced and inviting. You’ll end up with a spot that draws people in, connects the room. It’s simple—I do it in under an hour.
What You’ll Need
- 48-inch round oak table
- 60-inch neutral linen runner
- 12-inch white ceramic vase
- Stack of 4 coffee table books (art and travel themes)
- 10-inch wooden tray
- Small potted succulent
- 20-inch brass table lamp
- 3 unscented pillar candles (4-inch)
- Faux olive branches (12-inch stems)
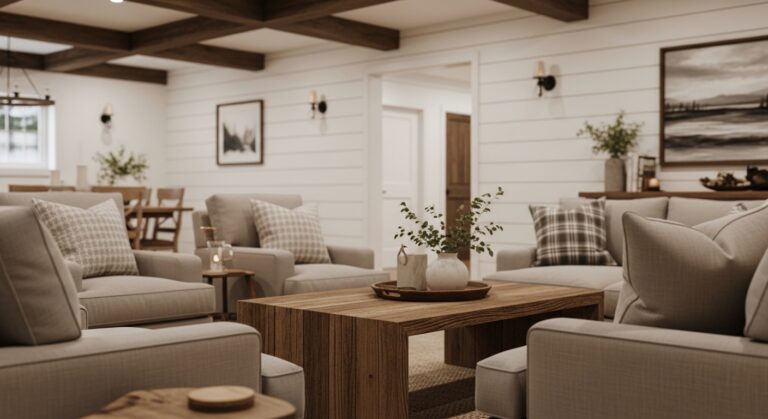
Step 1: Choose Its Spot
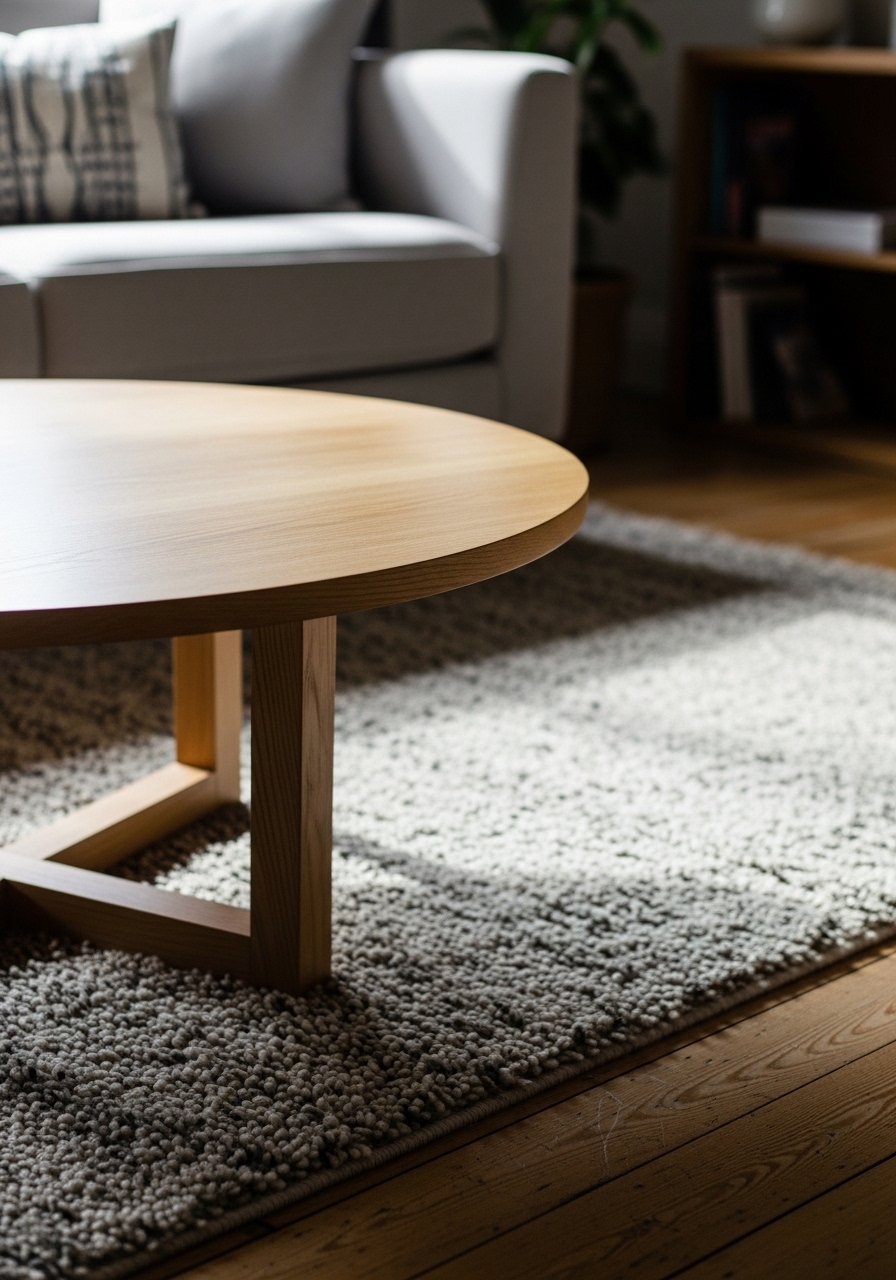
I move my round table first. I place it where paths meet—like between sofa and chairs. Not smack in the center.
This changes everything. The room flows around it now, not through it.
People miss how a table interrupts walkways. Test by walking laps.
Avoid shoving it against a wall. It loses its pull there.
I eye the angles. A foot from the sofa edge works. Now it invites coffee chats. The space breathes.
Step 2: Anchor with a Runner
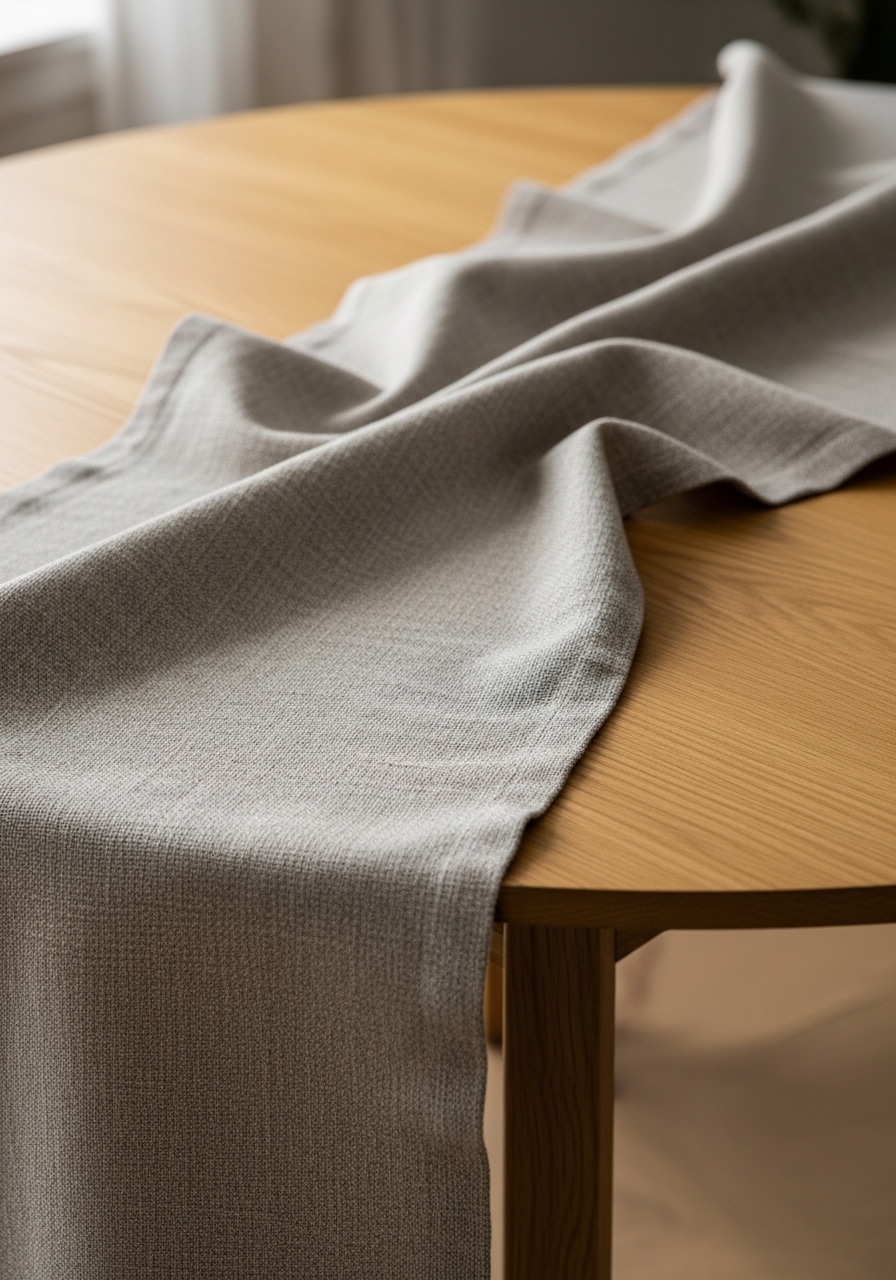
Next, I drape the linen runner across. Off-center, so it hangs soft.
Visually, it settles the table. No more stark wood staring up.
Most skip this—they think round tables don’t need lines. But it guides the eye.
Don’t center it perfectly. That feels stiff.
I smooth it with my hand. The fabric softens the circle, makes it lived-in. Pull up a chair; it welcomes you.
Step 3: Layer in Height
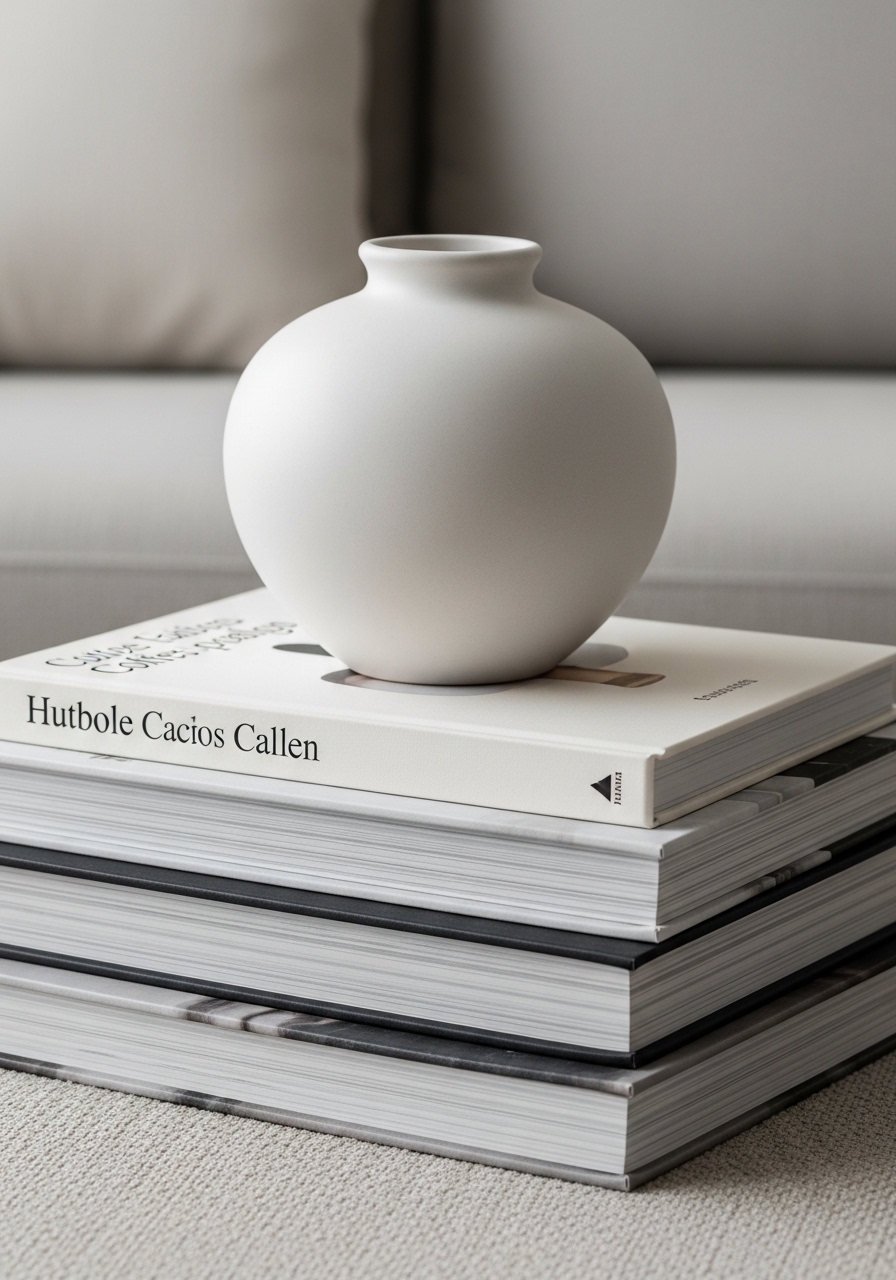
I stack the books in the tray first. Top with the vase. Builds a tower without tipping.
The table shifts—feels full, not flat. Eyes travel up.
Folks overlook varying heights. Flat surfaces fade away.
Steer clear of matching heights. It bores the eye.
From across the room, it draws you. The brass lamp waits nearby for later.
Step 4: Add Organic Touches

I tuck the succulent beside the vase. Slip olive branches in loose.
Now it’s alive. Greenery softens the hard edges, warms the wood.
The insight? Plants connect it to the room’s rug and pillows.
Don’t overcrowd. One or two greens breathe.
I step back. The table nods to the windowsill plants. Balanced, not fussy.
Step 5: Finish with Light and Glow
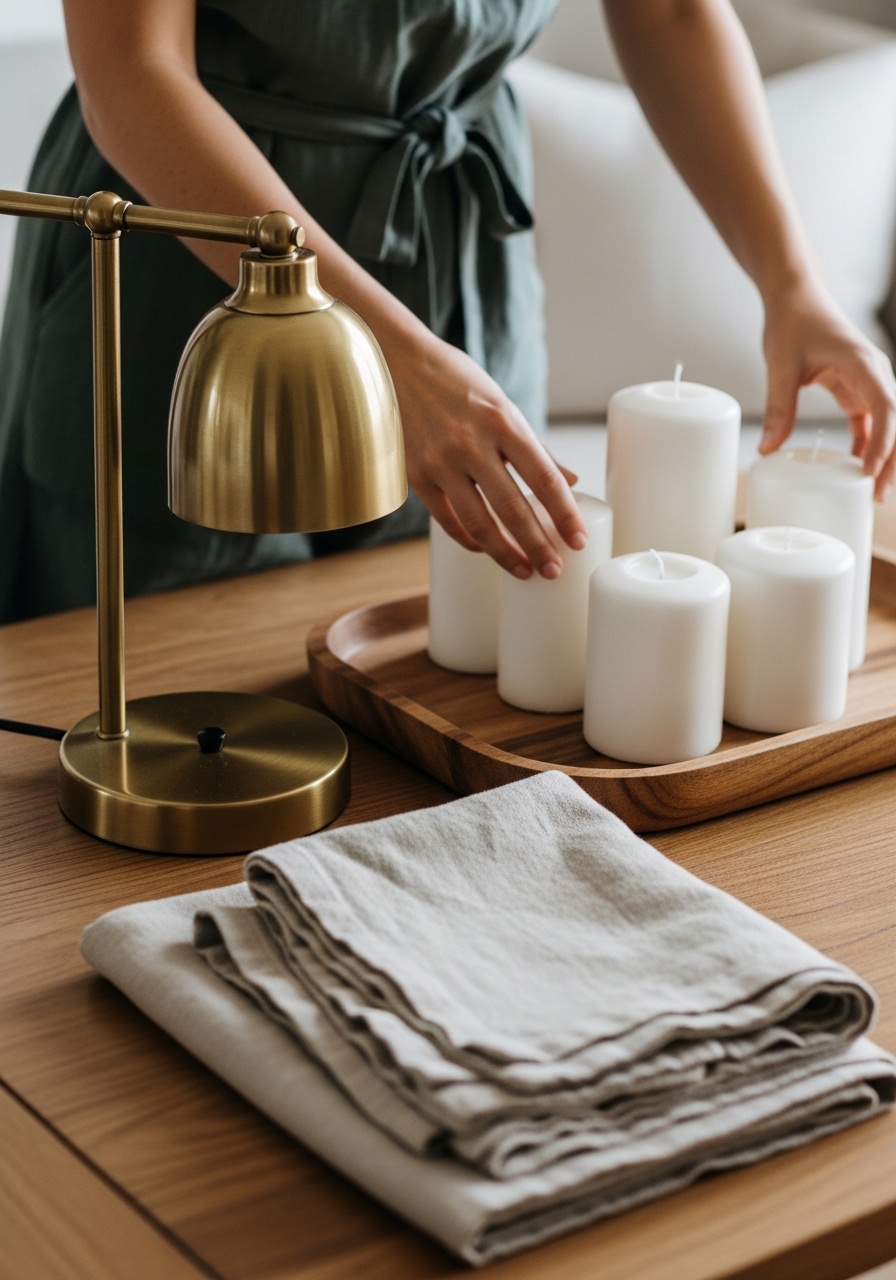
Last, I set the lamp on one side. Nestle candles in the tray.
Light changes it all—evening glow makes it cozy. Day holds the shapes.
People forget soft light unites pieces. Harsh bulbs fight them.
Avoid tall candles dominating. Keep them low.
I flick it on at dusk. The room settles around the table.
Common Mistakes I’ve Made
I’ve pushed tables too far from seating. It isolates them.
Round shapes forgive some, but not all.
- Centering everything kills flow.
- Skipping texture leaves it cold.
- Too many shiny items clash.
Now I check twice. The table stays part of the conversation.
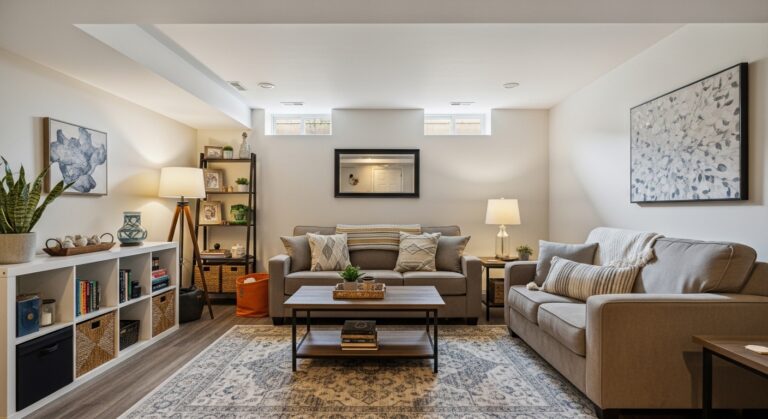
Pairing with Your Room’s Flow
Think sofa first. Angle the table to echo its curve.
In my setup, it bridges armchair and couch.
- Wide rooms: Pull it central.
- Narrow: Tuck near windows.
- Rug underneath anchors it.
This keeps legs from bumping. Guests linger longer.
Refreshing Without Starting Over
Twice a year, I swap books or branches.
Keeps it fresh, not forgotten.
- Fall: Add wool runner.
- Summer: More greens.
- Use what’s in other rooms.
Small swaps maintain balance. No big lifts.
Final Thoughts
Start with just the spot and runner. Build from there.
You’ll see the difference right away.
My table holds mail now, too. It’s useful.
Trust your eye—it works.