How to Design Living Room TV Wall for Kids Easily
My living room TV wall used to feel like a mess. Toys everywhere, cords dangling, kid drawings taped up. It pulled the whole room off balance. I’d stare at it, wondering how to make it work for movie nights without chaos.
One afternoon, I stepped back. The wall needed structure, but kid-proof. Something that held their stuff without screaming "playroom."
I figured it out by feel. Now it’s a spot we all use. Calm for me, fun for them.
How to Design Living Room TV Wall for Kids Easily
This method layers the wall so the TV sits easy, toys stay contained, and the room breathes. You’ll end up with a balanced focal point. It works in any living room. I’ve done it twice now.
What You’ll Need
- 55-inch low-profile TV mount (black matte)
- Two 36-inch white oak floating shelves
- Three neutral woven toy baskets (12×12 inches)
- Set of six clear acrylic frames (8×10 inches)
- Faux fiddle leaf plant (4-foot)
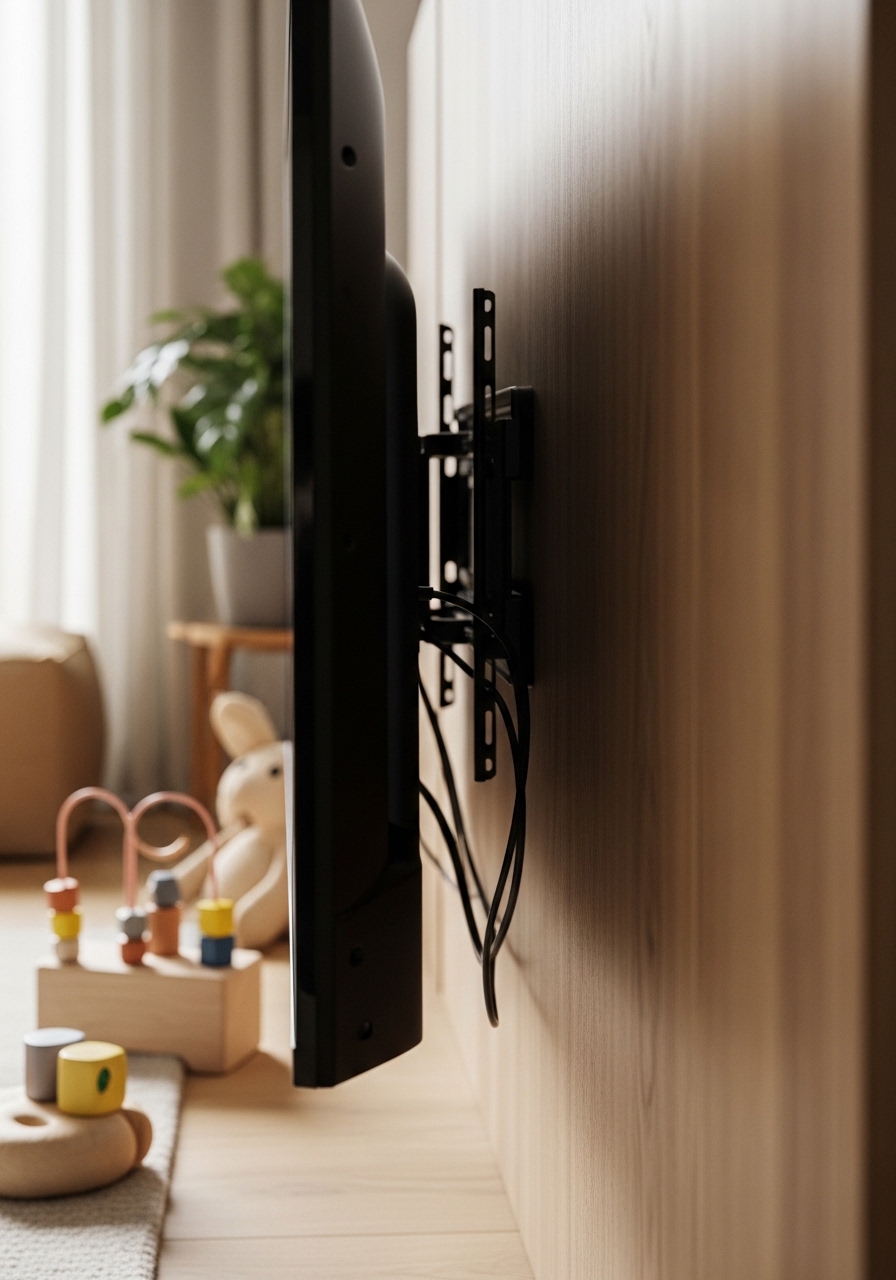
- Wall-mounted cord covers (white, adhesive)
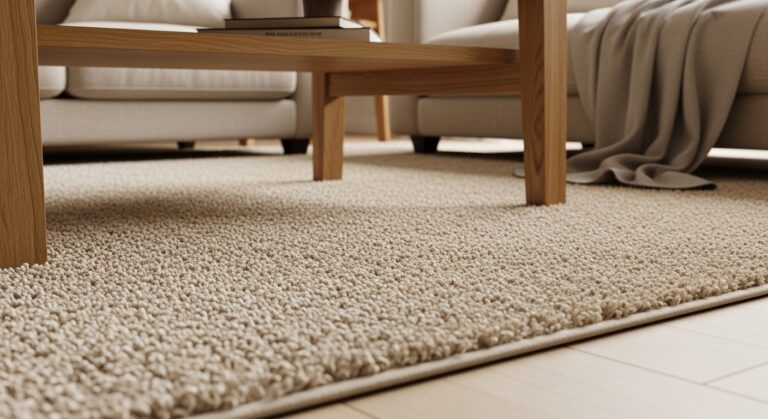
- Soft blue area rug (5×7 feet)
- Gallery LED strip lights (warm white, 16 feet)
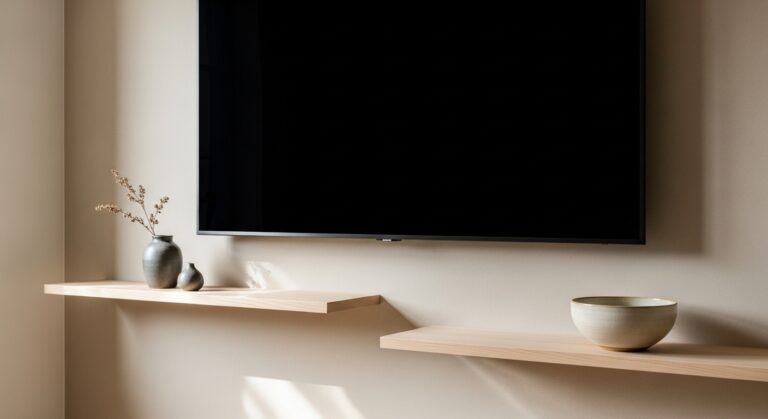
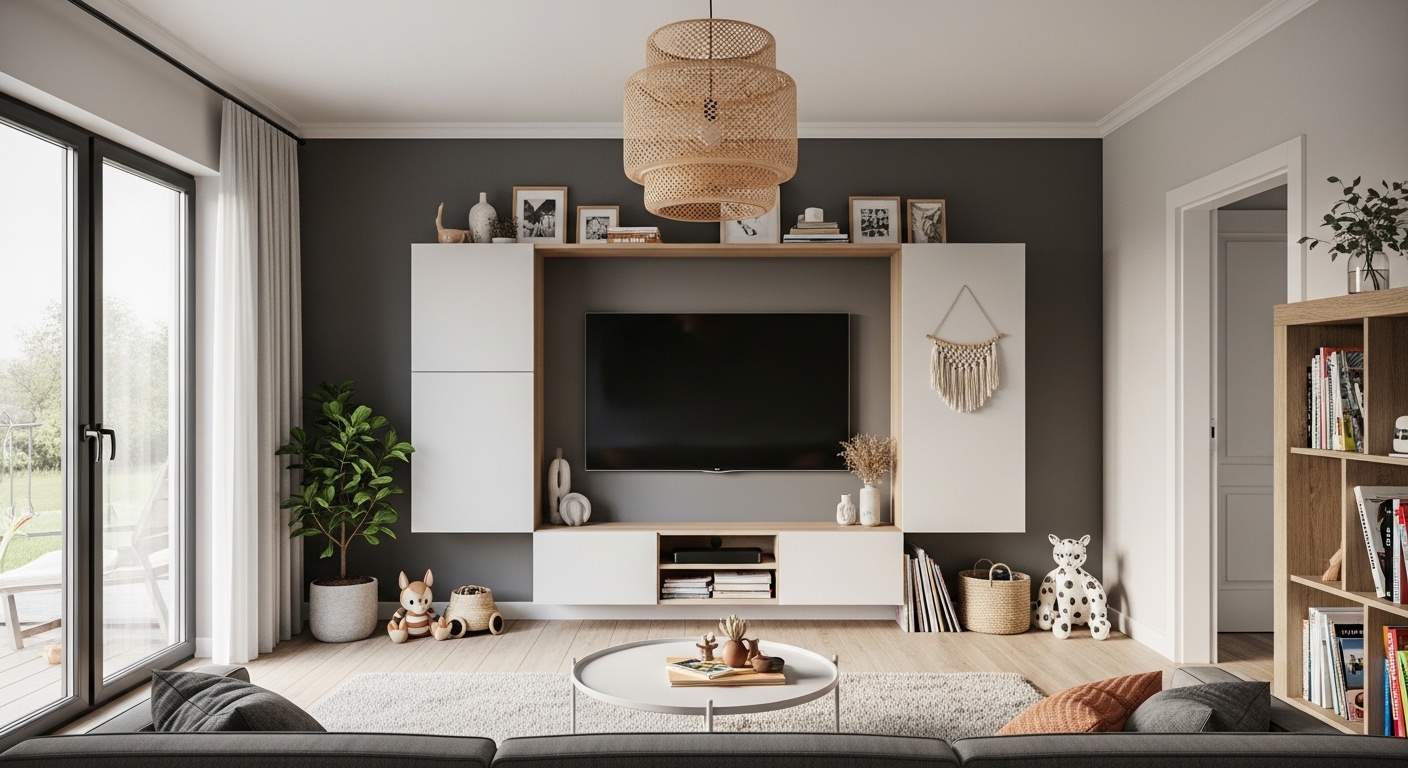
Step 1: Position the TV Low and Centered
I start by mounting the TV at eye level when seated—about 36 inches from the floor. This keeps necks happy during shows. It anchors the wall right away. The room feels grounded.
Visually, the TV becomes the calm center. No more floating high up. Kids reach remotes easier too.
People miss how low placement opens the wall above for storage. Don’t hang it too high like adult setups—that cramps kid flow.
Avoid centering perfectly if furniture sits off. Eye it from the sofa first.
Step 2: Add Shelves at Kid Height
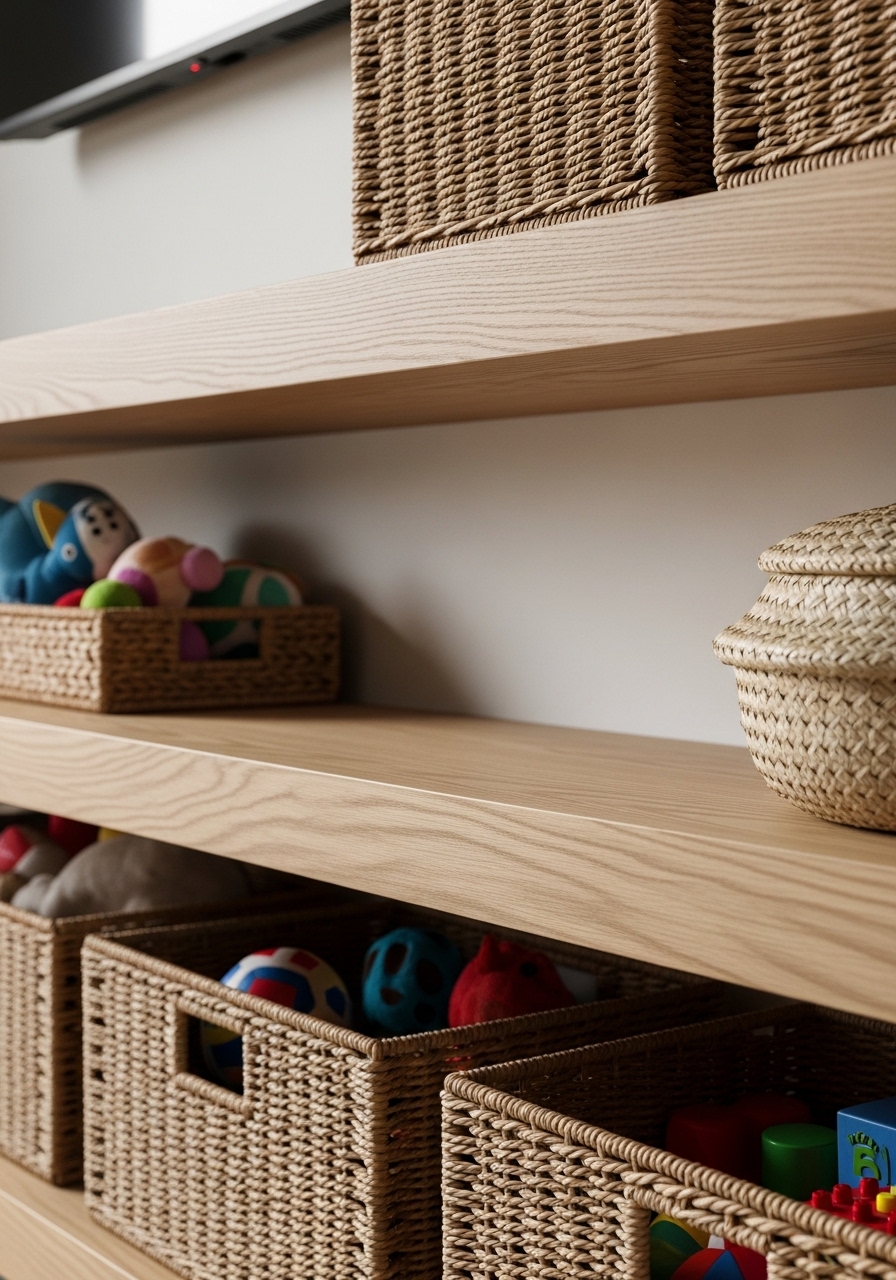
Next, I hang two shelves about 12 inches above the TV, 36 inches wide. Space them 18 inches apart. This catches toys without clutter.
The wall gains layers now. Baskets slide in easy, holding blocks or dolls. It looks balanced, not stuffed.
Most overlook shelf depth—too shallow, toys tip. Go 10 inches deep.
Skip drilling if walls are tricky. Strong brackets hold fine.
Step 3: Fill with Contained Storage

I drop woven baskets into the shelves. Neutral colors blend, but they hide the mess. One per shelf end, one center.
Colors pop without overwhelming. The wall feels organized, inviting play.
Folks forget rotation—swap toys weekly. Keeps it fresh.
Don’t overfill. Half-empty looks lived-in, not chaotic.
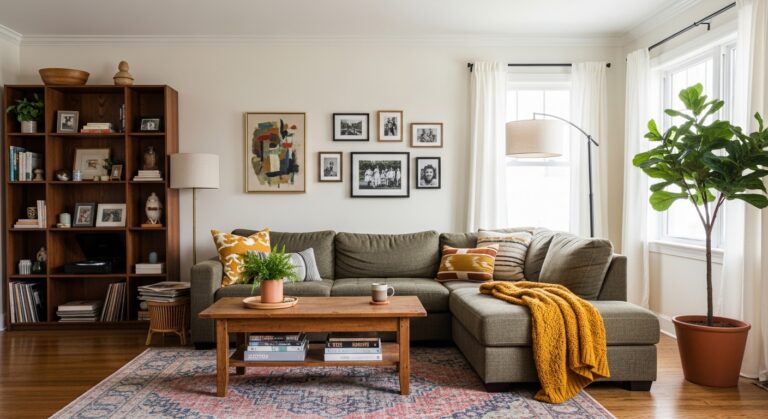
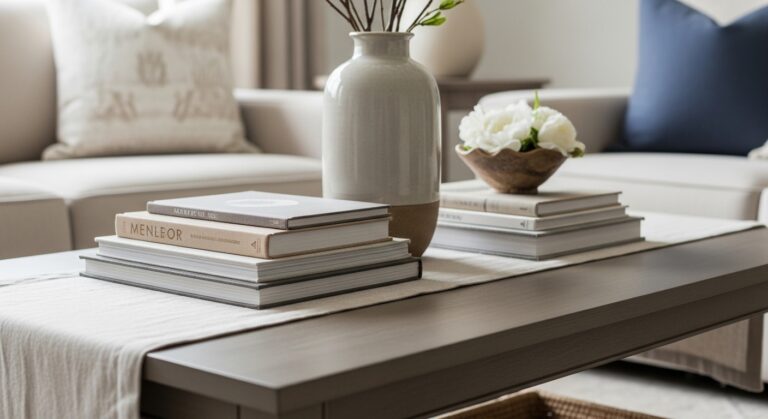
Step 4: Display Art Without Tape
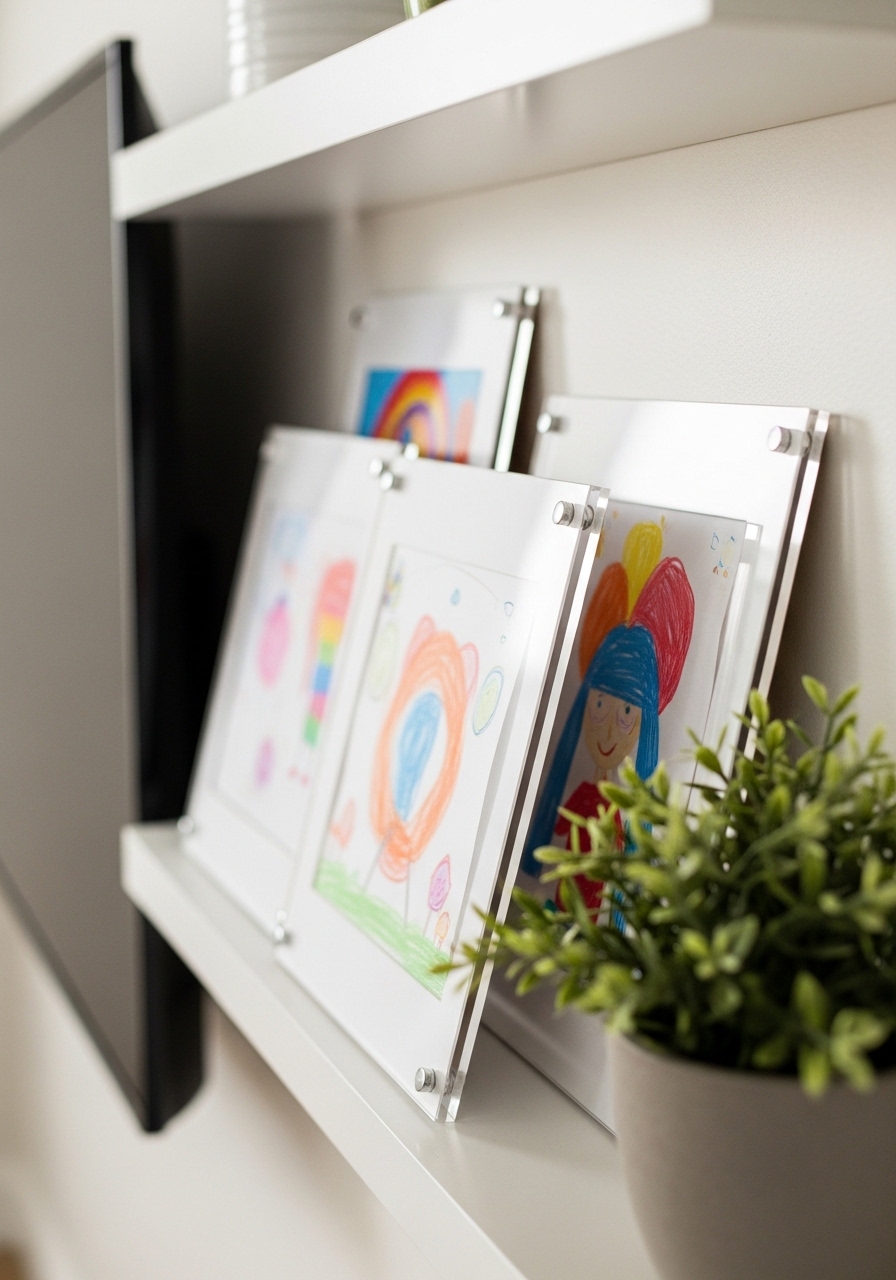
Acrylic frames go leaning on shelves. Kid art inside—six pieces total. Mix sizes for rhythm.
The wall warms up. Personal touches make it theirs, but contained.
People tape instead—marks walls. Frames lift off clean.
Avoid symmetry. Cluster loosely for comfort.
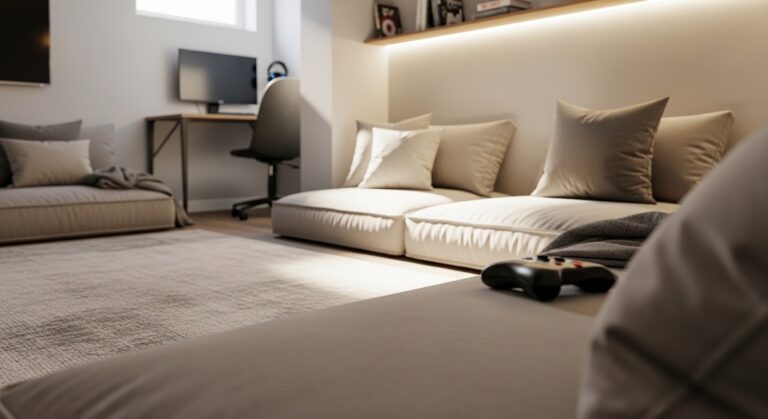
Step 5: Soften and Light It

I tuck the plant on the top shelf corner. Rug softens below. LED strips behind TV glow warm.
Edges blur now. The wall recedes, room flows.
Missed insight: lighting hides cords best. Run strips full length.
Don’t brighten harsh—warm white keeps cozy.
Kid-Proofing That Lasts
I test everything. Baskets catch spills. Mounts lock tight.
- Wipe shelves weekly with damp cloth.
- Use no-tip anchors on plant base.
- Rotate frames to avoid sun fade.
Kids climb less when it feels theirs. One nudge, nothing falls.
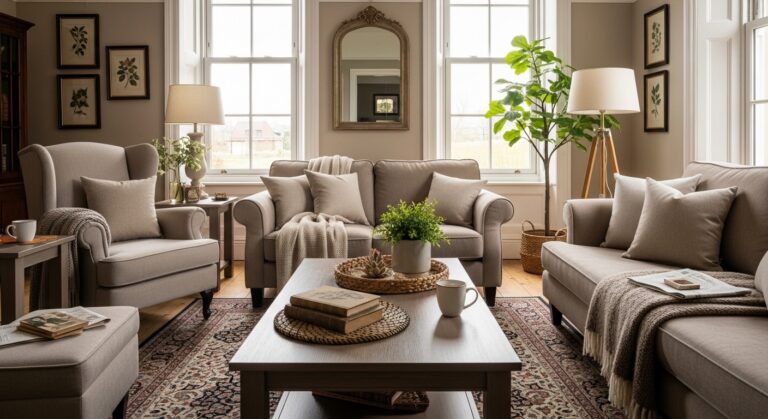
Adapting for Shared Spaces
In open living rooms, keep neutrals base. Blues nod to kids.
Scale shelves down in small walls—24-inch instead.
- Test from doorway view.
- Echo sofa colors in baskets.
Balance pulls adults in too.
Quick Refresh Tips
Every season, swap art. New baskets yearly.
- Vacuum rug edges.
- Dust plants weekly.
It stays fresh without redo. Kids grow, wall adapts.
Final Thoughts
Start with just the TV mount. See how it sits.
You’ve got this—one layer at a time.
Now the wall works for all. Ours sees daily movies, zero stress.