How to Make the Bathroom Tray Round
I stared at my bathroom counter. The rectangular tray sat there, holding soap and a candle. It looked stiff, like a box pushing against the soft curves of the sink. Everything felt off-balance.
Rectangular trays are common. They work fine for storage. But they can make a counter feel rigid.
I wanted mine to flow better. Rounder. Softer around the edges.
How to Make the Bathroom Tray Round
This shows you how I style a rectangular tray to feel round and settled. Items cluster in a loose circle. The counter breathes. You end up with quiet balance that fits your daily routine.
What You’ll Need
- 12×8-inch rectangular marble tray, white veining
- 4-inch round glass soap dispenser, clear
- 3-inch potted succulent, green
- 6-inch linen hand towel, soft white
- Amber glass essential oil bottle, 2 oz
- Tapered white candle, 3-inch height
- Small pebble tray liner, neutral stones
- Folded cotton washcloth, cream
Step 1: Set the Tray Low and Centered

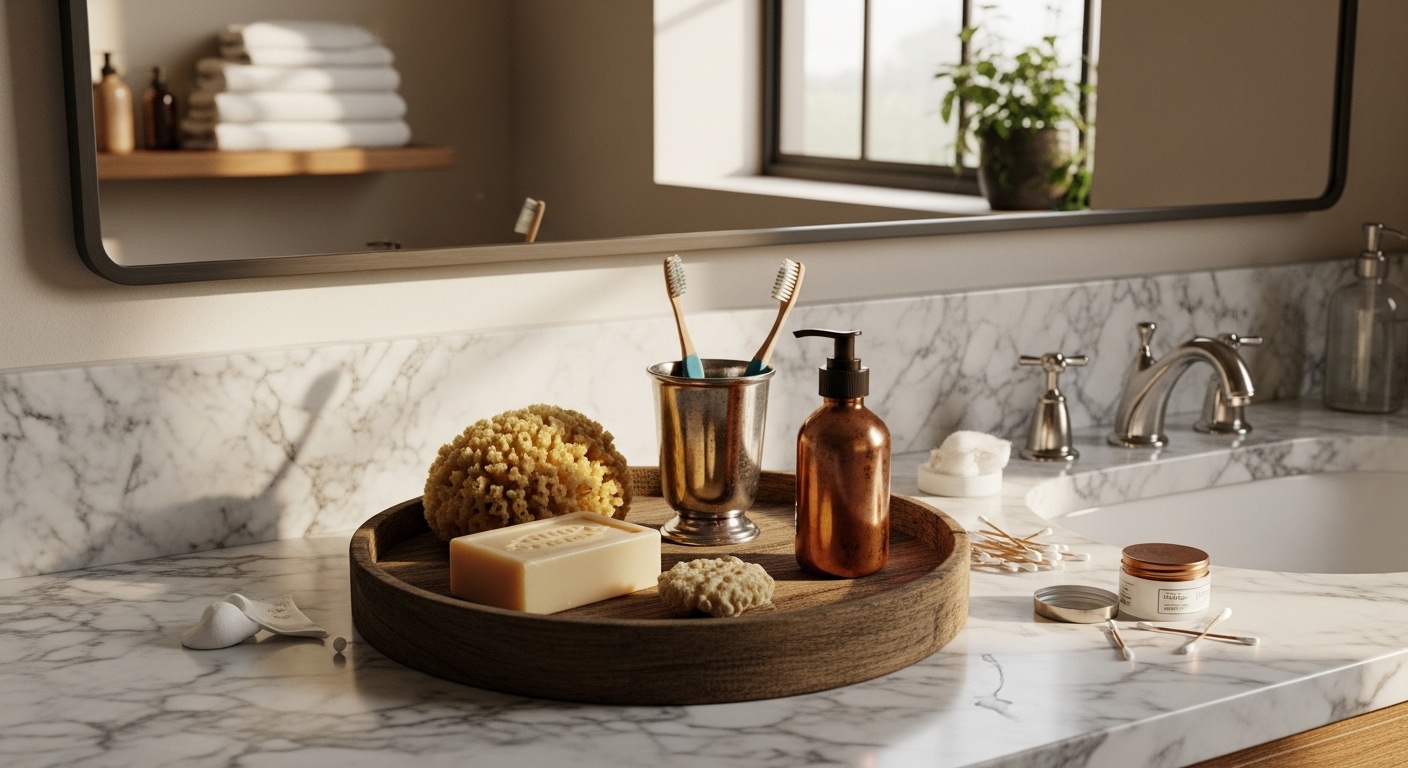
I slide the tray onto the counter first. Low, right by the faucet. Not smack in the middle—off to one side, mirroring the sink's curve.
This grounds everything. The tray stops floating. Visually, the counter opens up already.
People miss how height tricks the eye. Keep it low; high trays chop the space. Avoid pushing it too far back—loses connection to the sink.
Now it waits, ready for the circle.
Step 2: Anchor with the Tallest Piece
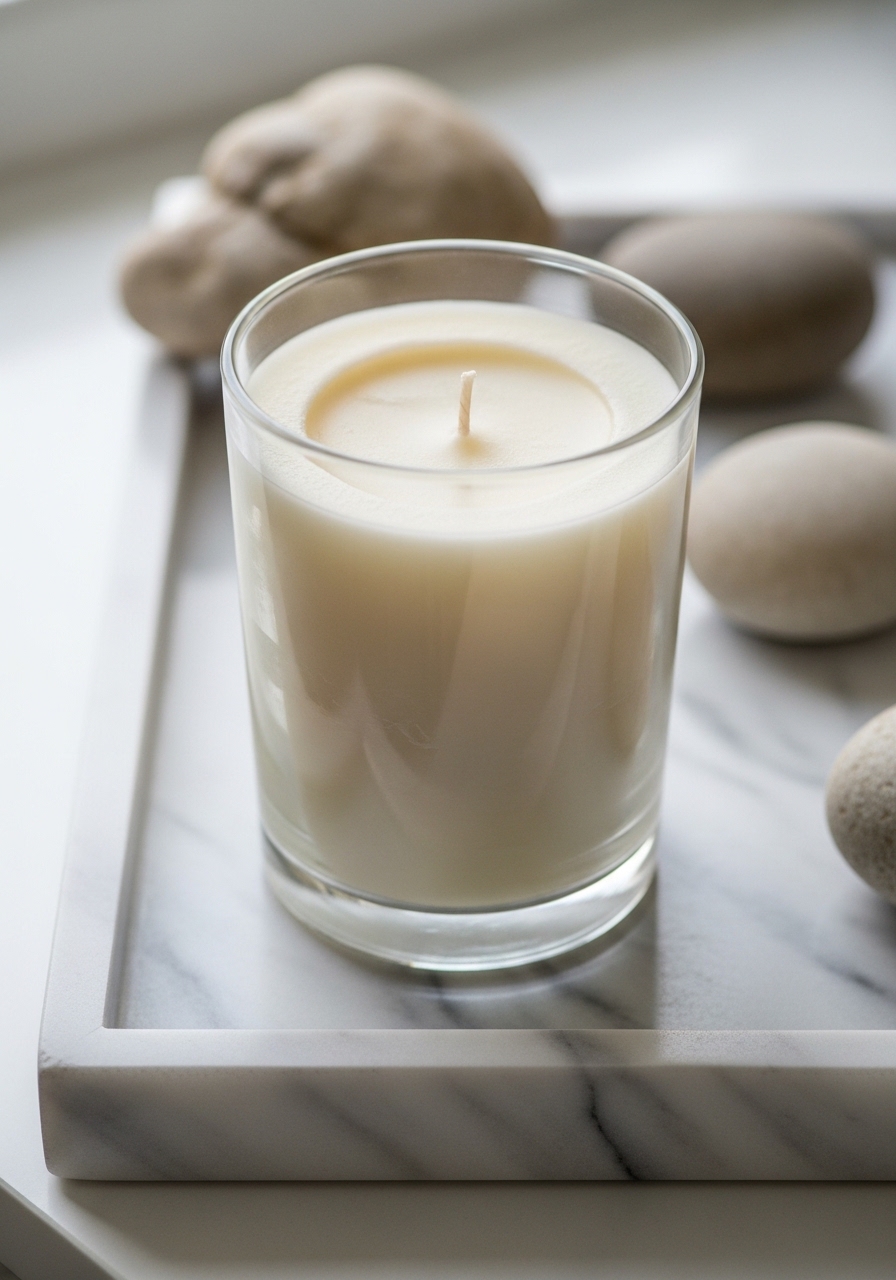
I drop the candle right in the tray's center. The tallest item. It draws the eye first.
Height creates pull. The tray shifts from flat to layered. Feels alive, not stacked.
Most skip centering height. They crowd edges. Mistake: leaning it off-center early—breaks the round flow.
This point holds the circle together.
Step 3: Build the Circle Base

Next, the soap dispenser goes slightly left of center. Succulent tucks right. Loose triangle around the candle.
This sketches the round shape. Edges soften as items hug inward. The rectangle fades.
Insight: base items need curve themselves—round glass, plump leaves. Avoid squares; they box it back up.
Feels balanced now, like it's breathing.
Step 4: Layer Height and Texture
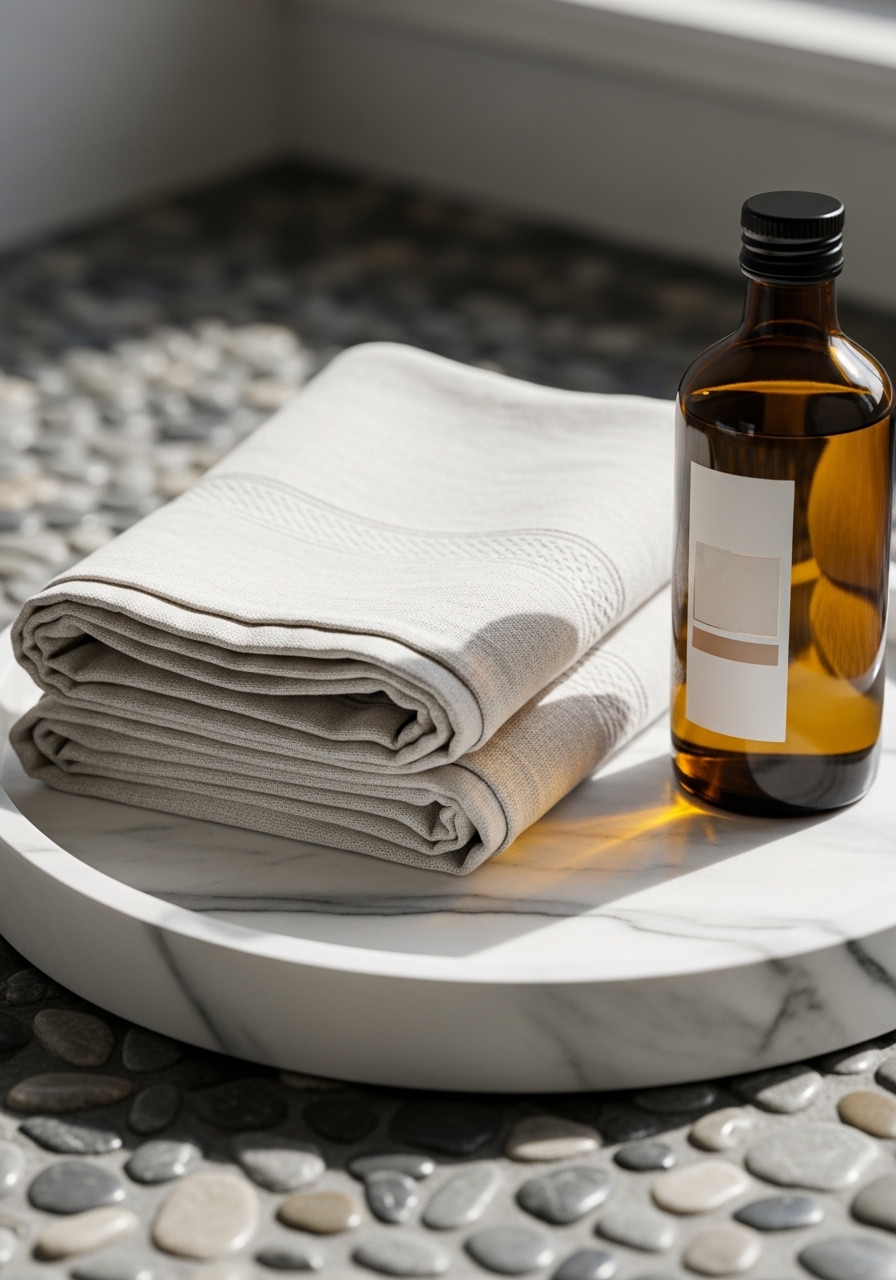
I fold the linen towel small, drape it under the soap. Oil bottle leans in from the back right. Heights vary—no flat line.
Texture wakes it. Light catches folds, glass. Roundness deepens with shadows.
Missed often: repeat whites for calm. Too many colors fight. Don't overfold towel—looks forced.
Circle tightens, cozy.
Step 5: Soften the Edges
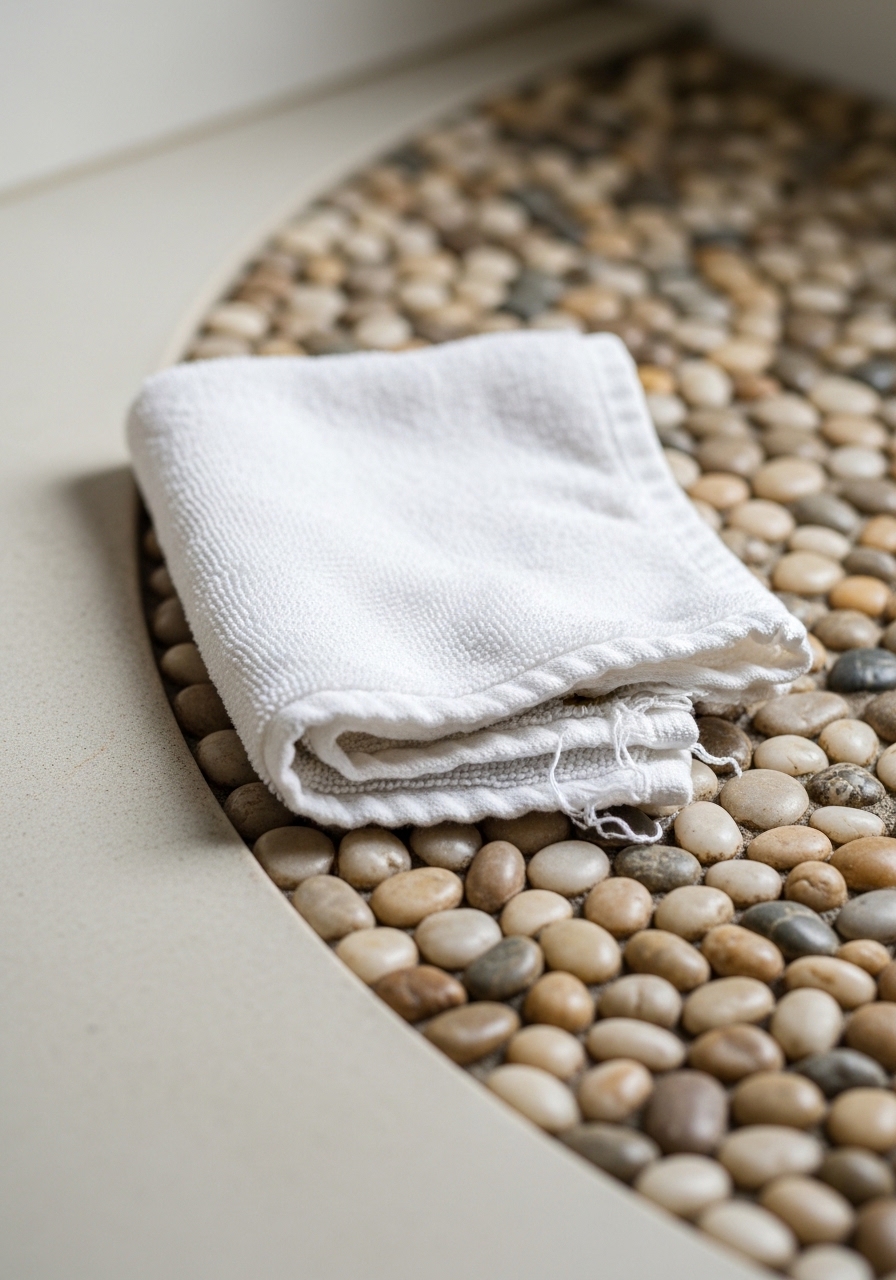
Pebbles line the tray's rim loosely. Washcloth folds tiny, slips into a gap.
Edges blur. No hard rectangle. Feels like one soft unit.
People cram centers, leave edges bare—tray screams shape. Avoid piling one side; tips balance.
Pull back. Done. Round.
Step 6: Step Back and Nudge

I step back five feet. Walk away, come back. Nudge the succulent a hair left.
Final tweak settles it. Flow matches the room's rhythm.
Insight: distance reveals truth—phone pics lie flat. Mistake: fussing too much—loses life.
It's round. Stays that way.
Why Round Trays Feel Right in Bathrooms
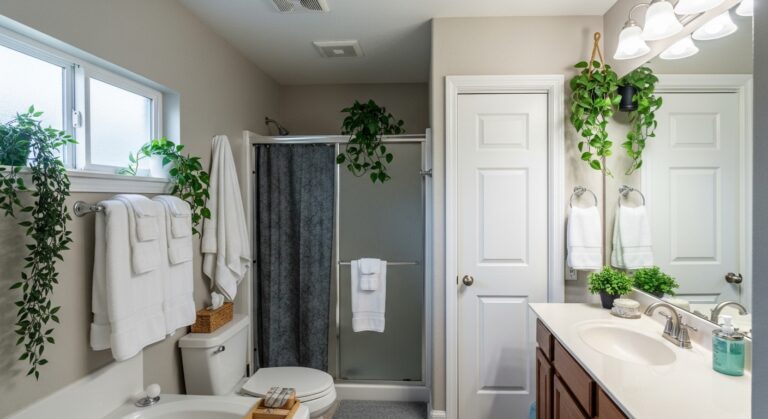
Bathrooms have curves. Sinks, mirrors, tubs. A round tray echoes that.
It pulls the eye gently. No harsh lines fighting the space.
Rectangles store well. But styled round, they settle in.
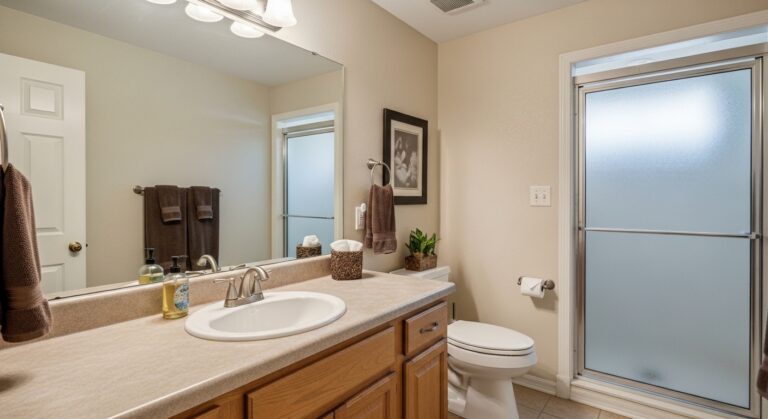
Tray Pairings for Your Vanity Style
Match your counter.
- Wood vanity: Add a wood-handled brush.
- Marble like mine: Glass and stone shine.
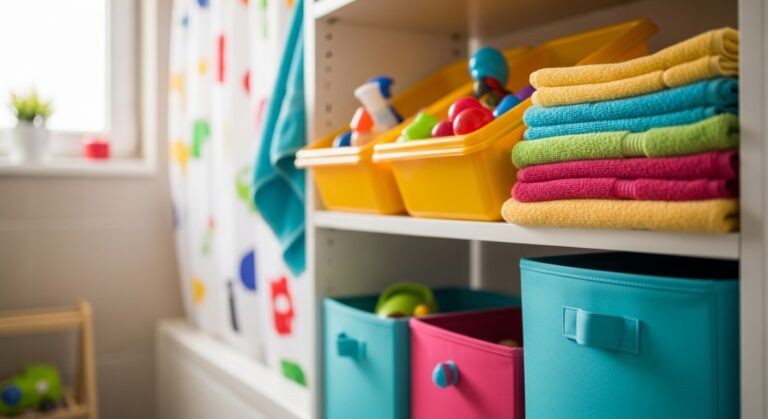
- Colorful tiles: Keep neutrals to ground.
Test one swap. See the shift.
Keeping It Fresh Without Starting Over
Trays collect dust. Swap seasonally.
- Summer: Fresh herbs.
- Winter: Pine sprig.
Wipe monthly. Feels new.
Final Thoughts
Start with your tray where it sits now. One anchor piece. Build slow.
You'll see the round emerge. Fits your bathroom like it grew there.
Quiet change. Worth the nudge.