How to Organize Coffee Items in Small Kitchen Perfectly
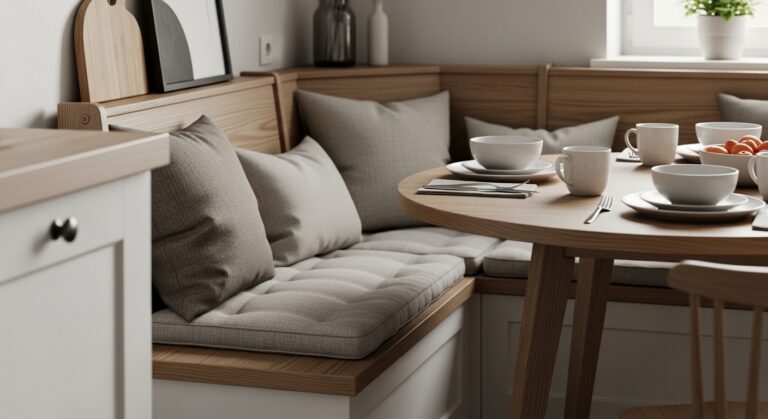
My small kitchen counter was always a mess. Coffee beans spilling, mugs stacked unevenly, grinder taking up half the space. I’d shove things aside to make room for breakfast. It felt crowded and off-balance every morning.
One day, I stepped back. The coffee area looked like it didn’t belong. I wanted it contained, easy to grab, without eating into my prep space.
That’s when I figured out a simple way to pull it together. Now, it flows with the rest of the kitchen.
How to Organize Coffee Items in Small Kitchen Perfectly
This method groups your coffee gear into one balanced spot. You’ll end up with clear counters and everything at hand. It works in my tight galley kitchen, and it’ll work for you too.
What You’ll Need
- 12-inch wooden tray, natural finish
- Matte black metal coffee canister (1 quart)
- Two glass jars with bamboo lids (8 oz each)
- Slim wall-mounted mug rack (holds 6 mugs)
- Narrow under-cabinet shelf (12 inches wide)
- Woven basket for filters and stirrers (small)
- White ceramic sugar bowl (4-inch diameter)
- Pull-out drawer organizer (fits standard drawer)
Step 1: Clear and Measure Your Spot
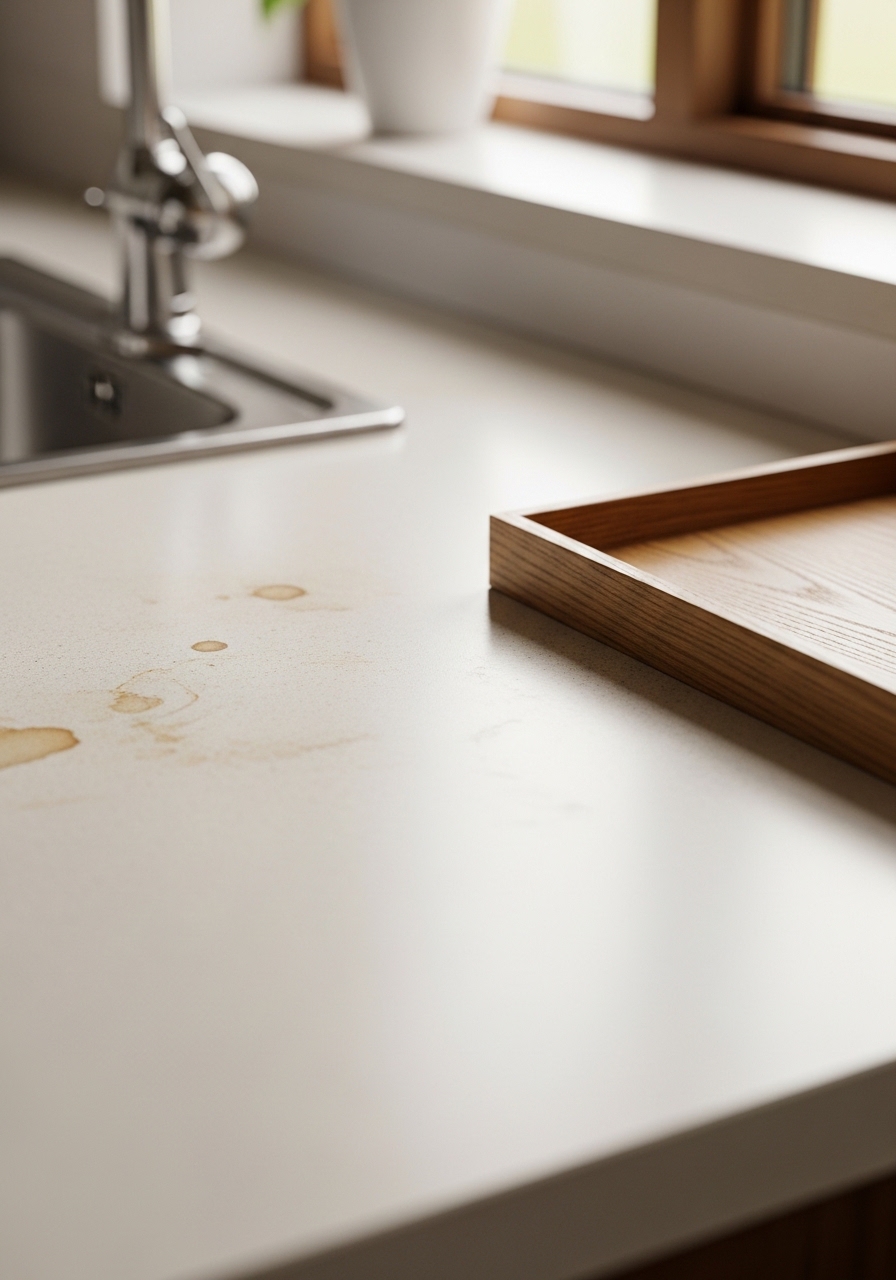
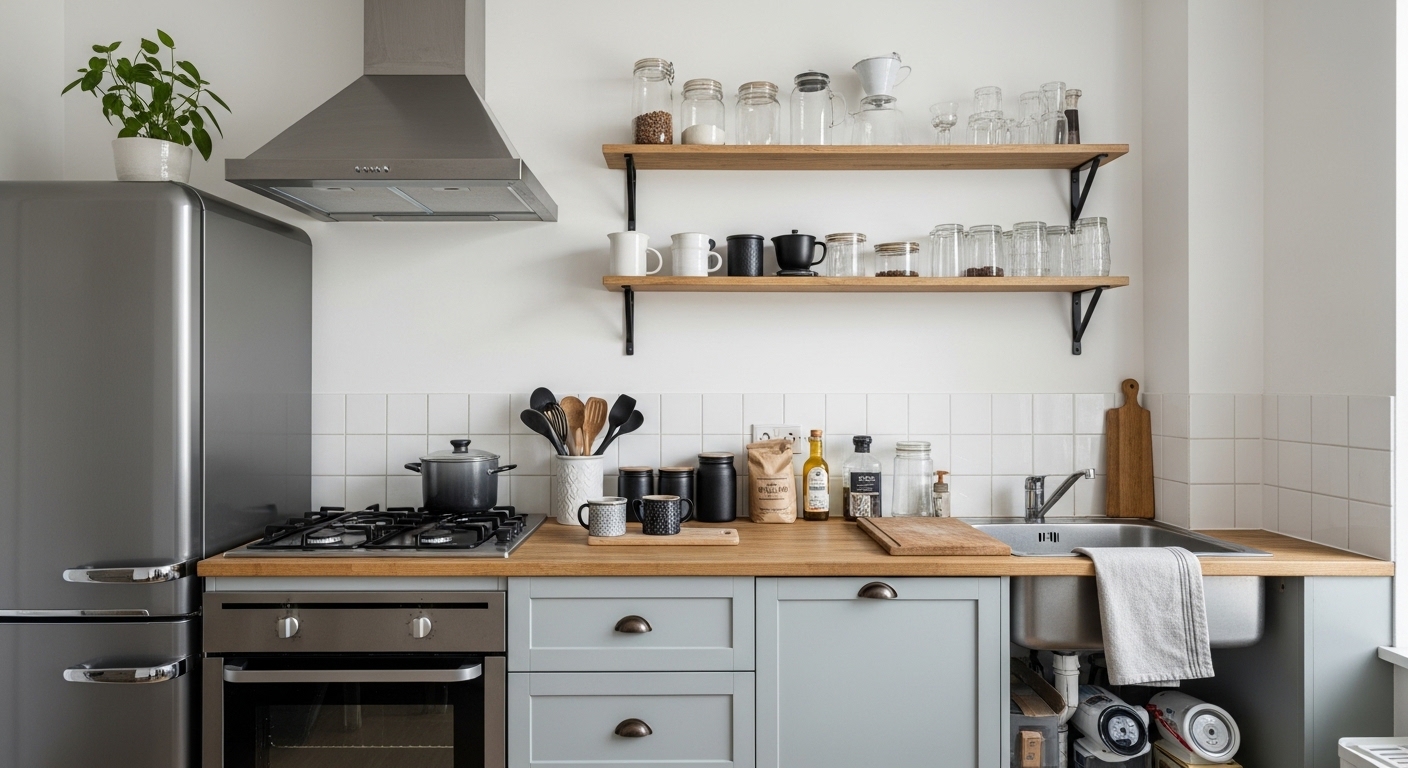
I start by wiping the counter empty. Pick the corner nearest the outlet—mine’s 18 inches wide. This gives coffee its home without blocking the sink or stove.
Visually, the space opens up right away. It feels lighter, ready for what comes next.
People miss how much room appliances steal. Measure twice; my grinder fit better shifted left. Don’t cram—leave breathing room, or it’ll feel jammed again.
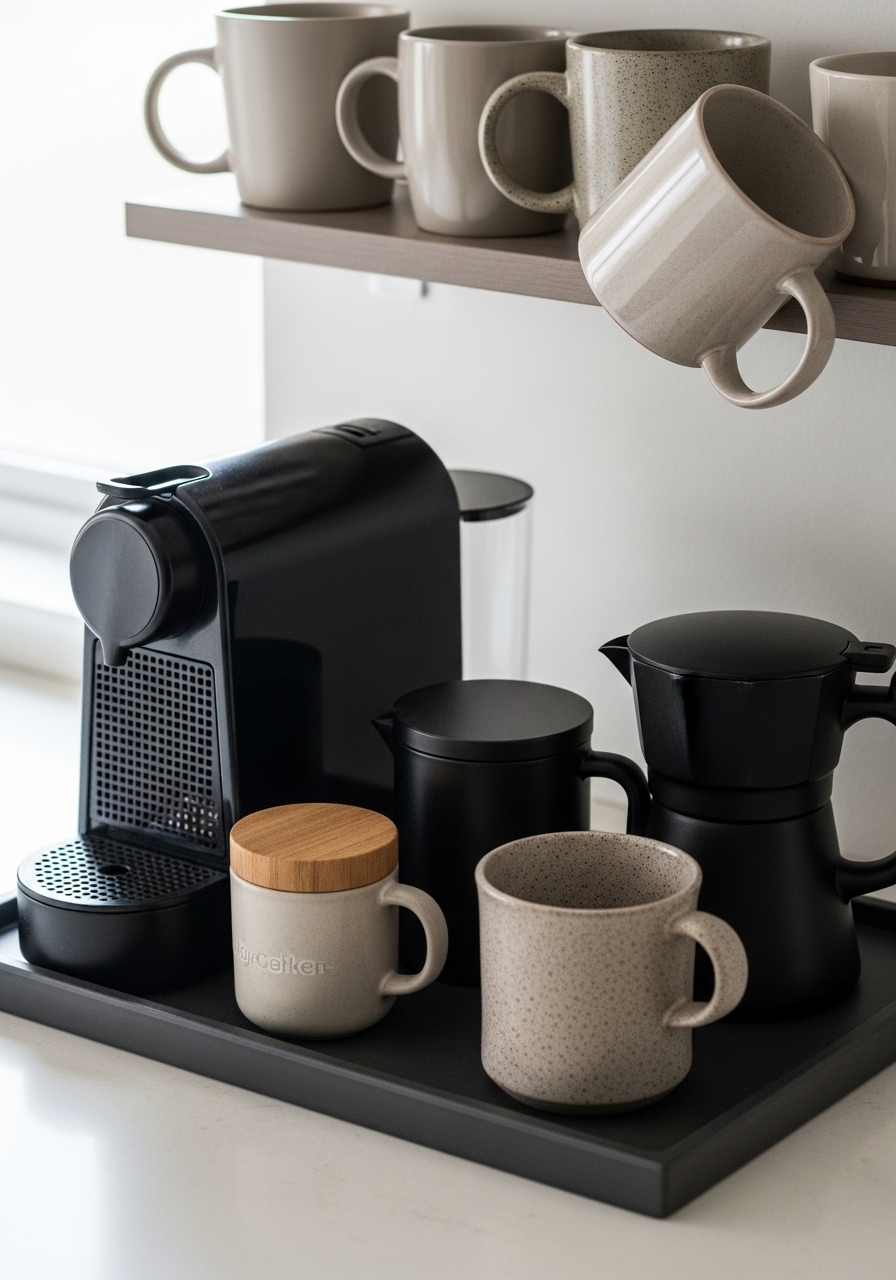
Step 2: Group Items by Morning Flow
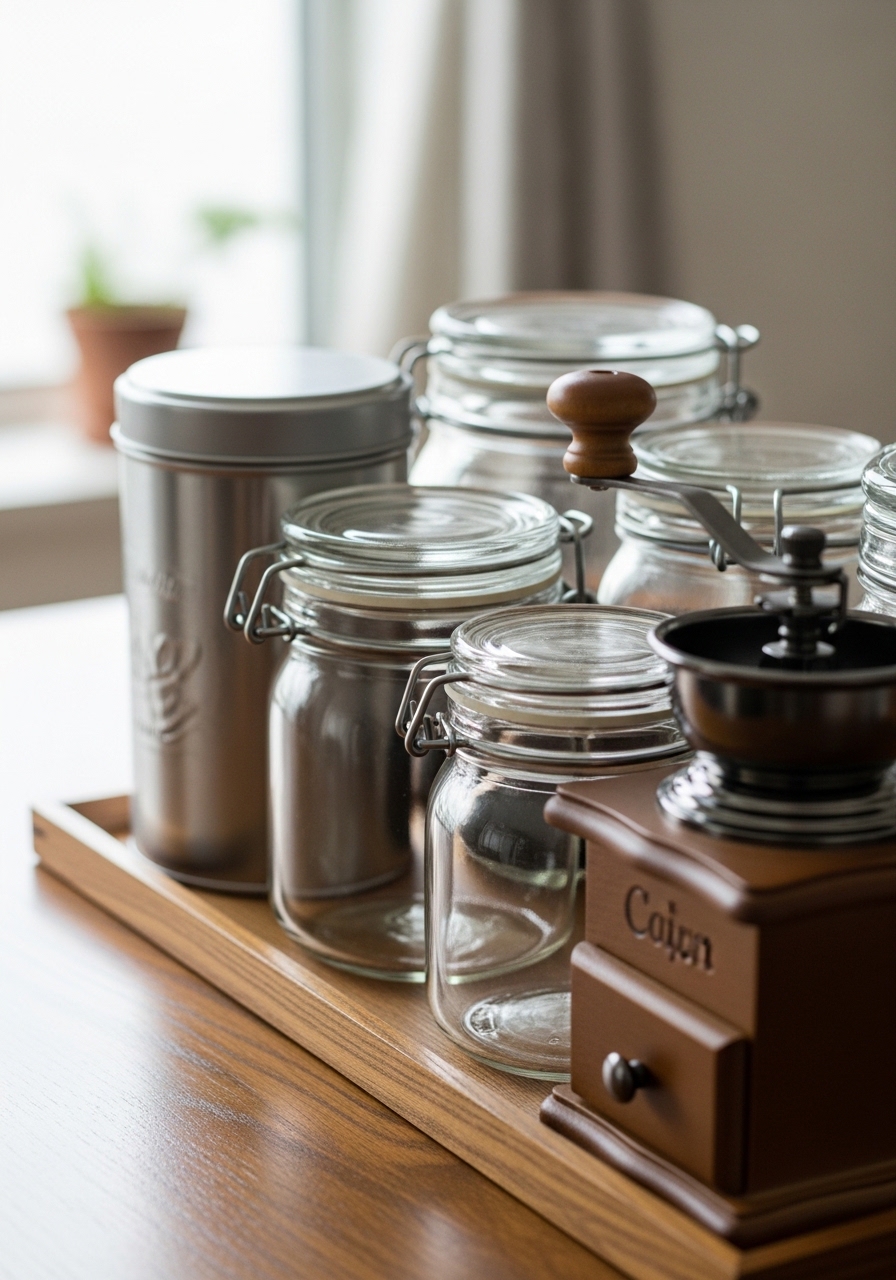
I lay out mugs, canister, beans, grounds, and tools. Think grab order: canister first, then spoons. Place them on the tray in that sequence.
The tray pulls it together—one unit now. Counter reads cleaner from across the room.
Most overlook daily reach. Keep most-used in front; mine shifted sugar back. Avoid piling tall items—they tip and block sightlines.
Step 3: Layer Upward with Vertical Storage

I screw in the mug rack above the tray. Mugs hang down, freeing counter. Grinder sits steady below.
Height adds flow without width. My setup went from flat mess to stacked calm.
Folks forget wall space in small kitchens. Test weight—light mugs only. Don’t overload; sagging racks kill the look fast.
Step 4: Tuck Extras Out of Sight
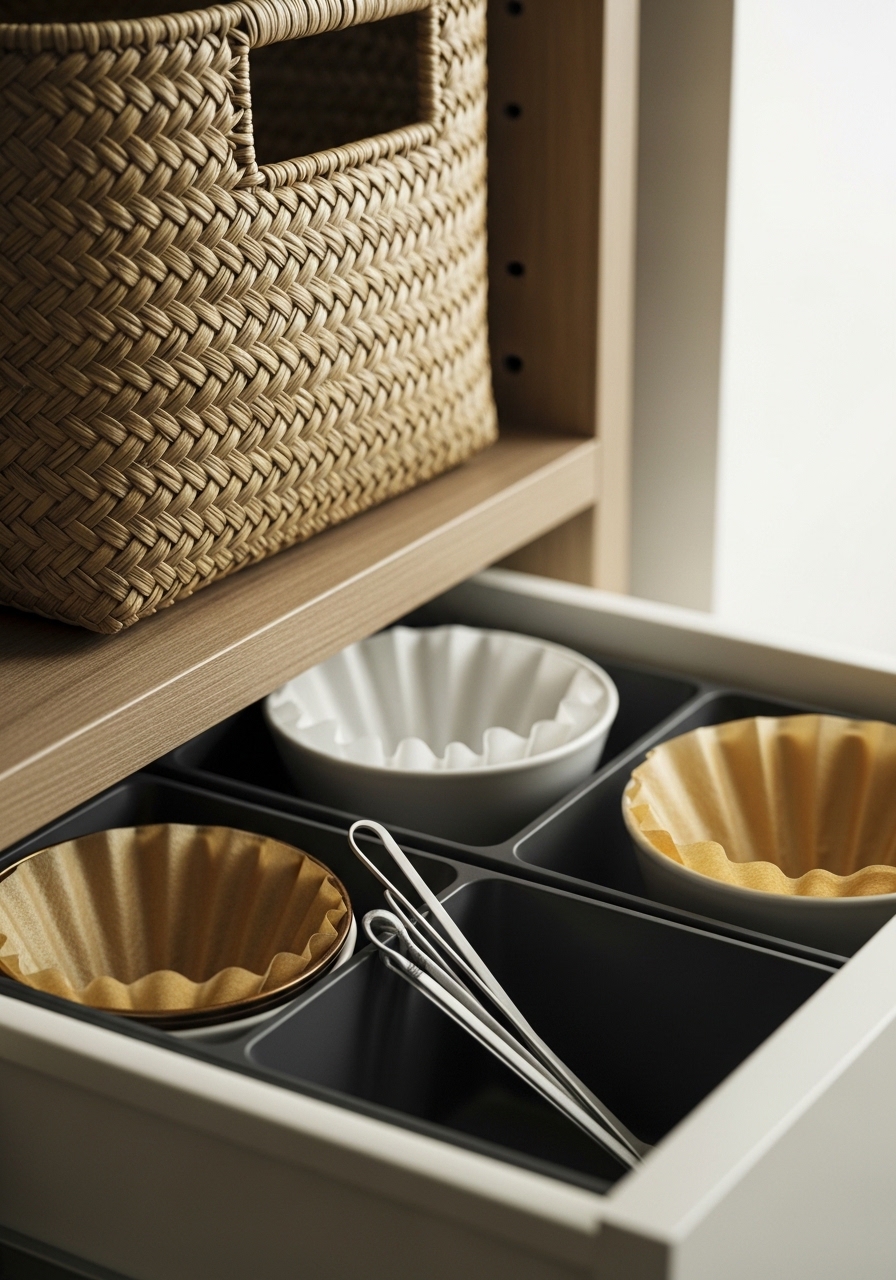
Extras like filters go in the drawer organizer. Basket catches odds like spoons, slid onto the under-shelf.
Everything’s hidden but close. Counter stays for coffee only—pure balance.
The insight: sightlines matter. No clutter eyesore when cooking. Skip deep hiding; quick-grab drawers beat full cabinets.
Step 5: Balance and Test the Feel
I step back, adjust tray center. Brew coffee, grab items blind—tweak till smooth.
It settles into the kitchen’s rhythm. Warm, contained, not shouting for attention.
People rush the test. Walk the flow daily first week. Don’t lock it static; small nudges keep it comfortable.
Common Mistakes I Learned the Hard Way
I’ve cluttered my counter plenty. Here’s what trips people up.
One, ignoring height. Tall canisters block light, make it cave in.
Two, no grouping. Scattered mugs feel chaotic.
- Match finishes—wood with wood keeps it grounded.
- Skip glass doors; dust shows.
- Weigh it: heavy tray first, light jars last.
Now, it stays put months later.
Ways to Adjust for Your Kitchen
My setup fits a galley, but tweak for yours.
If no wall space, stack jars on tray base.
For deeper counters:
- Center tray dead middle.
- Add plant for softness.
Ours evolved—swapped black for wood canister. Test what warms your space.
Keeping It Fresh Over Time
Use pulls monthly. Wipe tray, check mug wear.
Rotate seasonal mugs—keeps it lived-in.
- Dust rack weekly.
- Refill jars air-tight.
- Swap basket if frayed.
It’s low effort now. Feels right every pour.
Final Thoughts
Start with just the tray and canister. See how it shifts the room.
You’ll build from there, steady.
In the end, it’s about mornings without hassle. Your kitchen, calmer already.