How to Organize Baking Utensils in Small Kitchen Easily
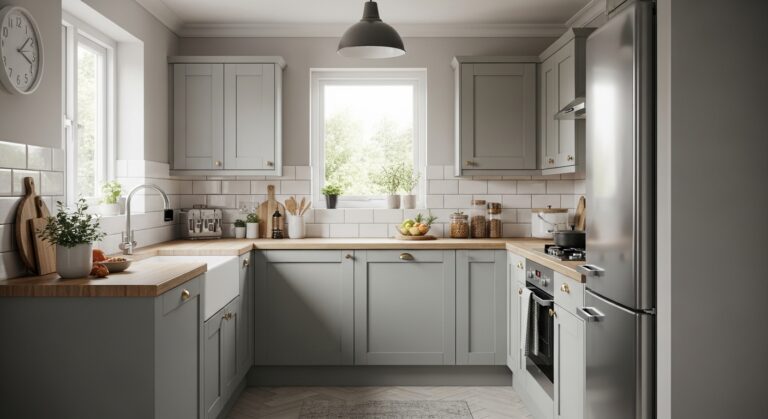
My small kitchen counter was always a mess. Spoons tangled with whisks, muffin tins stacked awkwardly under the sink. I’d reach for a spatula and knock everything over. It felt chaotic, especially when I just wanted to bake on a Sunday.
One day, I stopped shoving things back in drawers. I took everything out. That’s when I saw how much space a few smart changes could free up.
Now, my baking tools sit where I need them. No more frustration. Just calm.
How to Organize Baking Utensils in Small Kitchen Easily
This method keeps your baking utensils tidy in a tight kitchen. You’ll end up with clear counters and easy access. It works because it fits real life—quick grabs, no clutter buildup.
What You’ll Need
- 12-inch clear acrylic drawer dividers (set of 6)
- 18-inch stainless steel magnetic knife strip
- Undersink pull-out basket (10×15 inches, wire mesh)
- Over-door hanging rack (wooden, 24 inches wide)
- Stackable silicone baking sheet holders (medium size, gray)
- Pegboard wall panel (24×36 inches, white)
- Adhesive hooks (small, matte black, pack of 10)
- Open wooden utensil crock (8 inches tall, natural finish)
Step 1: Empty and Sort Everything Out
I pull every baking tool onto the counter. Spoons, spatulas, rolling pins—all of it. I hold each one and ask if I’ve used it in a month. The dusty ones go to a donate box.
Visually, the counter clears fast. Piles form: daily use, occasional, extras. It feels lighter already.
People miss how much space old gadgets take. Don’t keep that second pie pan if one works. Mistake to avoid: rushing this. Take the full hour—it prevents regrets.
Now, my kitchen breathes. Tools I love stay; the rest leave.
Step 2: Map Your Most-Used Spots
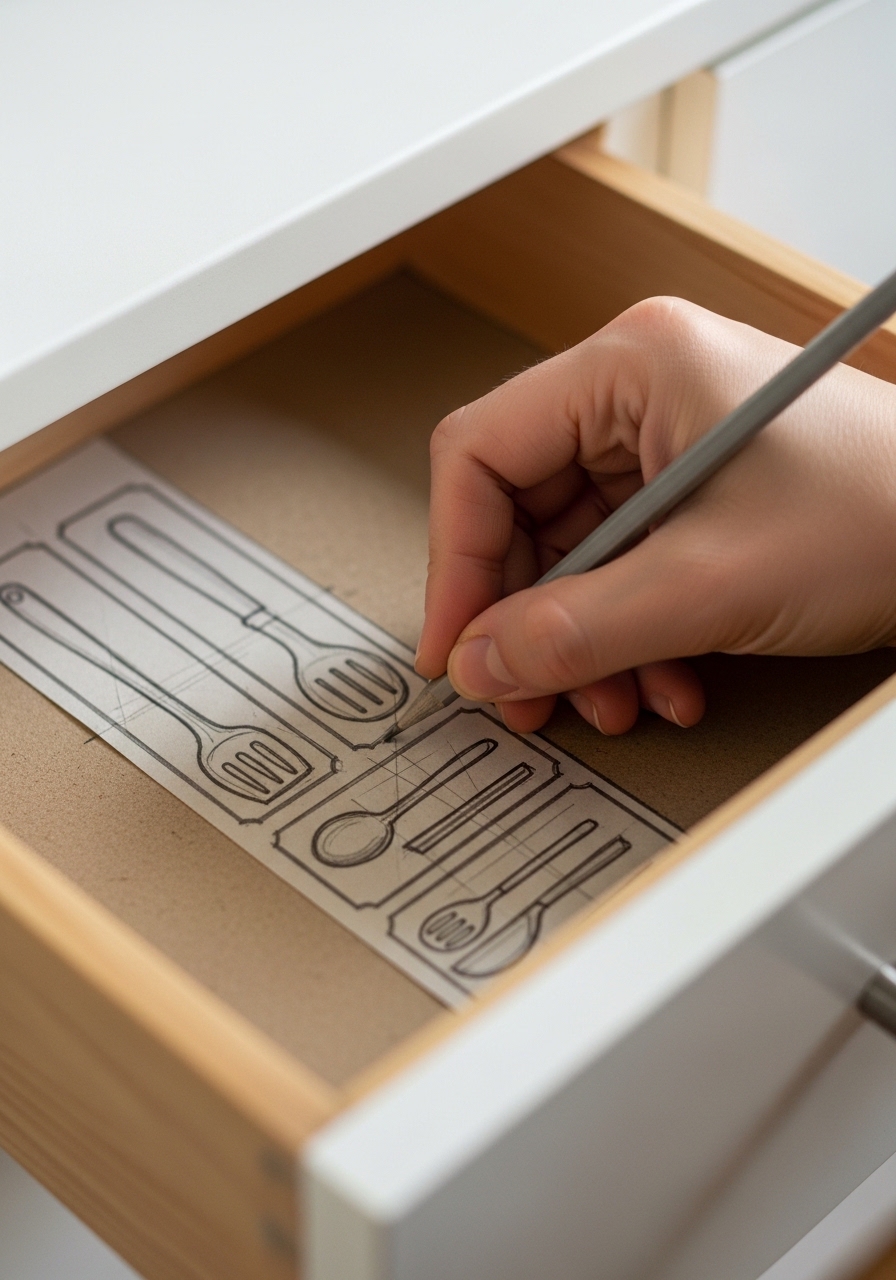
I stand where I bake most—by the oven. I note what I grab first: whisk, spatula, measuring spoons. Those go nearest.
The counter shifts. Zones appear: hot spot by stove, cooler one by sink. Balance comes from reach, not perfection.
Insight: counters stay clear if you store by habit, not size. Avoid cramming big trays first—they block small tools.
My baking flow smooths. No more digging.
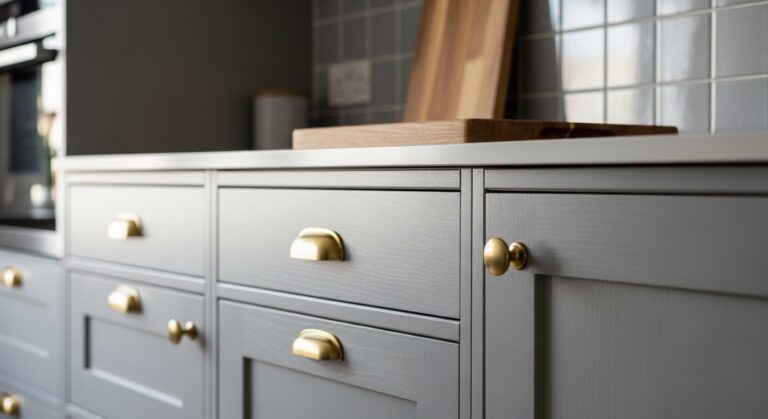
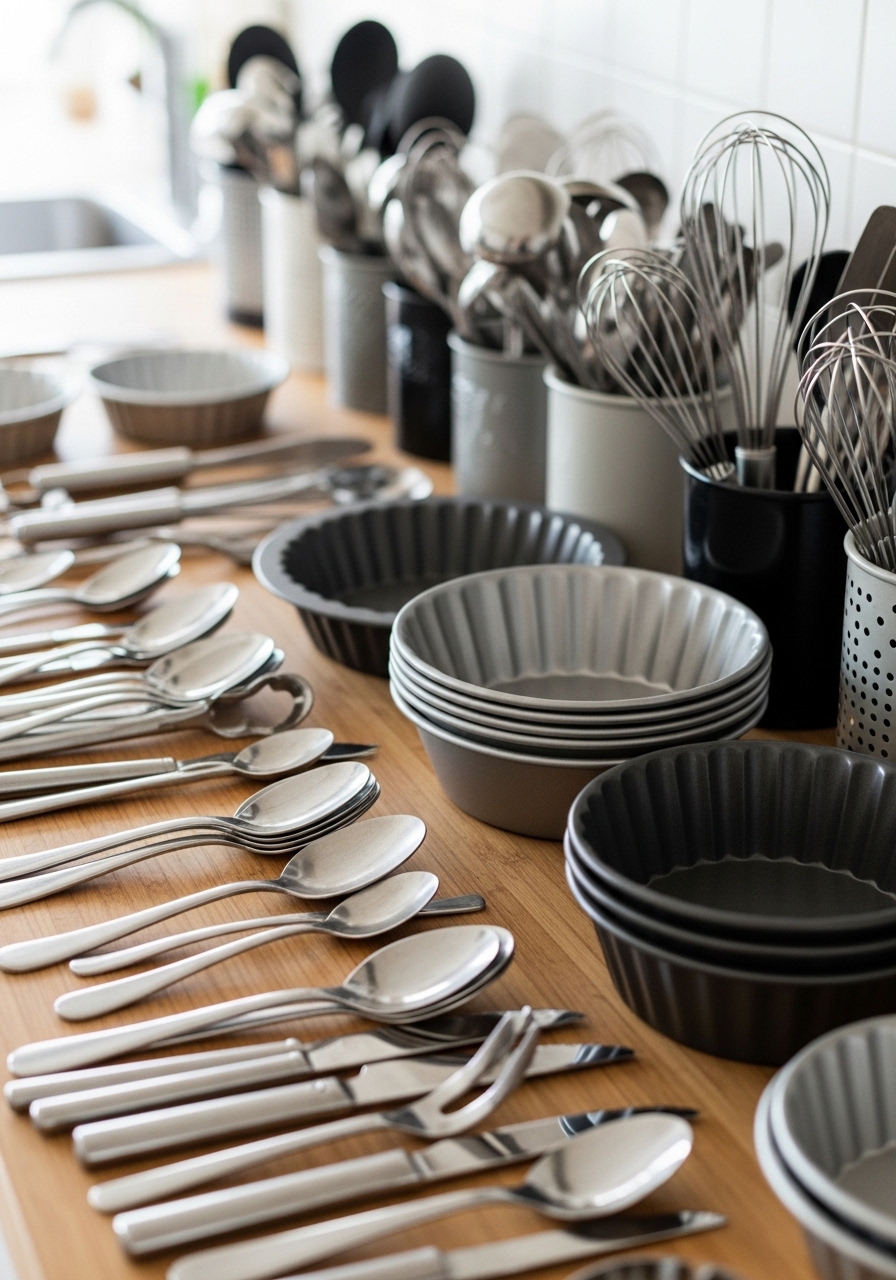
Step 3: Fill Drawers with Dividers for Balance
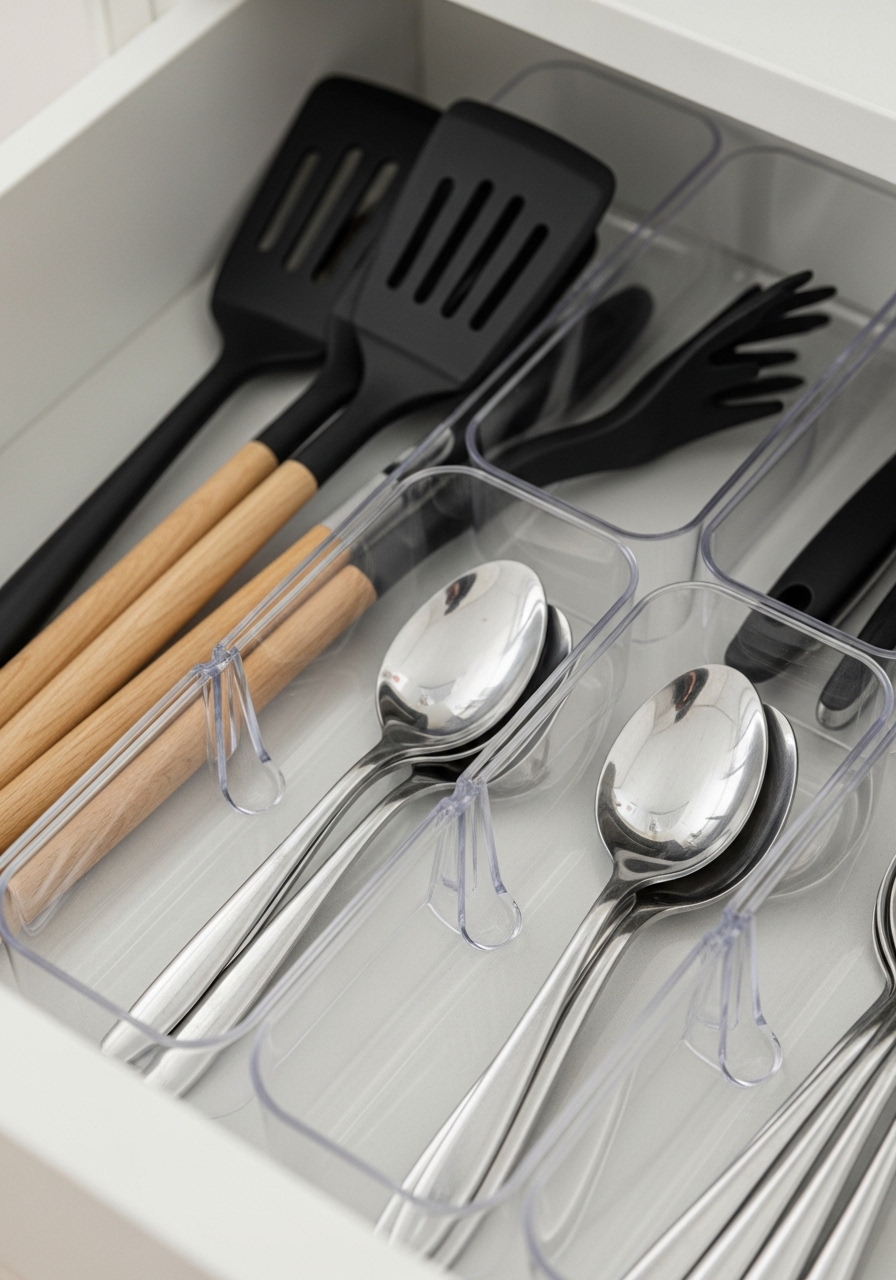
I slide in the acrylic dividers. Upright for spatulas, nested cups for spoons. Everyday tools fit snug, no rattle.
Drawers look clean inside. Pull one out—everything stays put. The kitchen feels steadier.
Missed often: dividers let air flow, so things don’t smell stale. Don’t overfill; leave a finger’s width empty.
I open a drawer now, grab what I need. Simple.
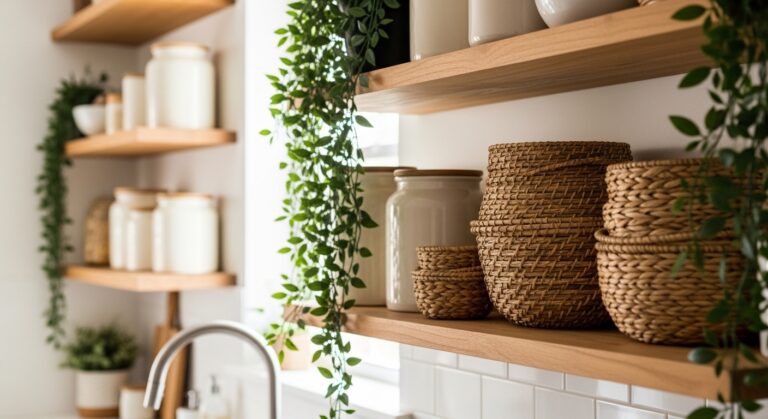
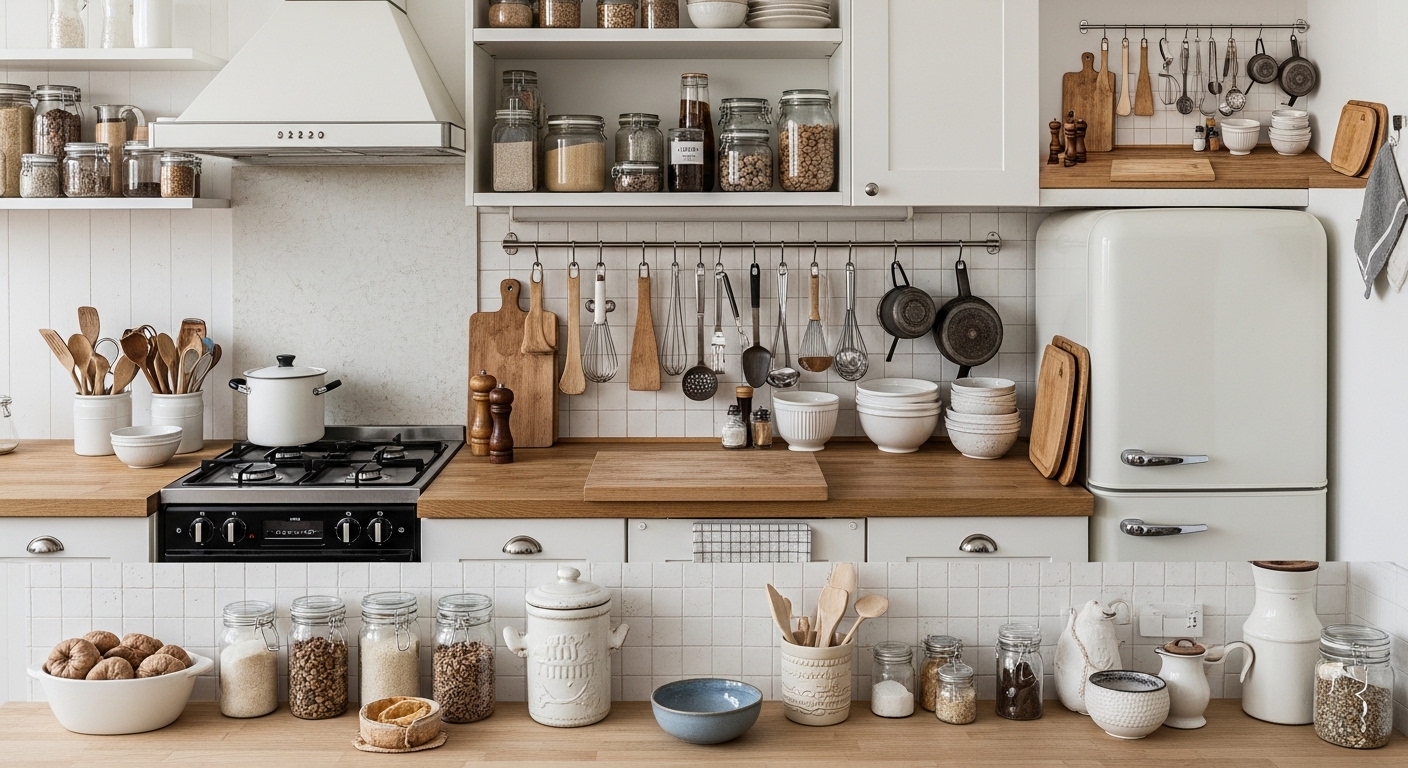
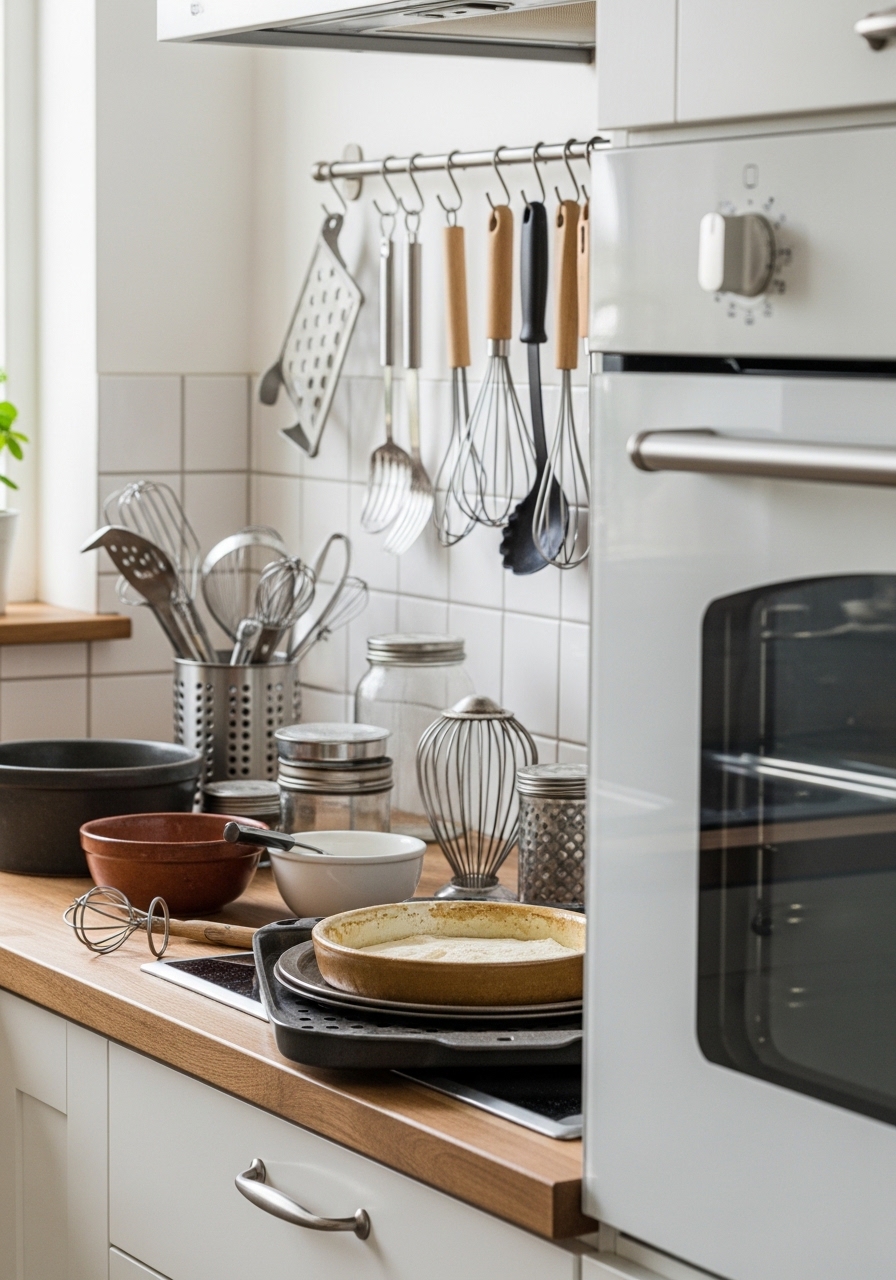
Step 4: Go Vertical with Walls and Doors
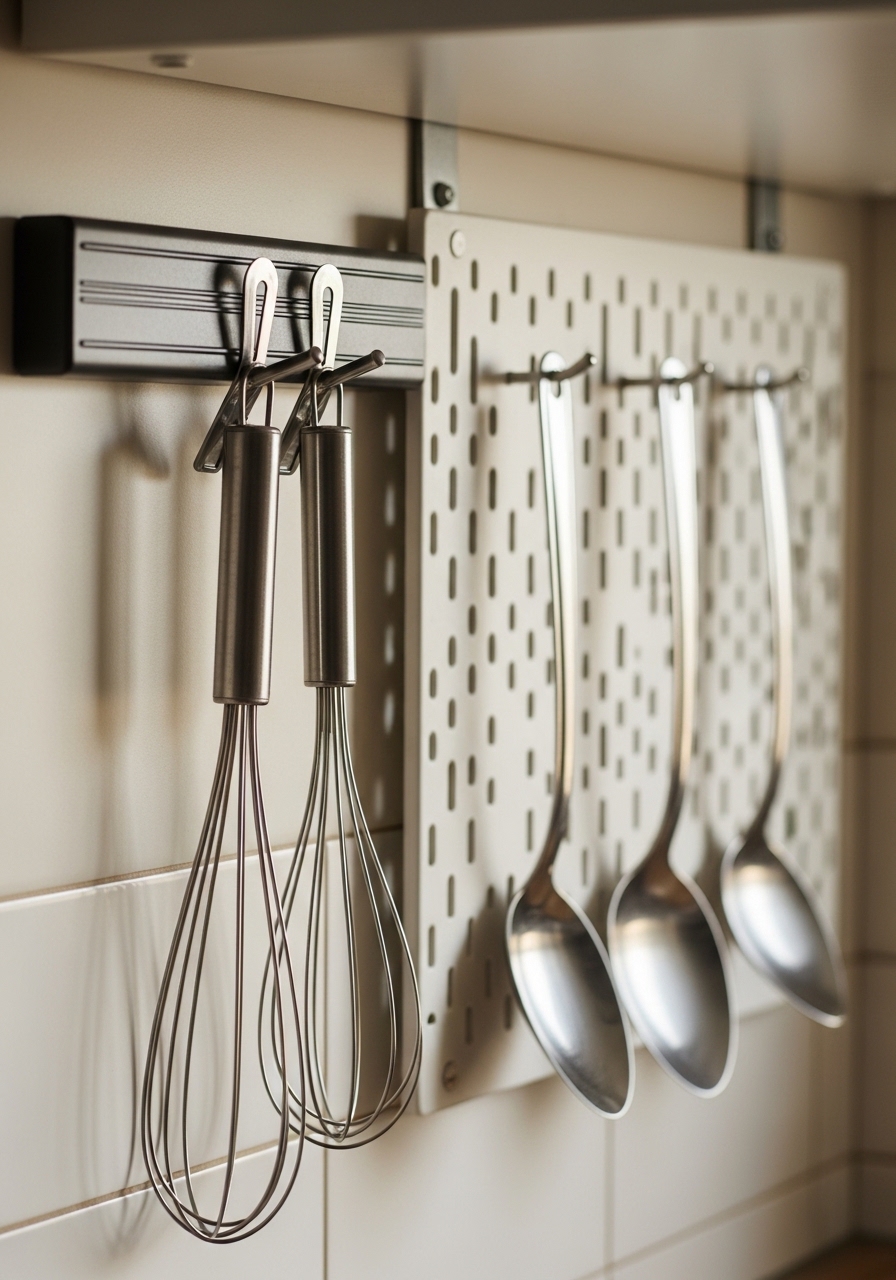
I mount the magnetic strip above the counter for metal tools. Pegboard nearby for hooks—rolling pin dangles easy. Door rack catches trays.
Walls wake up. Tools display without crowding counters. Balance hits: low for heavy, high for light.
People forget vertical hides clutter but keeps access. Avoid drilling if renting—use adhesive.
My space flows. Hands reach naturally.
Step 5: Tuck Away the Rest Under Sink
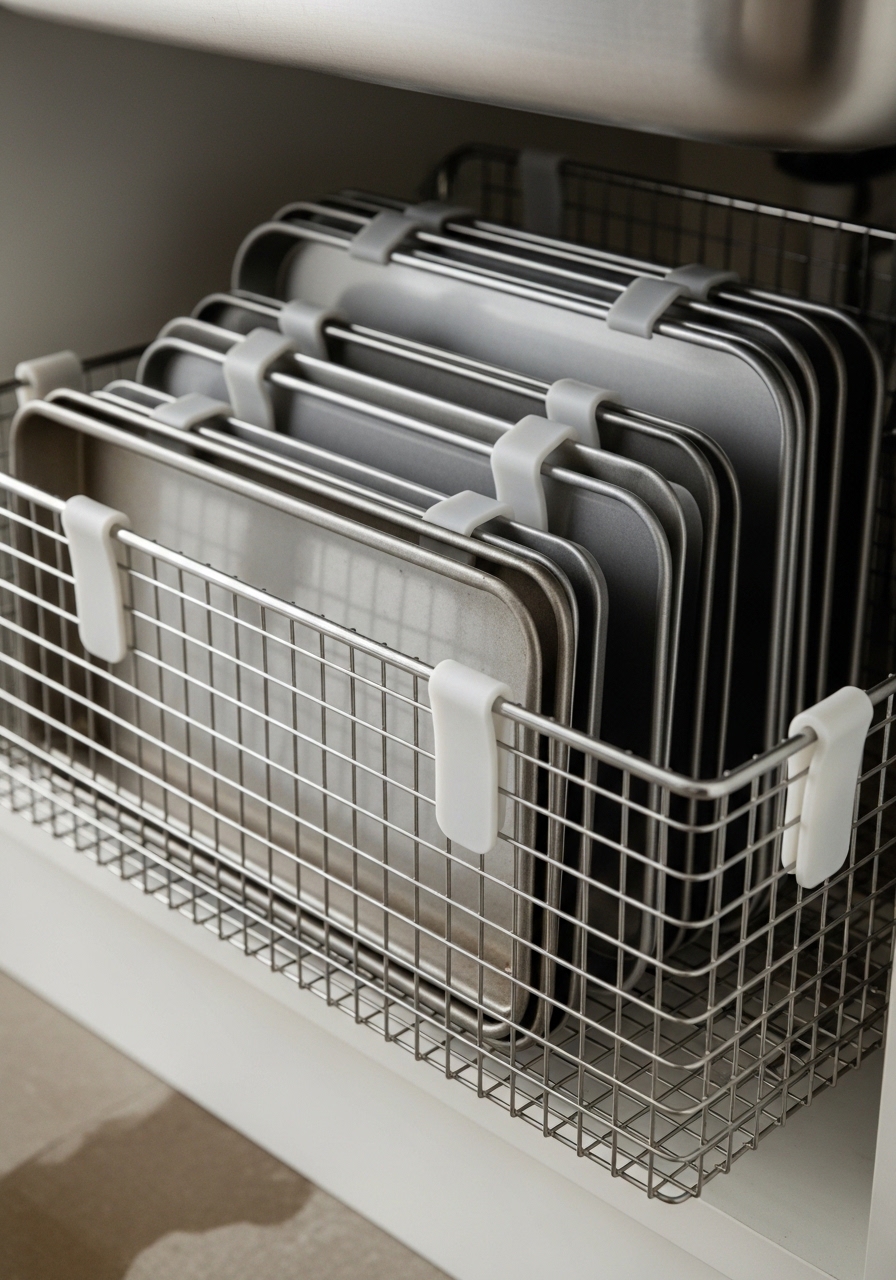
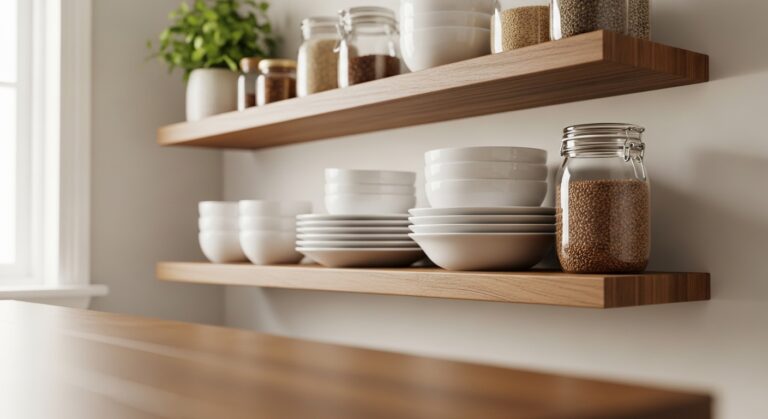
Pull-out basket goes under sink for tins and trays. Silicone holders stack them flat. Crock sits on a low shelf for wood spoons.
Hidden but handy. Kitchen stays open. No more avalanche when I need a sheet.
Insight: under-sink stays dry with baskets—metal doesn’t rust. Don’t stack loose; they warp.
All fits. Calm settles in.
Step 6: Step Back and Adjust for Feel
I step back. Does it feel right? Tweak a hook here, shift a divider. Balance means even weight visually.
Counters gleam empty. Whole kitchen connects—tools where eyes expect.
Often missed: live with it a week, then refine. Avoid declaring done too soon.
Mine stays this way months later.
Keeping It Lived-In and Functional
I check weekly. Wipe dividers, straighten hooks. It takes two minutes.
- Dust magnetic strips—tools magnet better clean.
- Rotate seasonal items, like cookie cutters.
- If something shifts, it’s a sign to purge again.
This keeps the calm without effort. My kitchen adapts as I bake more.
Mistakes I Made First Time
I once hid everything under sink. Chaos returned fast.
- Too many tools—no space for new ones.
- Ignoring habits—spatulas far from stove.
- Cheap hooks that fell.
Learn from it. Start simple, adjust.
Adapting for Tiny Kitchens
Even smaller? Prioritize.
Use one wall fully. Pegboard wins.
- Magnetic strip doubles for knives.
- Door rack inside cabinet doors.
- Crock on windowsill for light.
It scales down, stays balanced.
Final Thoughts
Start with one drawer today. Feel the shift.
You’ve got this—small kitchens reward intention.
Mine runs smooth now. Yours will too. Just breathe through it.