How to Design Kitchen Floor on Budget Easily
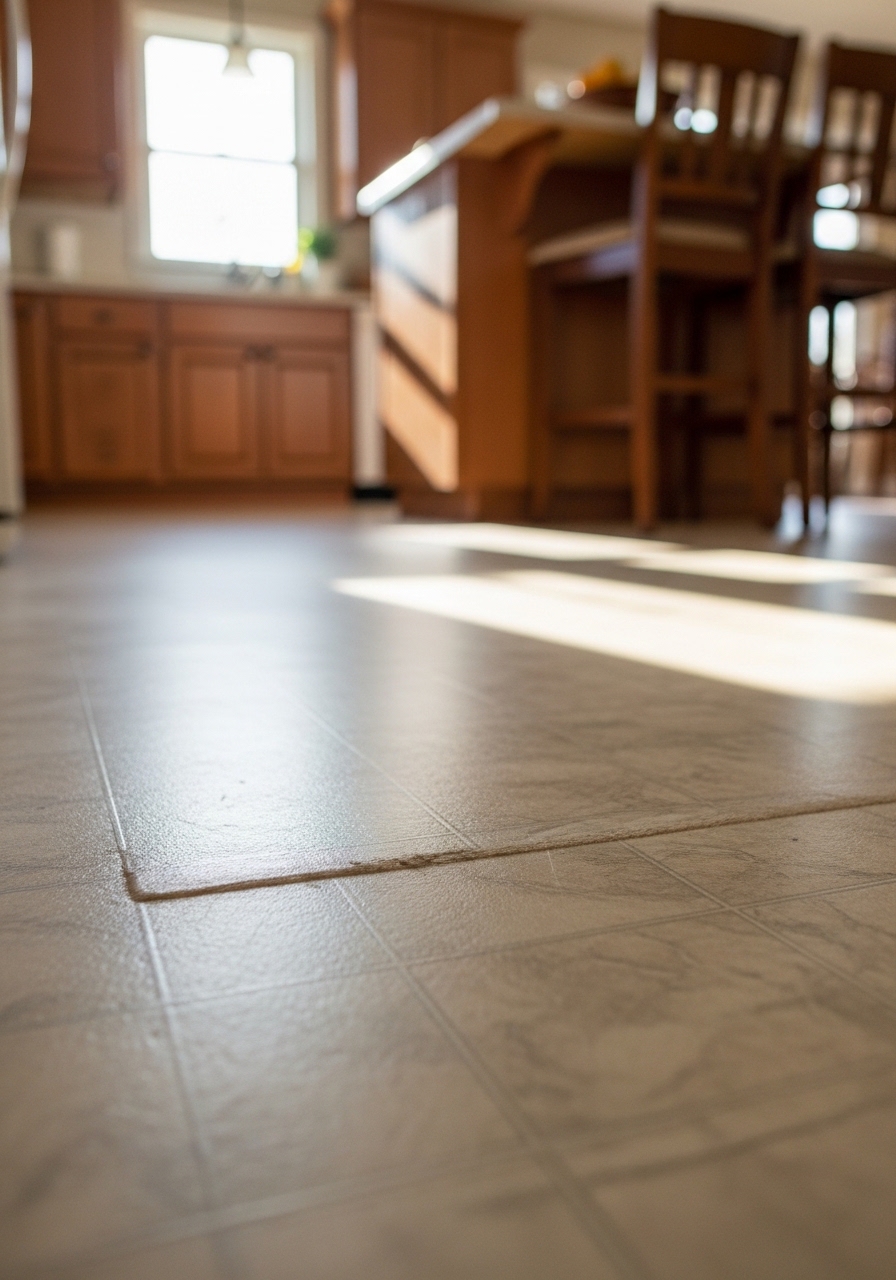
My kitchen floor was old linoleum, scratched and yellowed. It made the whole room feel smaller, like it closed in on me while I cooked.
I stared at it for months, not sure where to start. Spending a fortune on new tiles wasn't an option.
Then I figured out a simple way to make it look balanced and fresh. It just took a weekend and under $150.
How to Design Kitchen Floor on Budget Easily
This is the way I handle kitchen floors that drag the room down. You'll learn to pick patterns and layers that fit your space. The result is a floor that grounds everything, feels comfortable, and stays within budget.
What You’ll Need
- Peel-and-stick vinyl tiles, 12×12 inch, light oak pattern (covers 50 sq ft)
- Neutral jute area rug, 4×6 feet, low pile
- Faux wood runner rug, 2×6 feet, gray tone
- Floor paint kit, neutral gray, matte finish (for linoleum refresh)
- Painter's tape, 2-inch wide
- Rubber floor mat, 3×5 feet, black and white grid
- Threshold trim, peel-and-stick, wood-look, 36-inch pieces
- Cleaning spray, all-purpose, citrus scent
Step 1: Clear the Floor and See the Shape
I start by moving everything out—chairs, trash bin, mats. The floor shows its true shape now, narrow or wide, long or square.
This lets me see how light hits it. Morning sun makes one end brighter. That's key for picking tones. Visually, the room opens up already, less cluttered.
People miss how empty space reveals the kitchen's natural flow. Don't skip this; it guides everything. Avoid rushing—take a day to live without the floor covered. It changes how you feel in there.
The floor looks honest, ready for balance.
Step 2: Pick a Base Pattern That Fits the Light
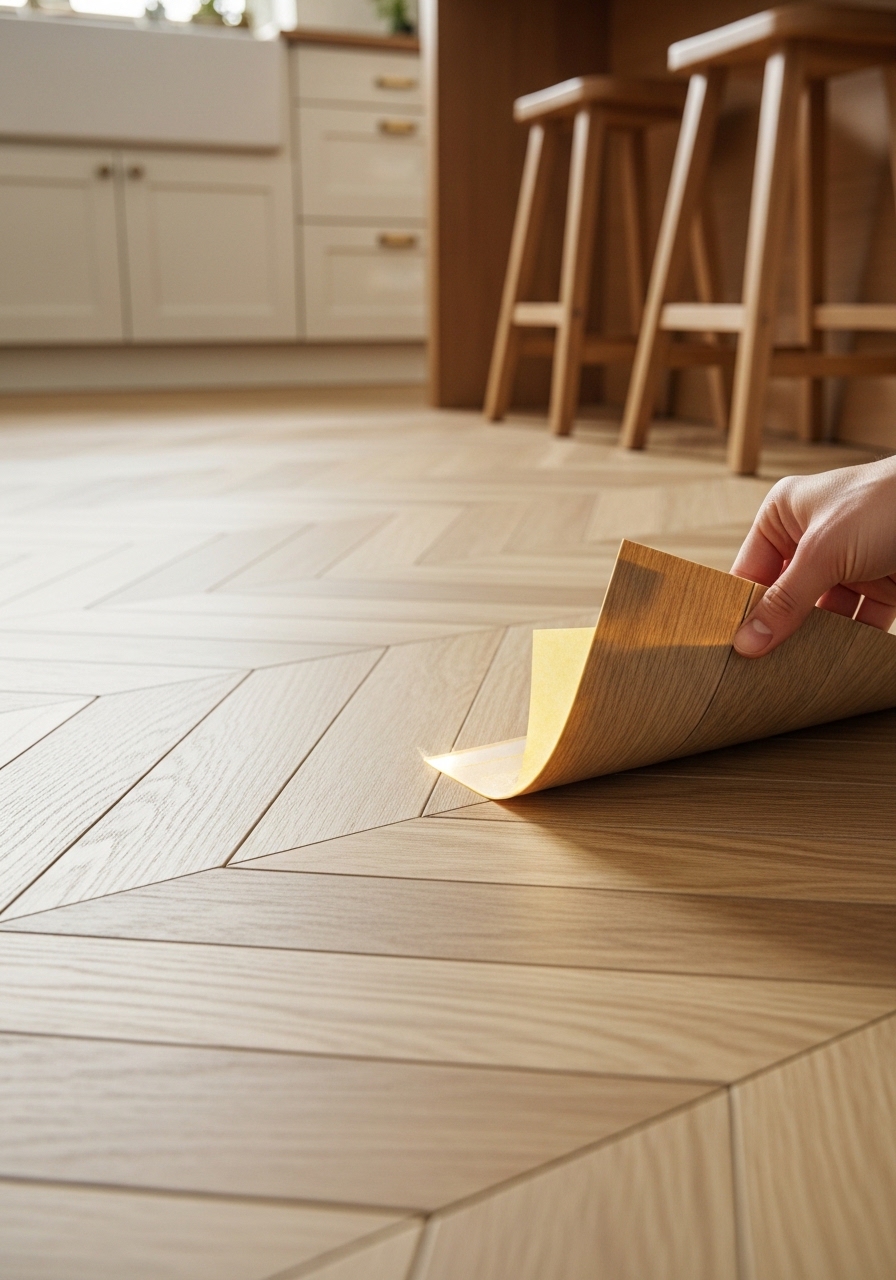
I test tiles in the light. Light oak warms dim corners without overwhelming bright spots. Lay a few down loosely first.
It shifts the feel from flat to grounded. The pattern draws the eye across, making the room longer.
Most overlook matching pattern to window light—dark floors shrink spaces. I avoid busy designs; they fight cabinets. Stick to subtle repeats.
Now the base feels intentional, like it belongs.
Step 3: Layer Rugs for Comfort and Zones
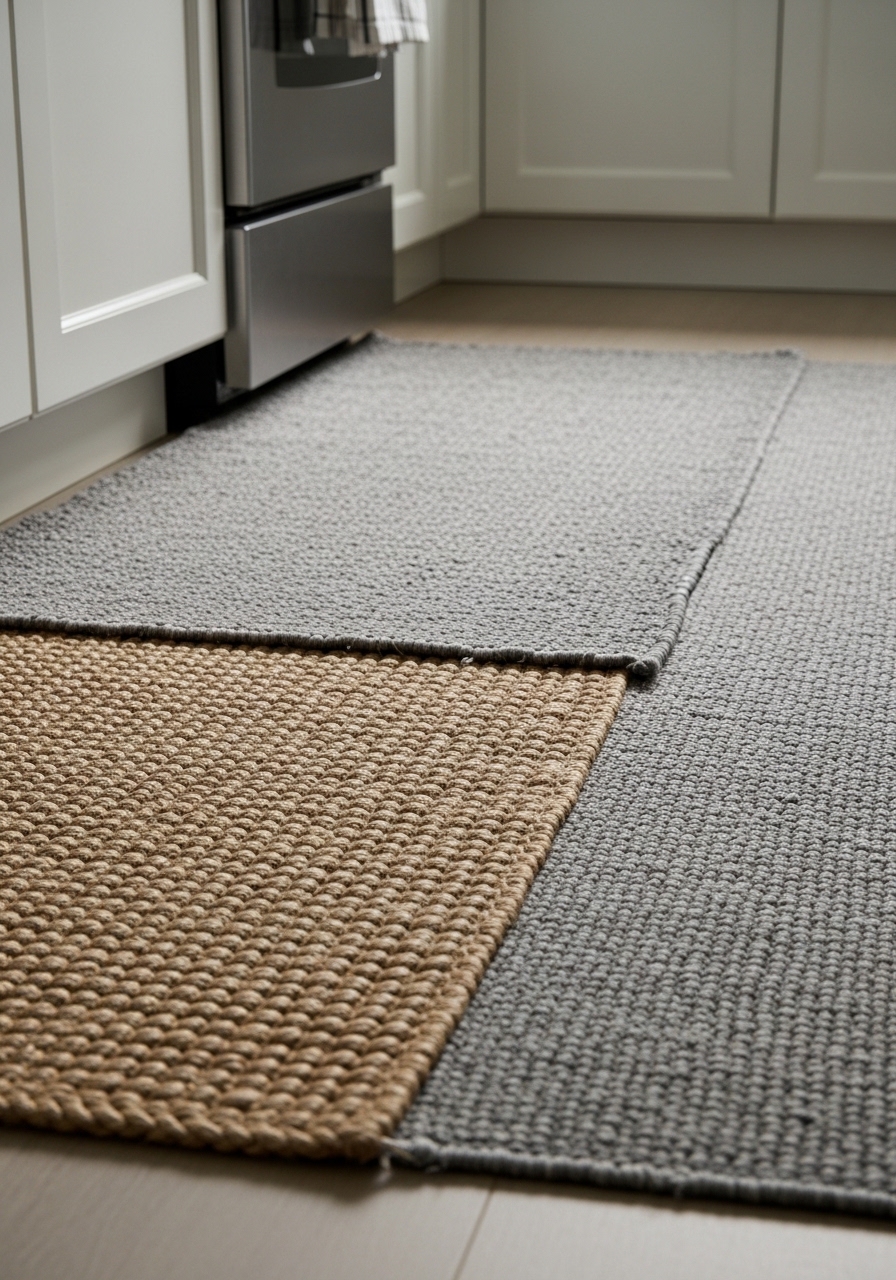
I place the jute rug under the sink zone. It softens steps and defines prep area. Add the runner by the stove for flow.
Colors tie to cabinets—neutrals keep it calm. The floor gains depth, warm underfoot.
Folks forget rugs balance hard surfaces; bare tile echoes too much. Don't overlap oddly—align with traffic paths.
Layers make it lived-in, practical.
Step 4: Add Mats and Trim for Edges
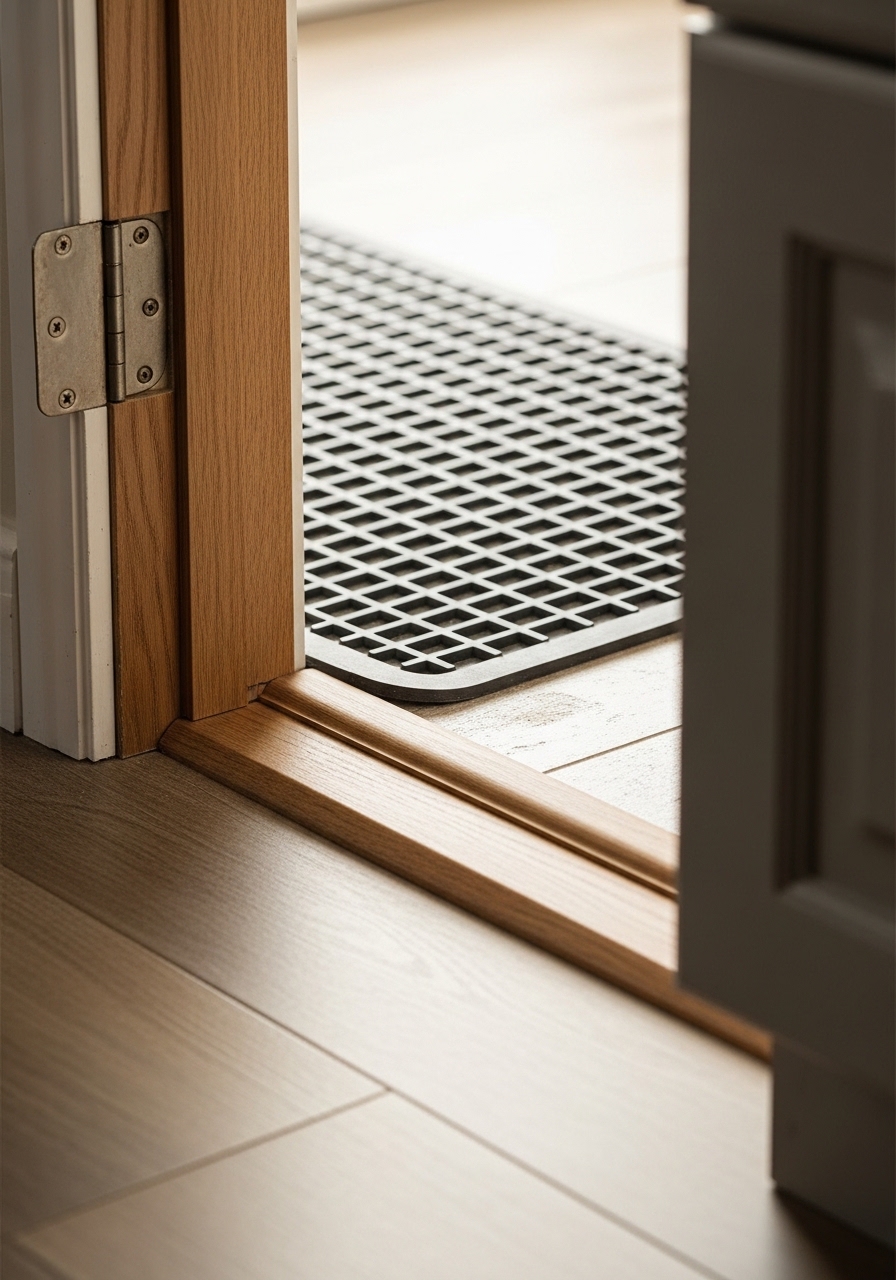
The rubber mat goes by the door, catching dirt. Trim hides tile edges where floor meets hall.
It neatens transitions, stops the design from feeling cut off. Edges look finished, room flows out.
People miss how trim grounds the whole look. Avoid cheap plastic—it yellows fast. Use wood-look for warmth.
Now it's balanced edge to edge.
Step 5: Step Back and Adjust Balance
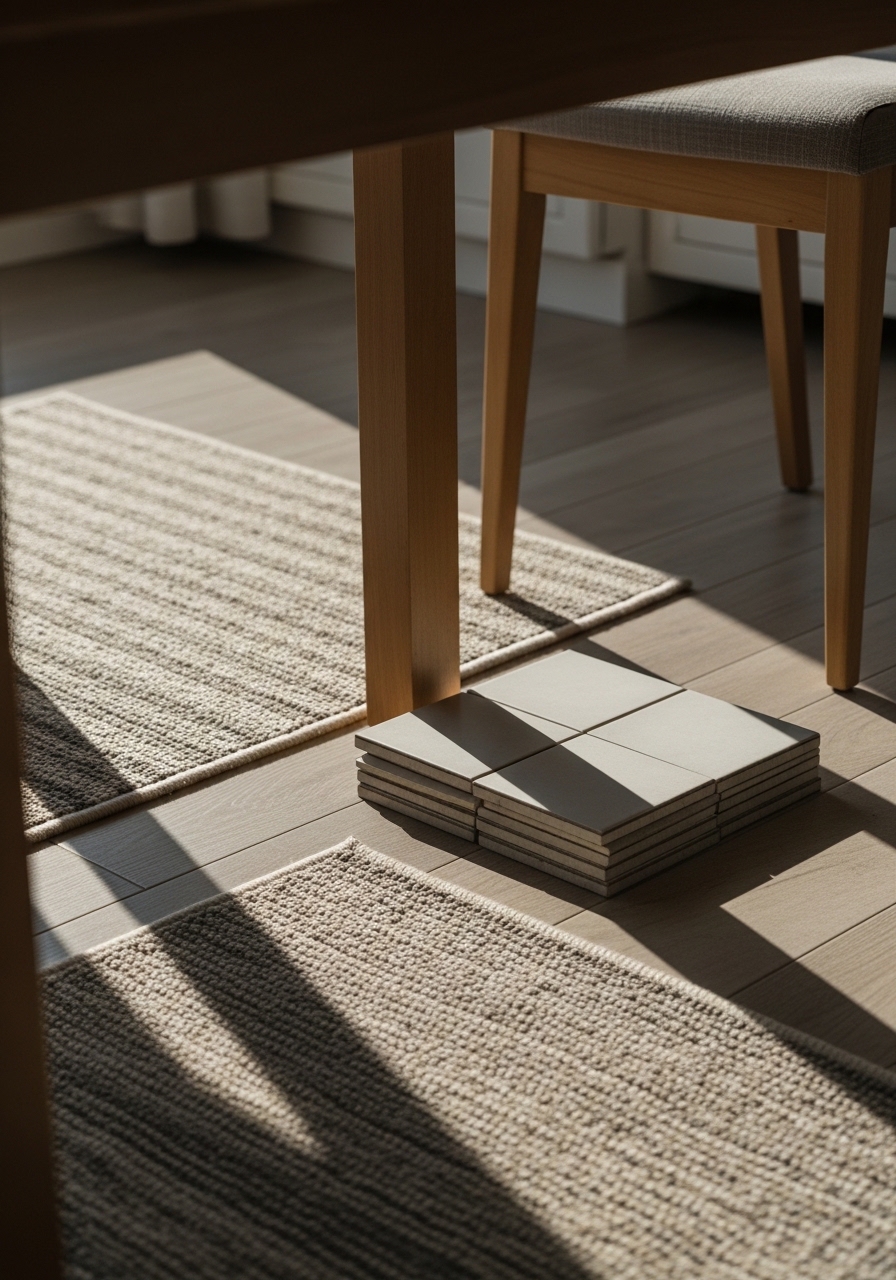
I walk through, coffee in hand. Nudge rug a half-inch left if it blocks light. Check from doorway—does it pull together?
Colors settle, feel right with counters. The space breathes easier.
Overlook happens: balance shifts with use. Don't lock it in day one—live a week, tweak. Avoid symmetry obsession; slight off-center feels real.
Floor supports the kitchen now.
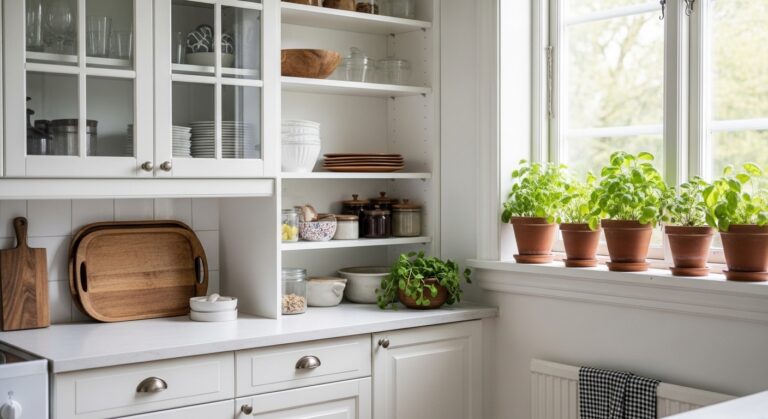
Why Kitchen Floors Set the Room's Feel
Kitchen floors take the most wear. They ground cabinets and counters.
I learned mine made oak cabinets look dull until I lightened it. A balanced floor makes uppers pop without repaint.
- Dark floors cozy small kitchens.
- Lighter ones open tight spaces.
- Patterns like herringbone guide eyes to windows.
It changes how you move there.
Budget Hacks That Last
I shop remnants and sales. Peel-and-stick lasts years if edges sealed.
Rugs from thrift stores clean up fine—$20 each. Paint kits cover linoleum flaws for $30.
- Clearance tiles: half price.
- Layer old mats under new.
- Reuse trim from other rooms.
Saves without skimping quality.
Refreshing Without Full Replace
Worn floors? Paint first, then layer. My linoleum went from tired to fresh.
No demo mess. Rugs hide spots that show.
Test small: one corner. Adjust tone to walls. It feels new, costs little. Keeps the room comfortable long-term.
Final Thoughts
Start with one corner if the whole floor daunts you.
You'll see the difference right away. It builds quiet confidence.
Your kitchen floor can anchor the space without big spend. Just place with care—it settles in.