How to Design Modular Kitchen Cupboard Like a Pro
I remember staring at my kitchen cupboards. They were modular units, sure, but stacked wrong. Pots clanged every time I reached in. The whole run felt off—too tall here, empty there. Nothing flowed when I cooked.
It bugged me for months. I wanted them practical, not just there.
Then I figured a simple way to rethink them. Now they work every day.
How to Design Modular Kitchen Cupboard Like a Pro
This guide shows you how to arrange modular kitchen cupboards so they feel balanced and easy to use. You’ll end up with a setup that fits your routine, looks clean, and holds everything without chaos. It’s straightforward—I’ve done it in two kitchens now.
What You’ll Need
- White shaker modular base cabinets (24" deep, 34.5" high)
- Tall pantry modular unit (30" wide, natural oak finish)
- Matte black bar pulls (5" length)
- Bamboo drawer dividers (12x4x2")
- Clear glass doors for upper cabinets (15×12")
- Open shelving modular unit (36" wide, white)
- Woven baskets (10" diameter, seagrass)
- Slim spice jars (4oz, clear glass)
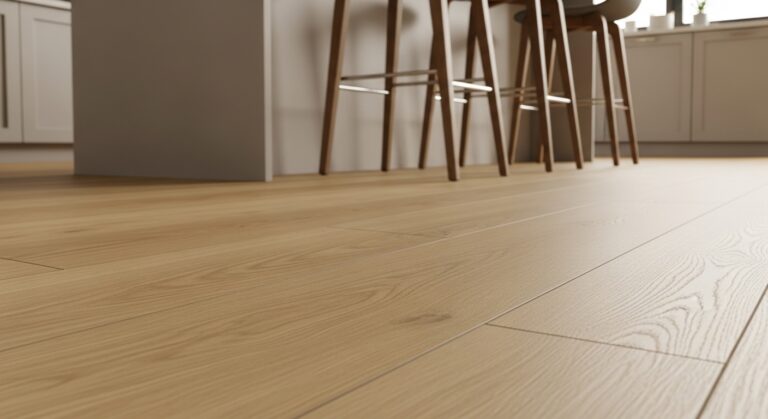
Step 1: Map Your Daily Reach

I start by standing in the kitchen at my usual cooking height. I mark where I grab oils, spices, plates most. This sets the base layer—why fight your habits?
Visually, the space shifts from blank walls to zones. Counters clear up fast.
People miss how reach changes everything—one too-high shelf, and you ignore half the cupboard. Avoid stacking tall units first; measure arm level every time.
It feels right when you can touch anything without stretching.
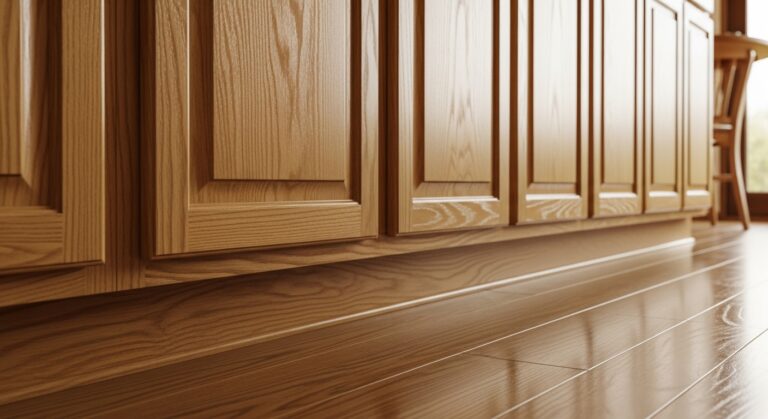
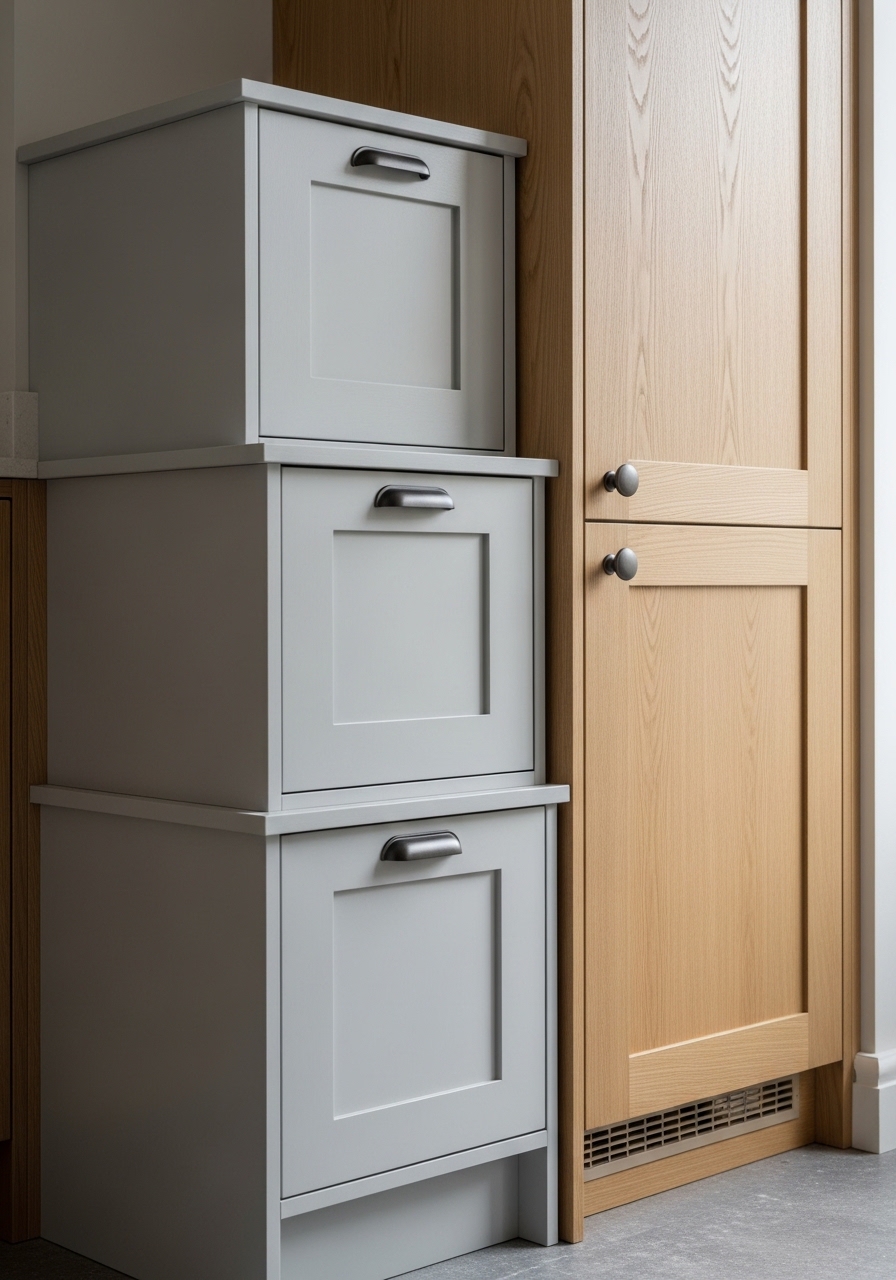
Step 2: Pick Units That Ground the Run
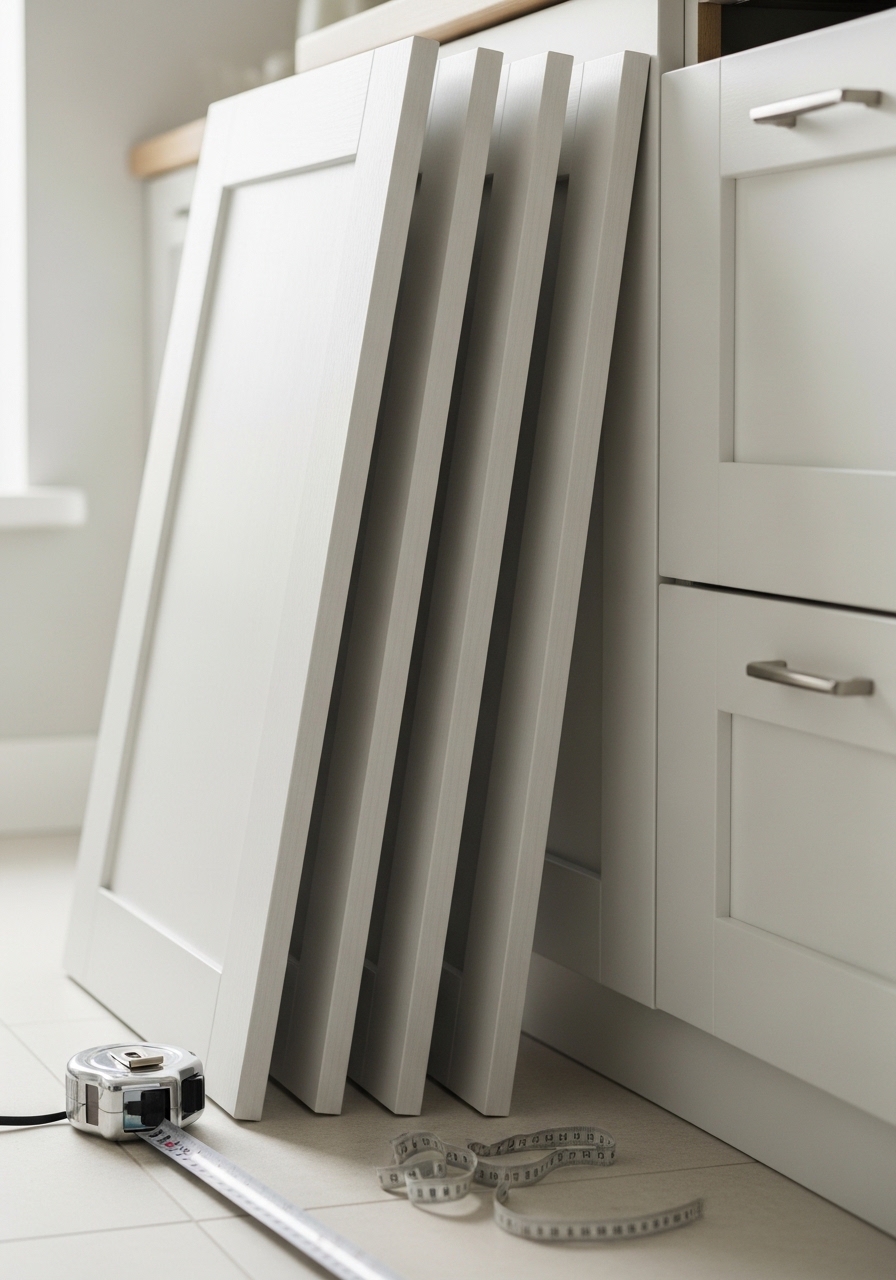
I eye the wall length next. Base cabinets go low—34.5 inches high max—for stability. Tall pantry at one end anchors it.
The run looks solid now, not floating. Shadows fall even.
Most skip balancing heights; everything tips top-heavy. Don’t cram uppers yet—build from floor first, or it wobbles in feel.
Your kitchen breathes easier here.
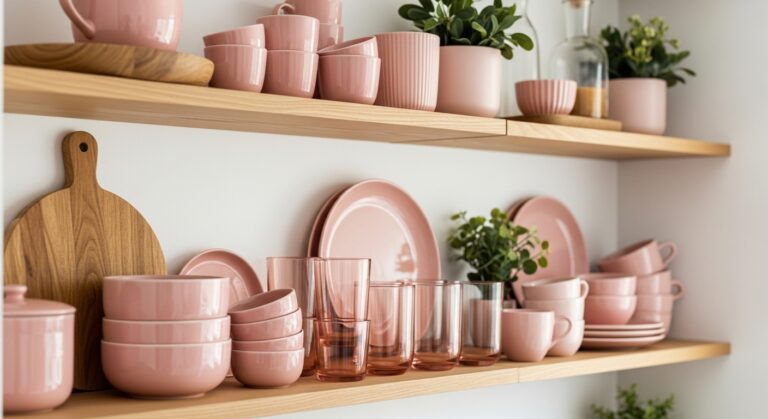
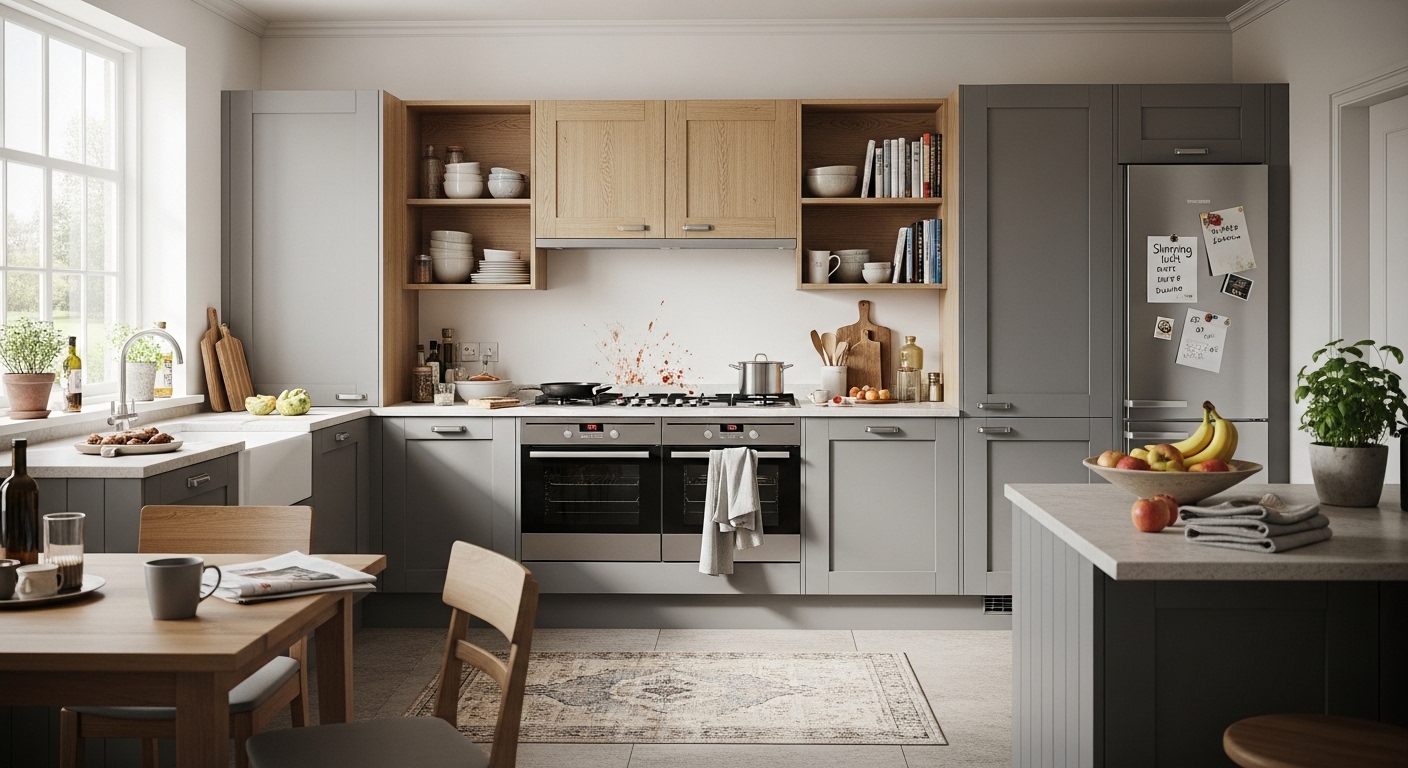
Step 3: Layer Heights for Flow
Now uppers go in—glass doors midway, open shelves higher. I step back often to check sightlines from the sink.
Balance hits: low for heavy stuff, high for light. The whole wall pulls together.
Folks overlook eye-level empty spots—they kill flow. Avoid matching every door; mix one open shelf, or it’s boring to scan.
Cooking feels smoother, less hunt.
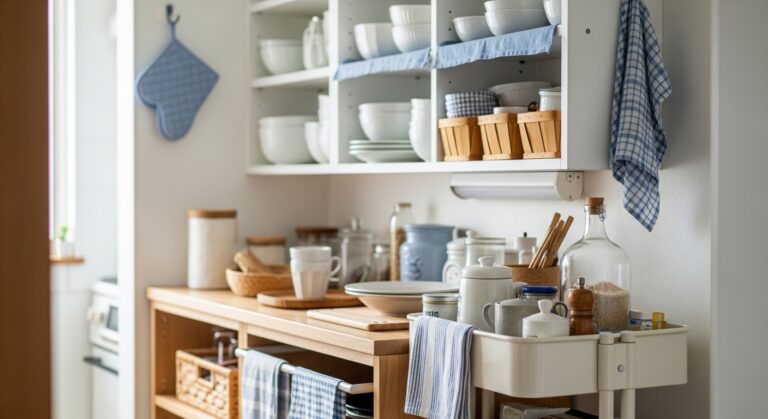
Step 4: Divide Insides for Quiet Storage
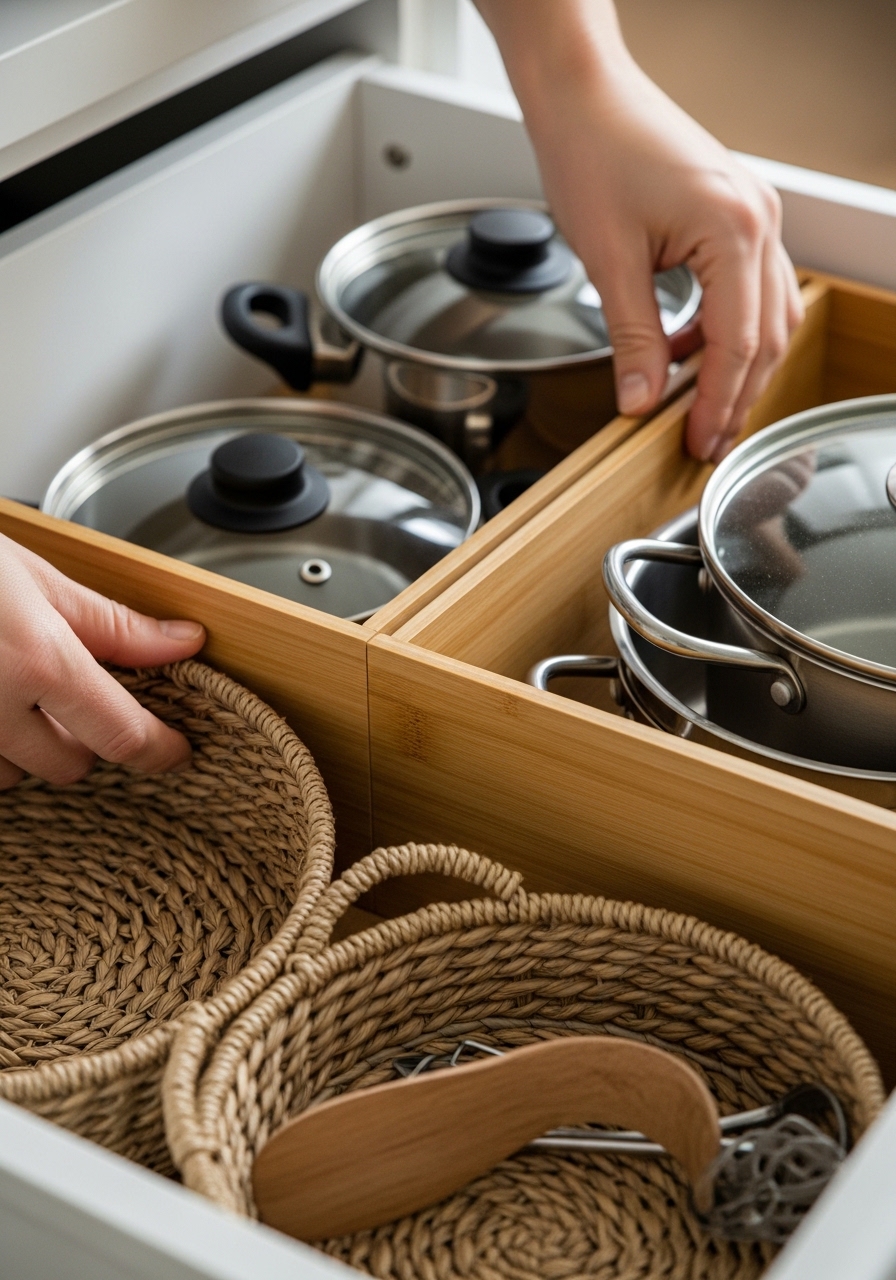
Inside, bamboo dividers slot into drawers. Spice jars line a door rack. Woven baskets catch odds.
Clutter vanishes—everything nests calm. Drawers slide without rattle.
The insight: group by use, not size, or you reshuffle weekly. Don’t overfill bases; leave 20% air, or it jams.
It’s comfortable now, like it thinks ahead.
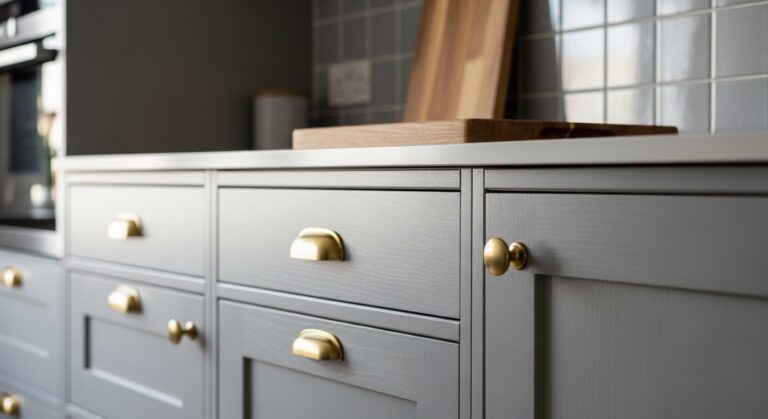
Step 5: Add Handles and Finish the Feel
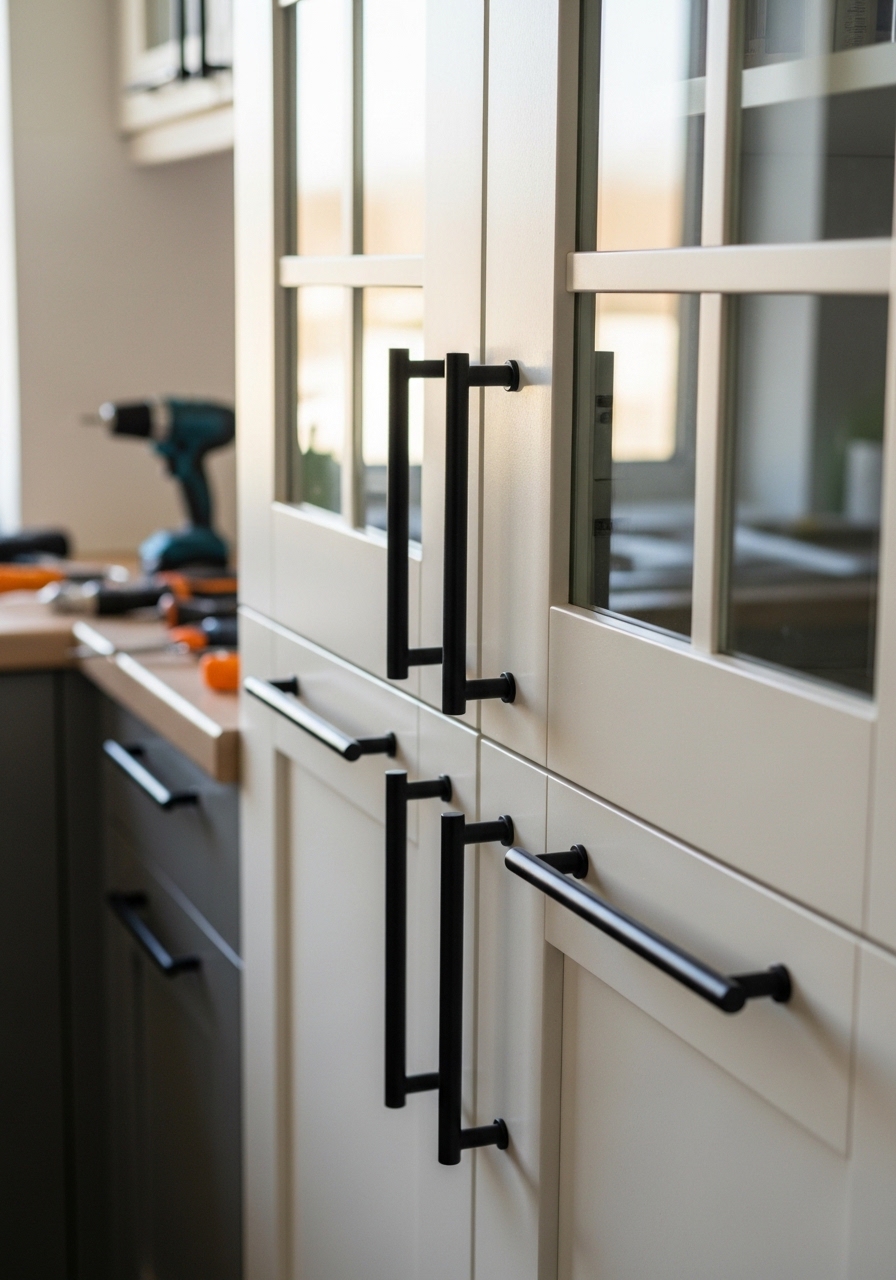
Last, matte black pulls go on—5 inches, centered low. I wipe everything, step back.
The cupboards look intentional, warm against white walls. Textures layer: oak, glass, weave.
People forget pulls set the tone—cheap ones cheapen it. Avoid shiny; matte keeps it lived-in.
Your kitchen settles, ready for meals.
Common Mistakes I Learned the Hard Way
I messed up my first try. Cupboards ended up feeling crowded.
Here’s what trips people:
- Ignoring corner dead zones—they eat space.
- All white units wash out; add one wood tone.
- Skipping dividers—everything tumbles.
Fix these, and it lasts years. Simple tweaks.
Adapting for Small Kitchens
Tight spaces need tricks I’ve tested.
Go tall but slim:
- One 12" deep wall unit for spices.
- Pull-out drawers in bases.
It opens the room. Feels bigger without losing storage. I gained two feet of counter this way.
Pairing with Everyday Kitchen Flow
Cupboards work best tied to the room.
Think sequence:
- Plates near sink.
- Utensils by stove.
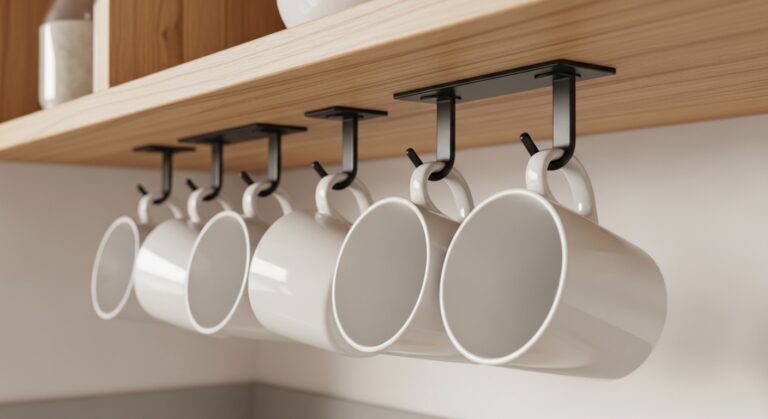
- Glasses overhead.
No more back-and-forth. It’s just how you move now.
Final Thoughts
Start with one run of cupboards. See how it shifts your mornings.
You’ve got this—it’s about your habits, not perfection.
Now your kitchen holds steady, day after day.